Introduction
Zapier is an online platform that helps you automate workflows by connecting your apps and services you use. Using the MoEngage and Zapier integration, you can create custom workflow automations for more than 5,000+ apps on Zapier. The action “Add or Remove User From Cohort (Audience)” helps to update a cohort (Audience) in MoEngage. You can either choose to add a user, or remove a user from the cohort. If a user already exists in the cohort, the action does nothing.Use cases
With this action, you can update cohorts from multiple sources in near real-time using Zapier. Some ideas to get you started:- Add new GoTo Webinar registrants into a cohort in MoEngage.
- Remove users from a cohort in MoEngage when a new row is added in Google Sheets.
- Add a user to a cohort in MoEngage when a Google Form is submitted.
- Add new Facebook Lead Ad leads to a cohort inside MoEngage.
- Remove user from a cohort when a new Typeform entry is created.
PrerequisitesEnsure you have access to your Zapier account and have connected it to your MoEngage account. You can follow the steps here to connect Zapier to MoEngage.
Integration
The action makes use of MoEngage Cohort/Audience APIs. For this tutorial, we will pick up Use Case #1: Add new GoTo Webinar registrants into a cohort in MoEngage. On your Zapier Dashboard, click on ”+ Create Zap” on the top-left corner.Step 1: Select GoTo Webinar as the trigger app
For the trigger, type “GoTo Webinar” and select it. This will be the trigger that will start your zap.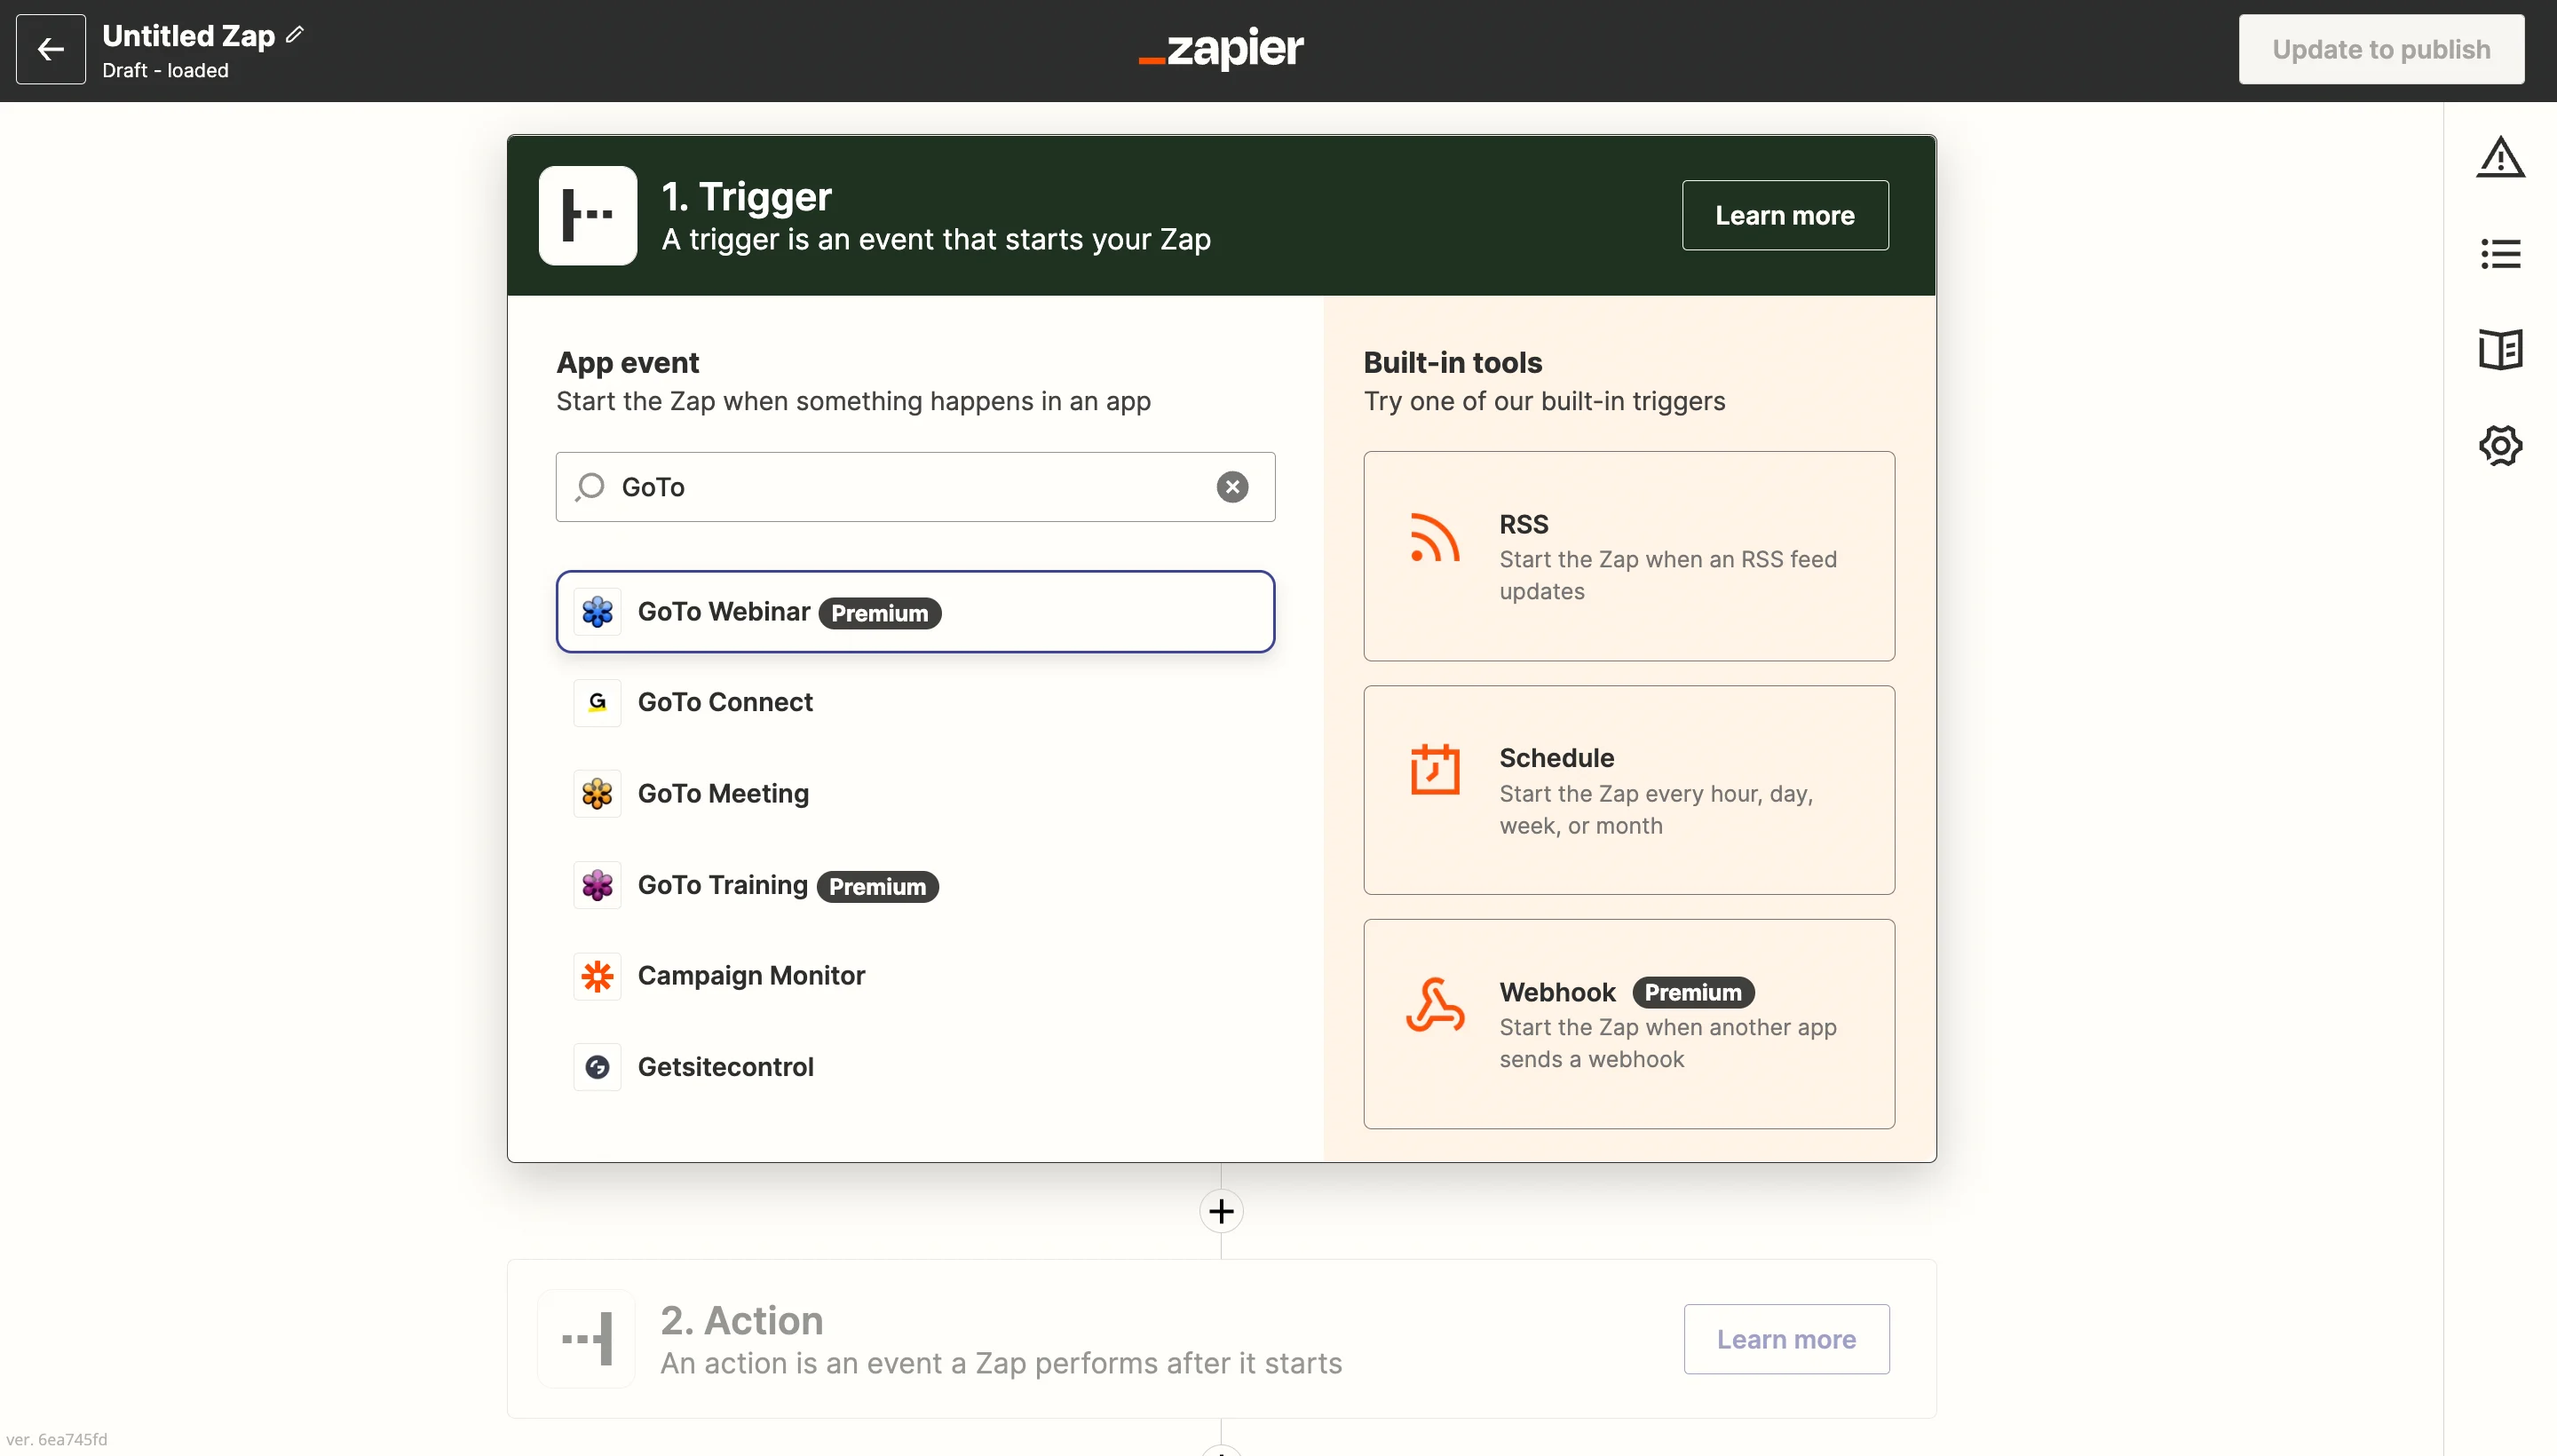
Step 2: Setup the trigger app
- Select the event from the dropdown: “New Registrant”. Click continue.
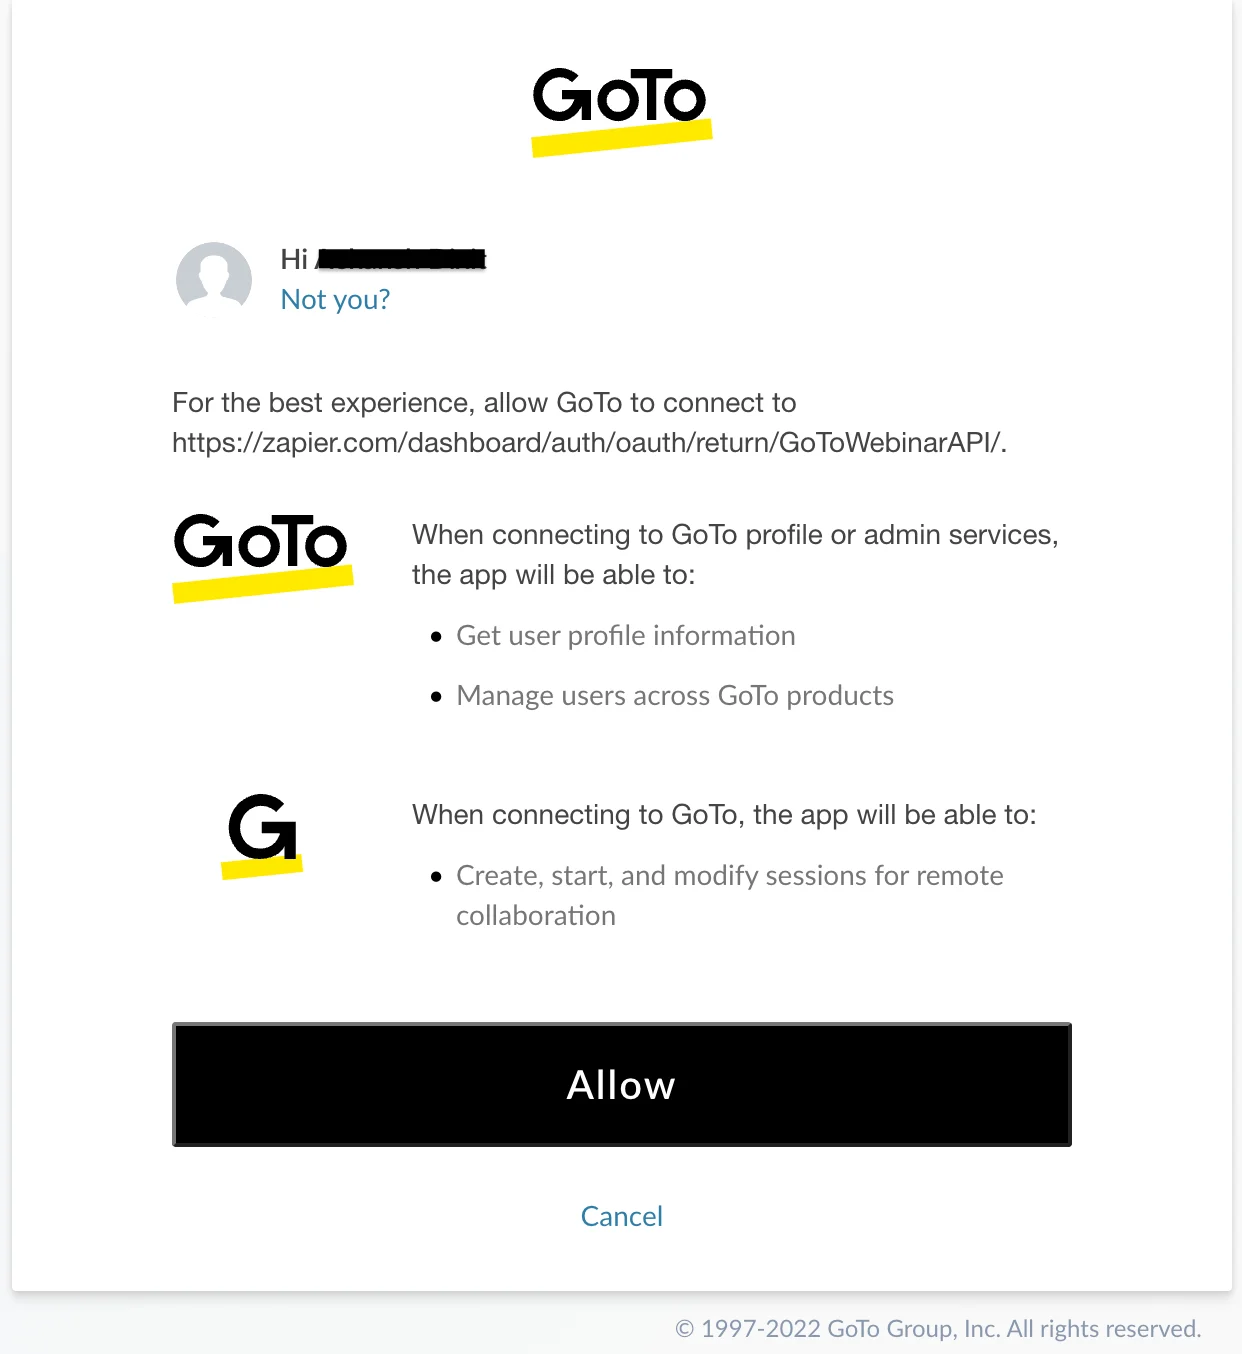
- Connect your GoTo Webinar Account, if not done already. Click “Allow” to connect with Zapier. Once selected, click continue to move to the next step.
- Under the “Set up trigger” step, select the Webinar from the dropdown. Click continue.
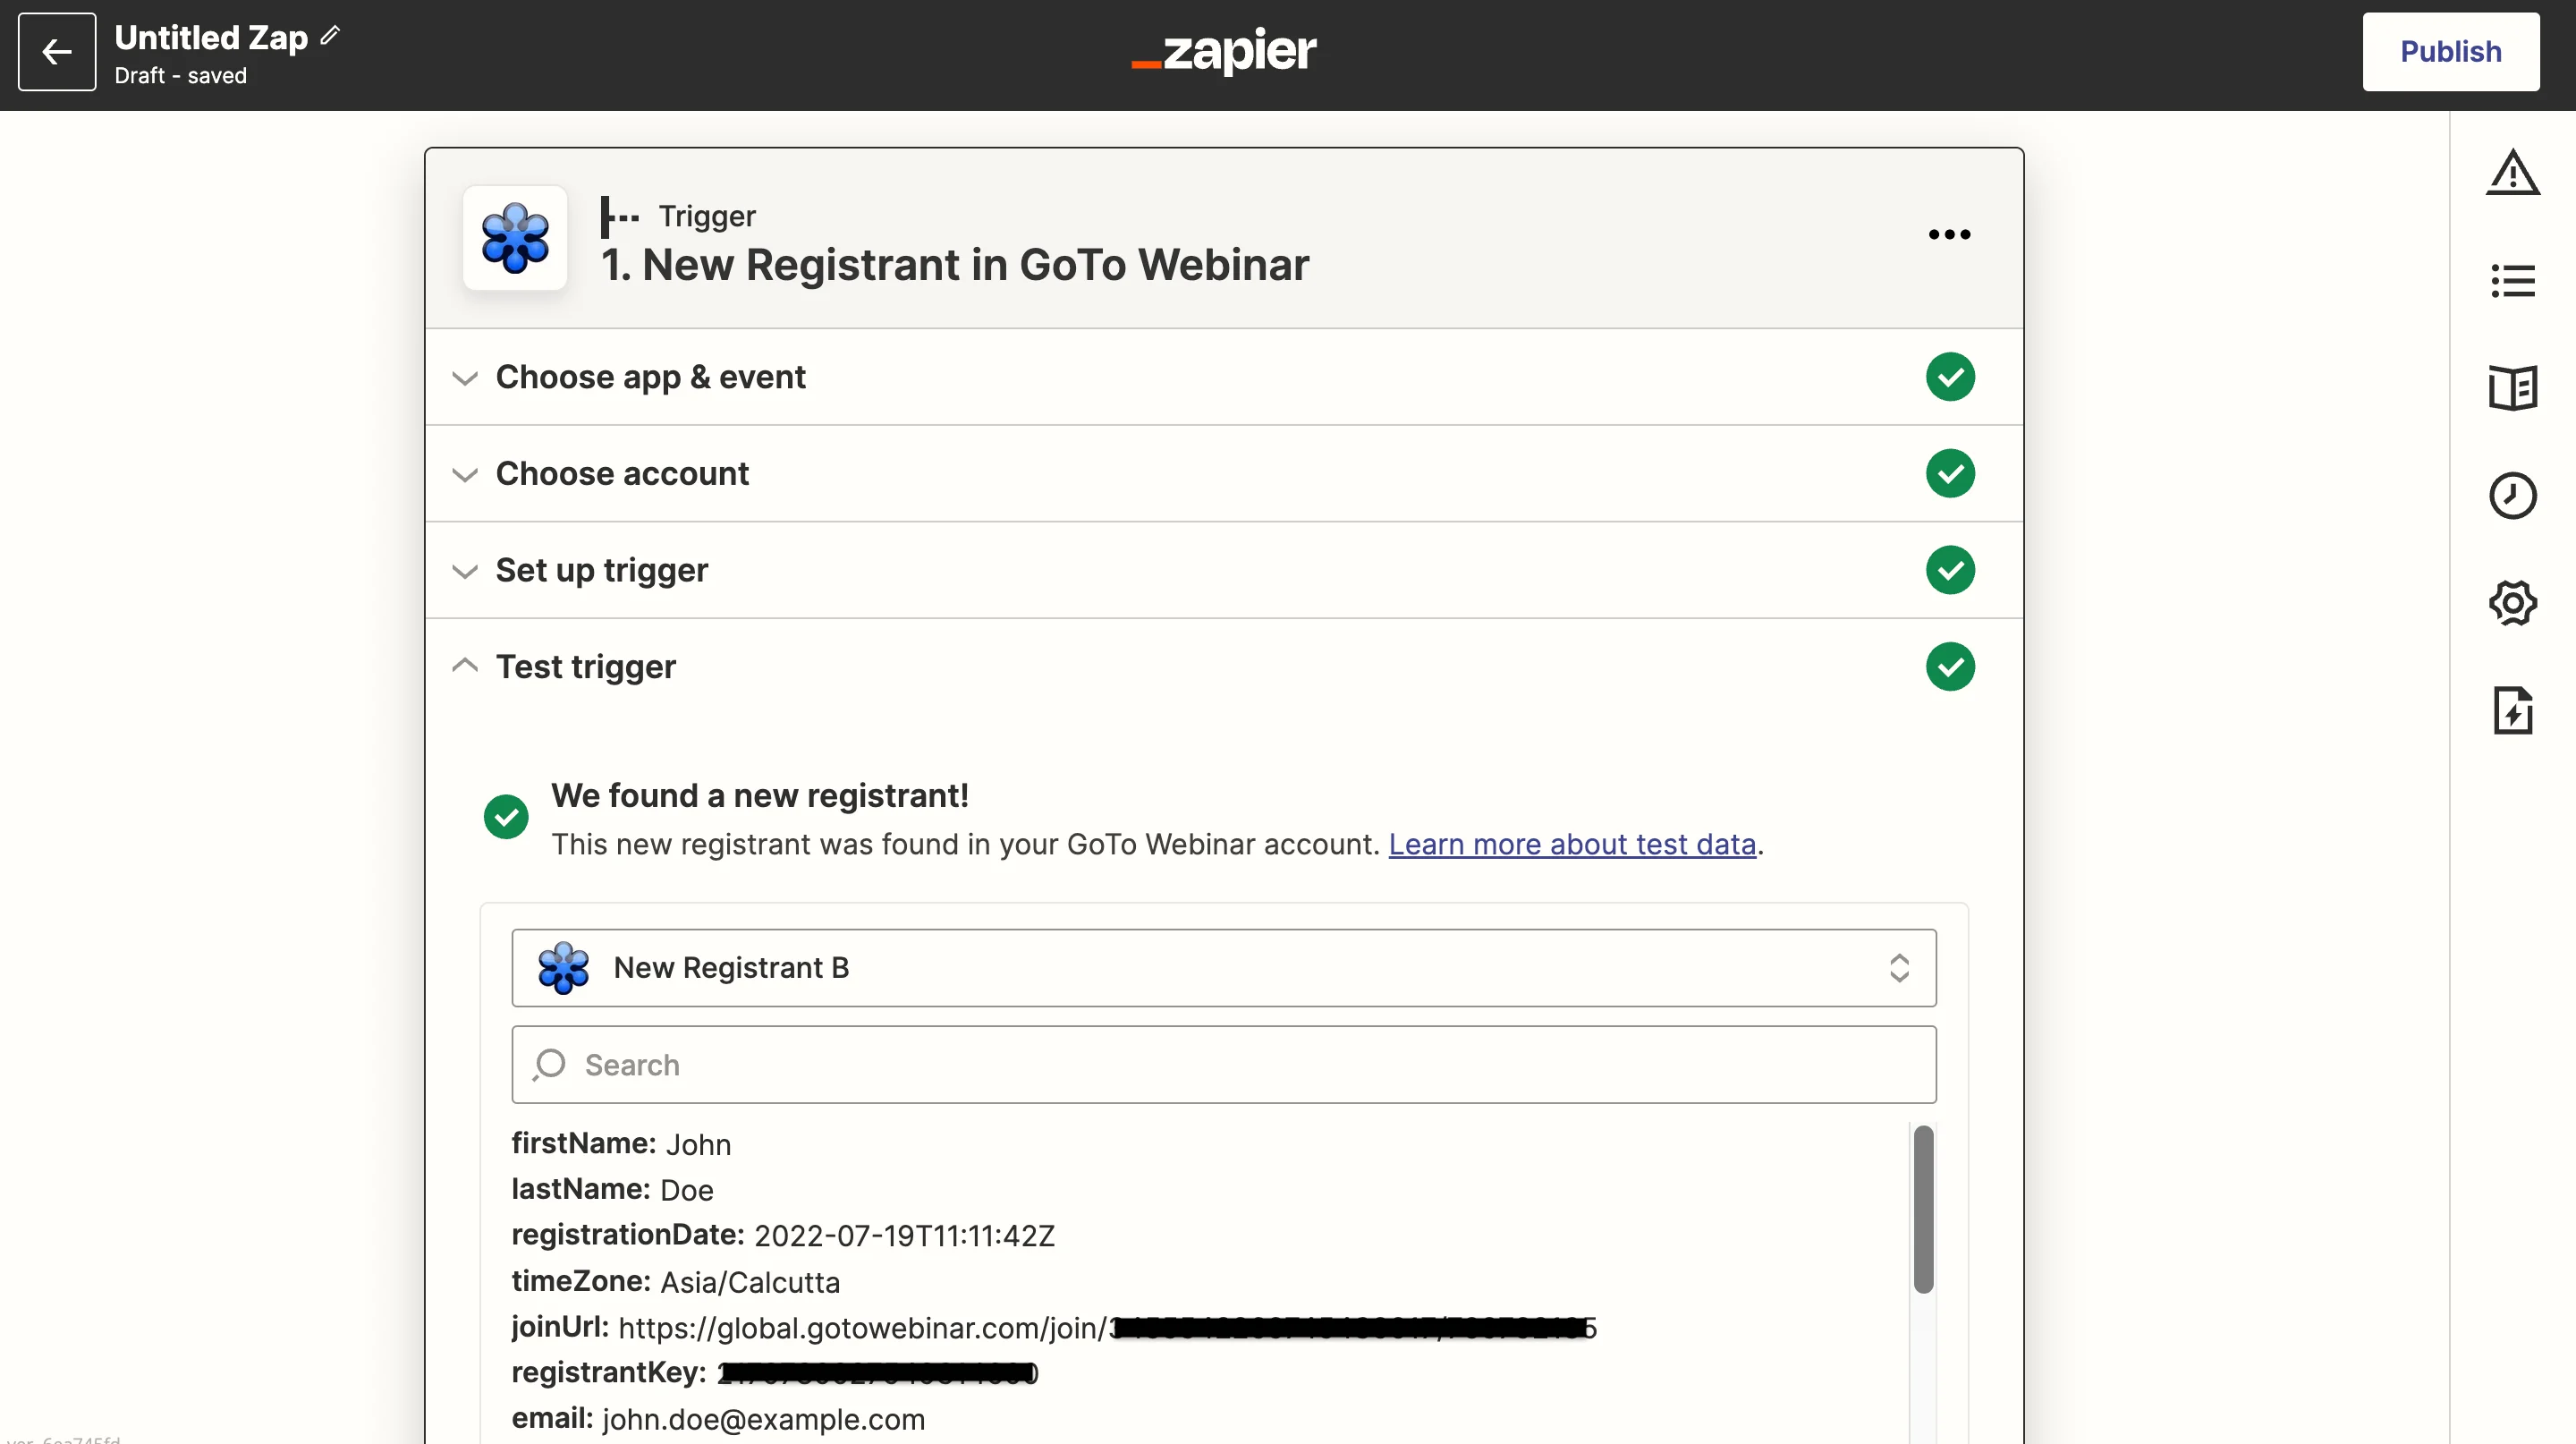
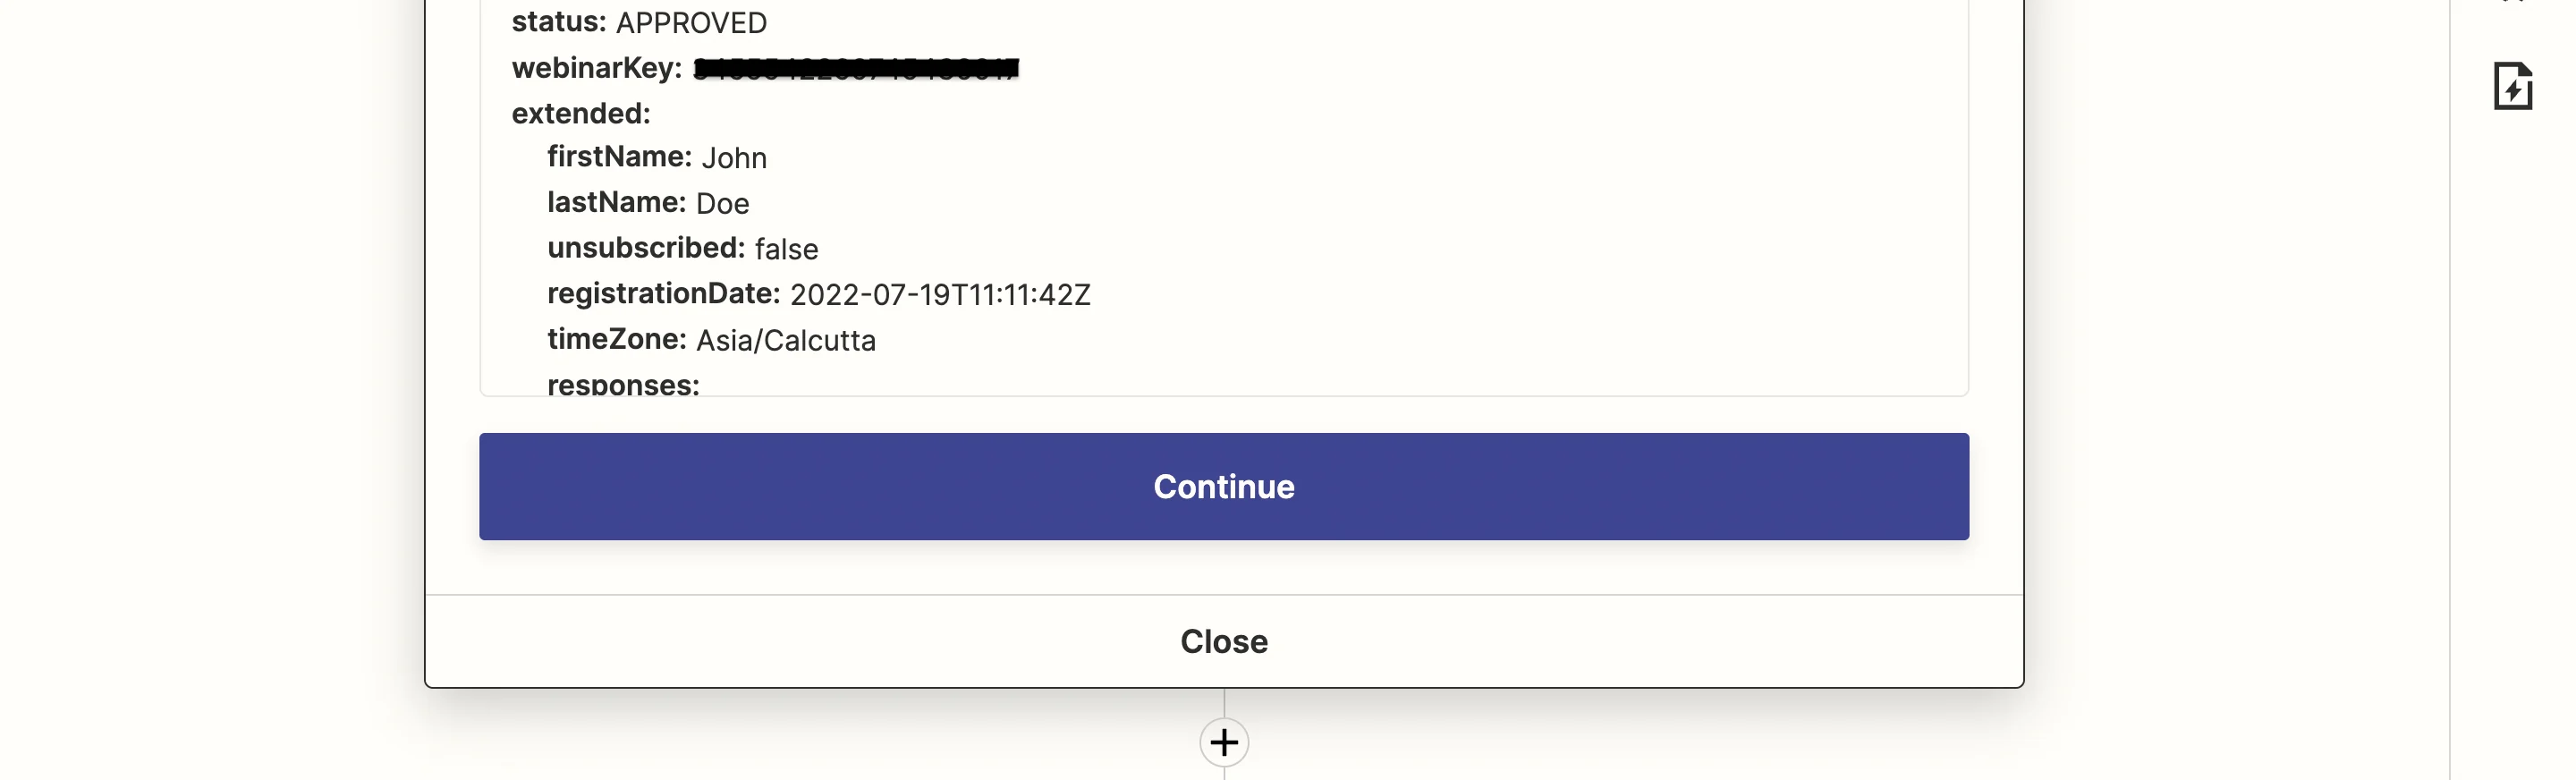
- Click on “Test Trigger” to pull in a recent registrant as sample data. If no data is present, you can create a new registrant from your GoTo Webinar Dashboard.
- Once you are satisfied with this data, click continue.
Step 3: Add MoEngage as the action app
Click on ”+” to add a new step. Then, search for “MoEngage” from the apps and select it.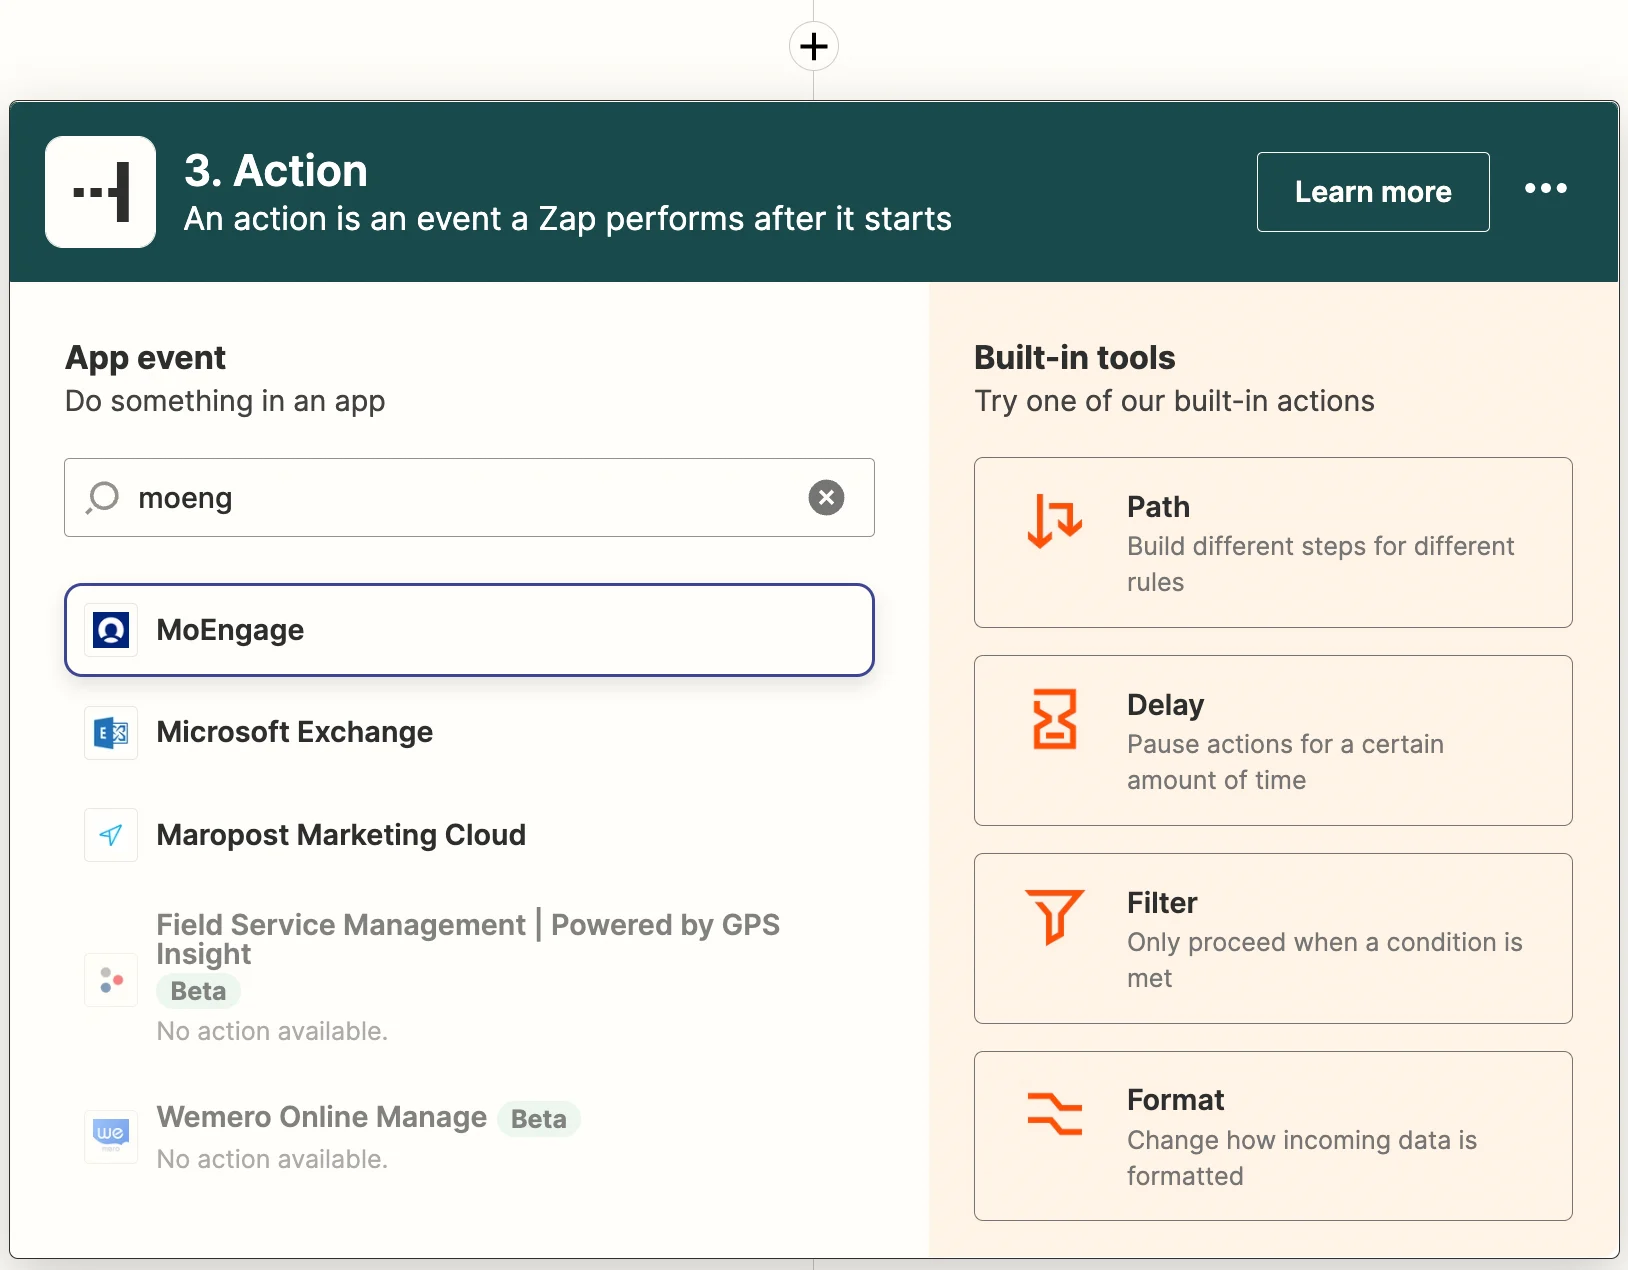
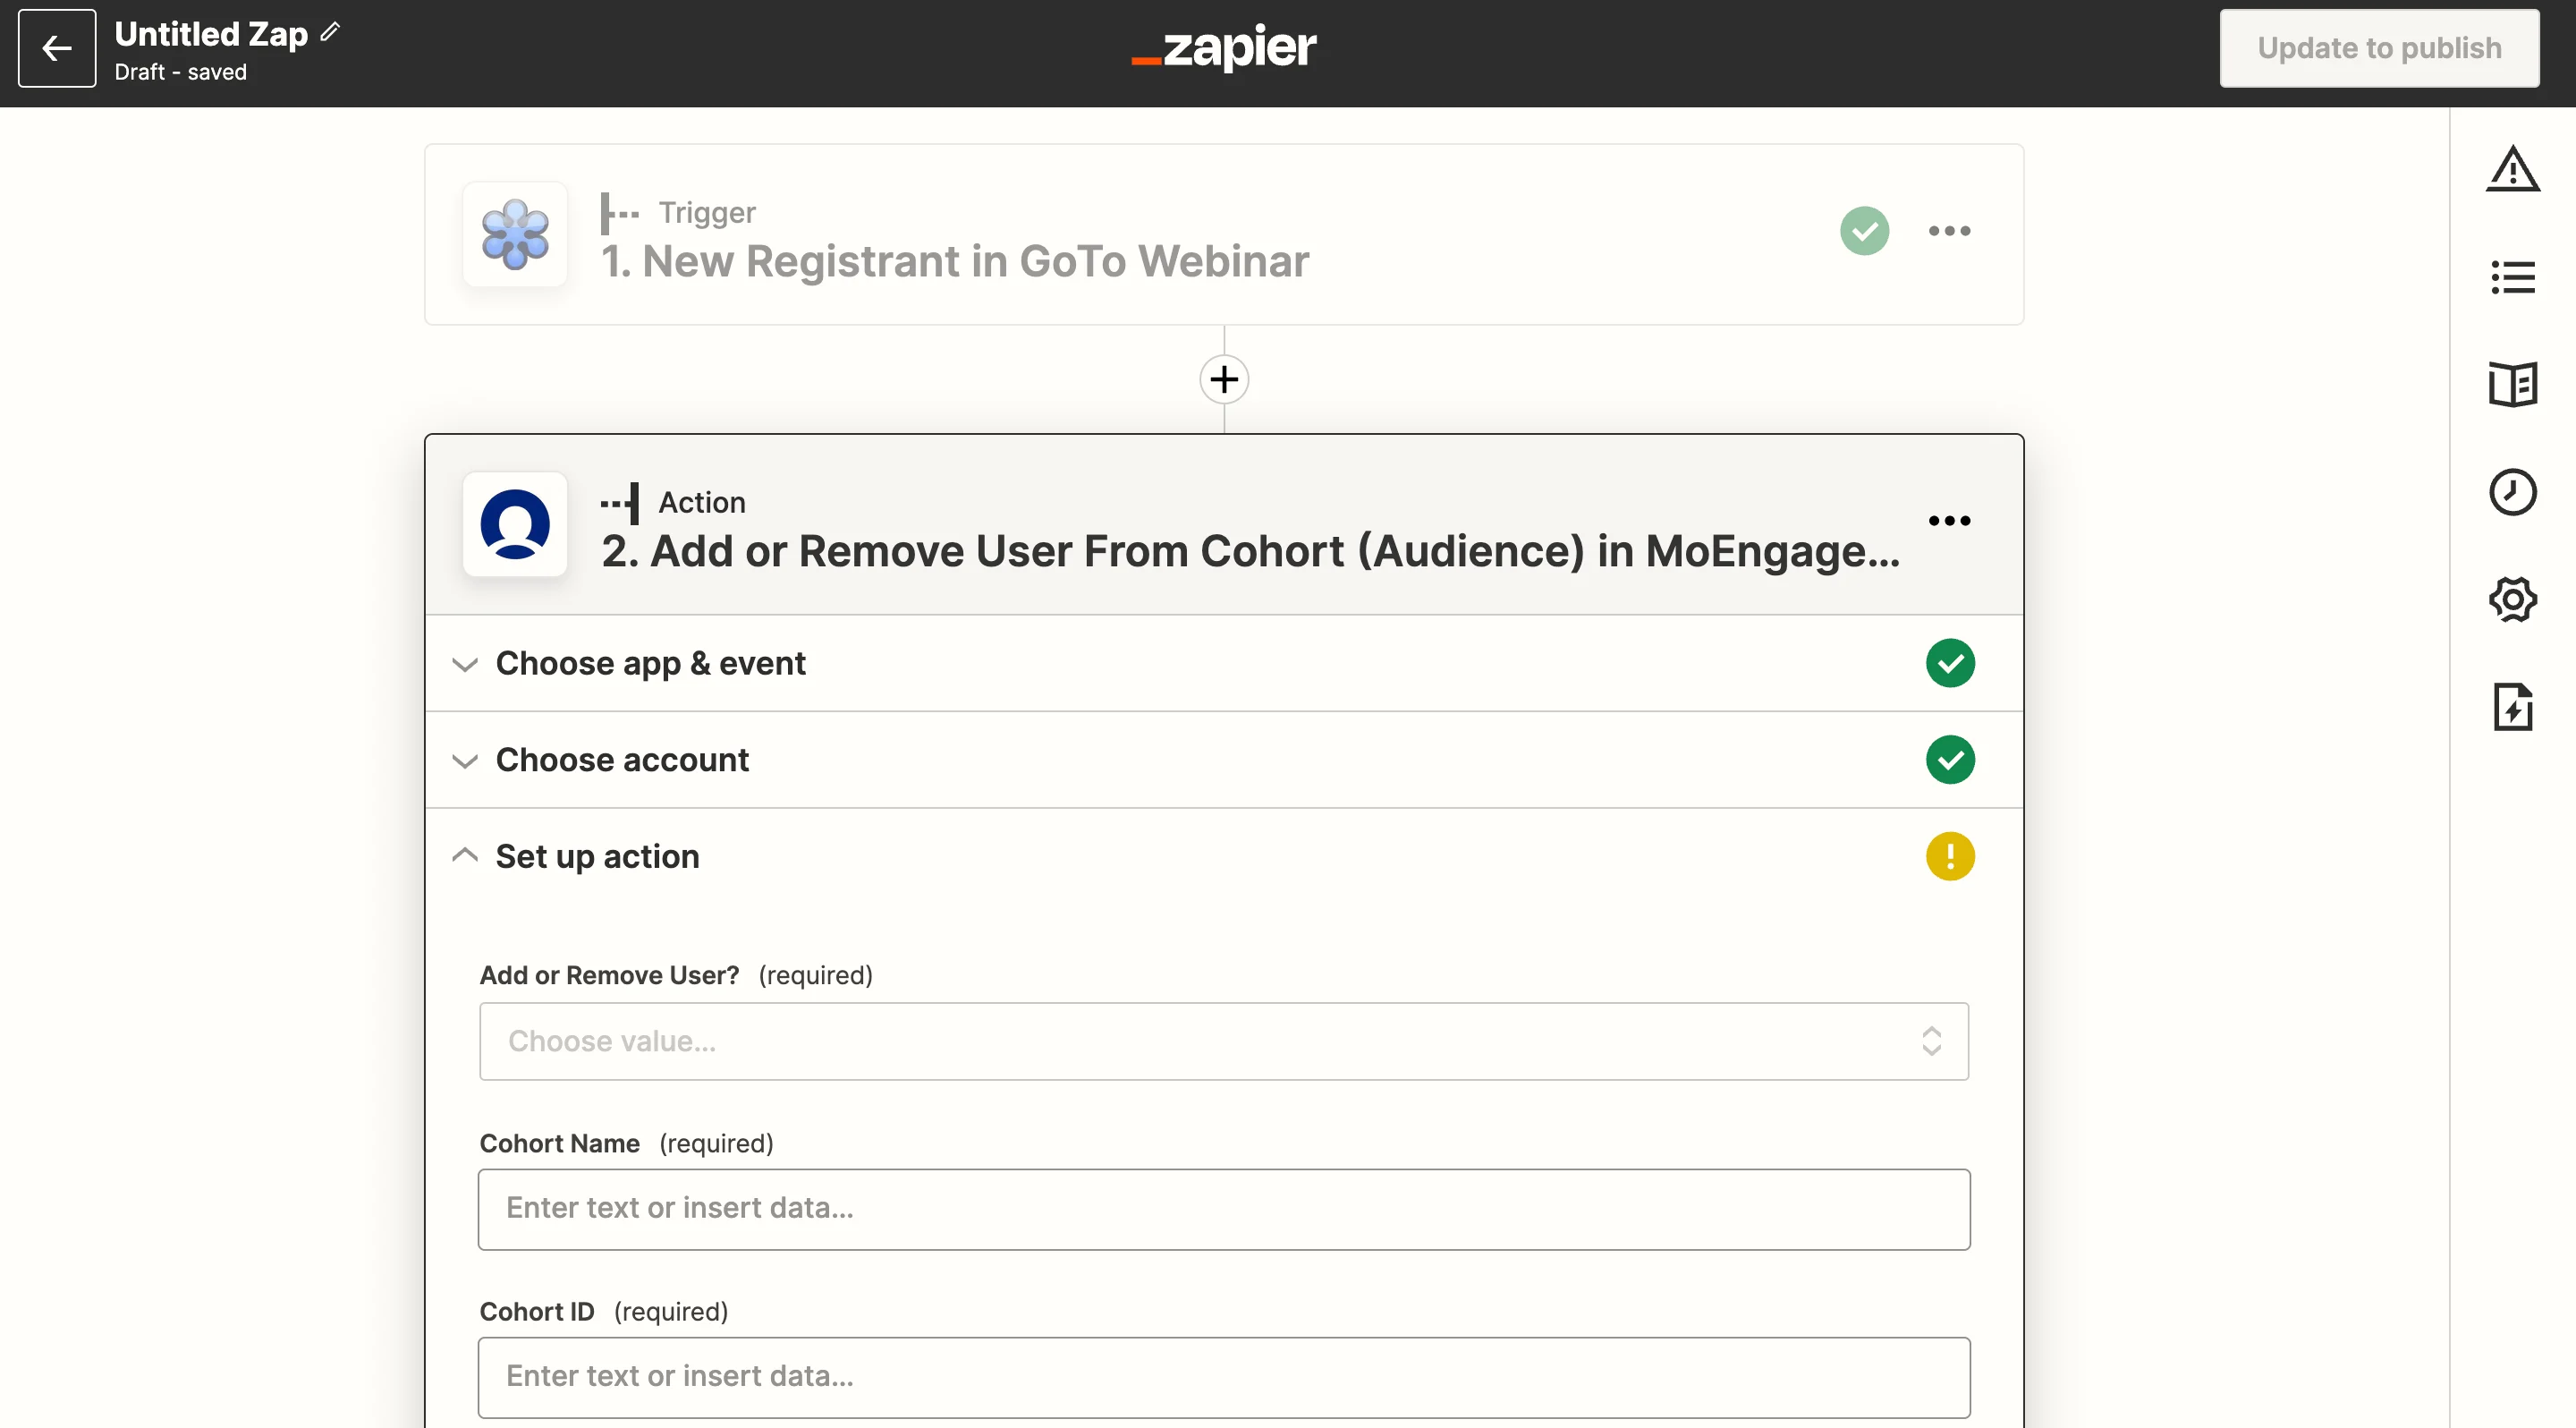
Step 4: Setup MoEngage action
- From the event dropdown, select: “Add or Remove User From Cohort (Audience)”. Click continue.
- If you have followed the prerequisites, you should see your MoEngage account already listed. You can either choose that or connect a new one. Click continue once done.
- In the next step “Set up action”, you will see a form for you to either fill-in or map from the previous step. Click here to know more.
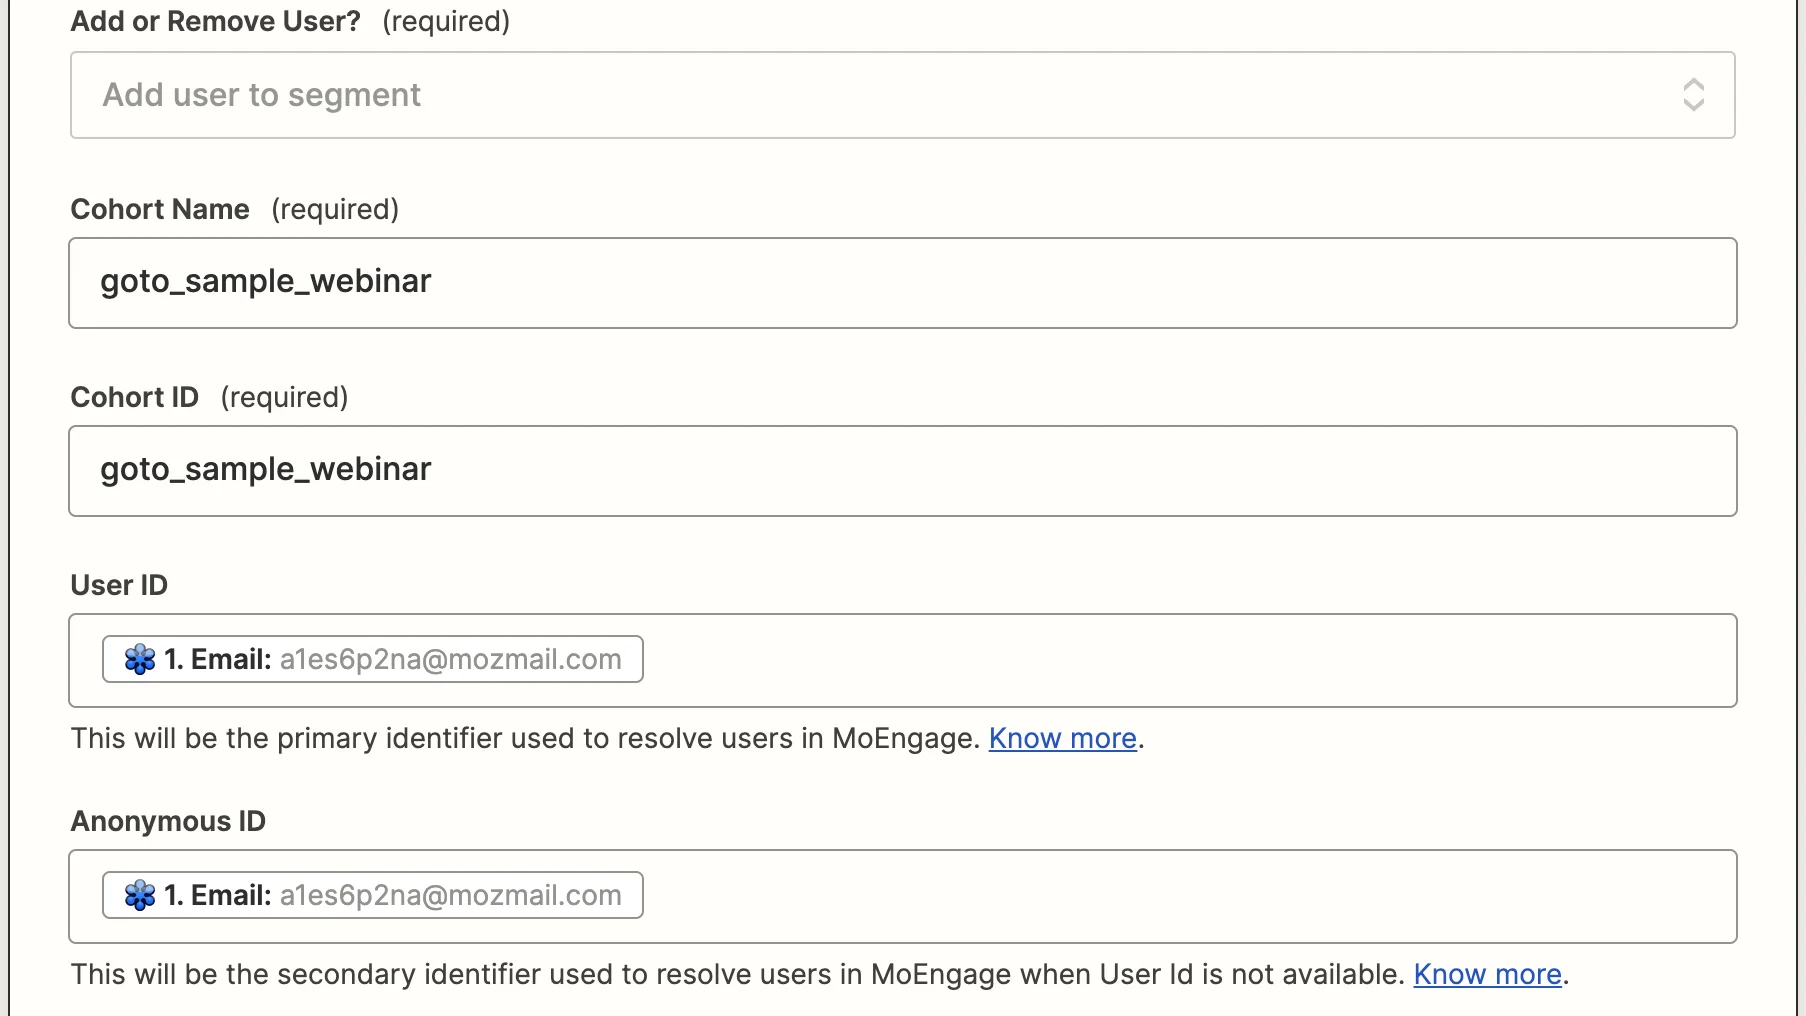
- For our setup, we have linked the following:
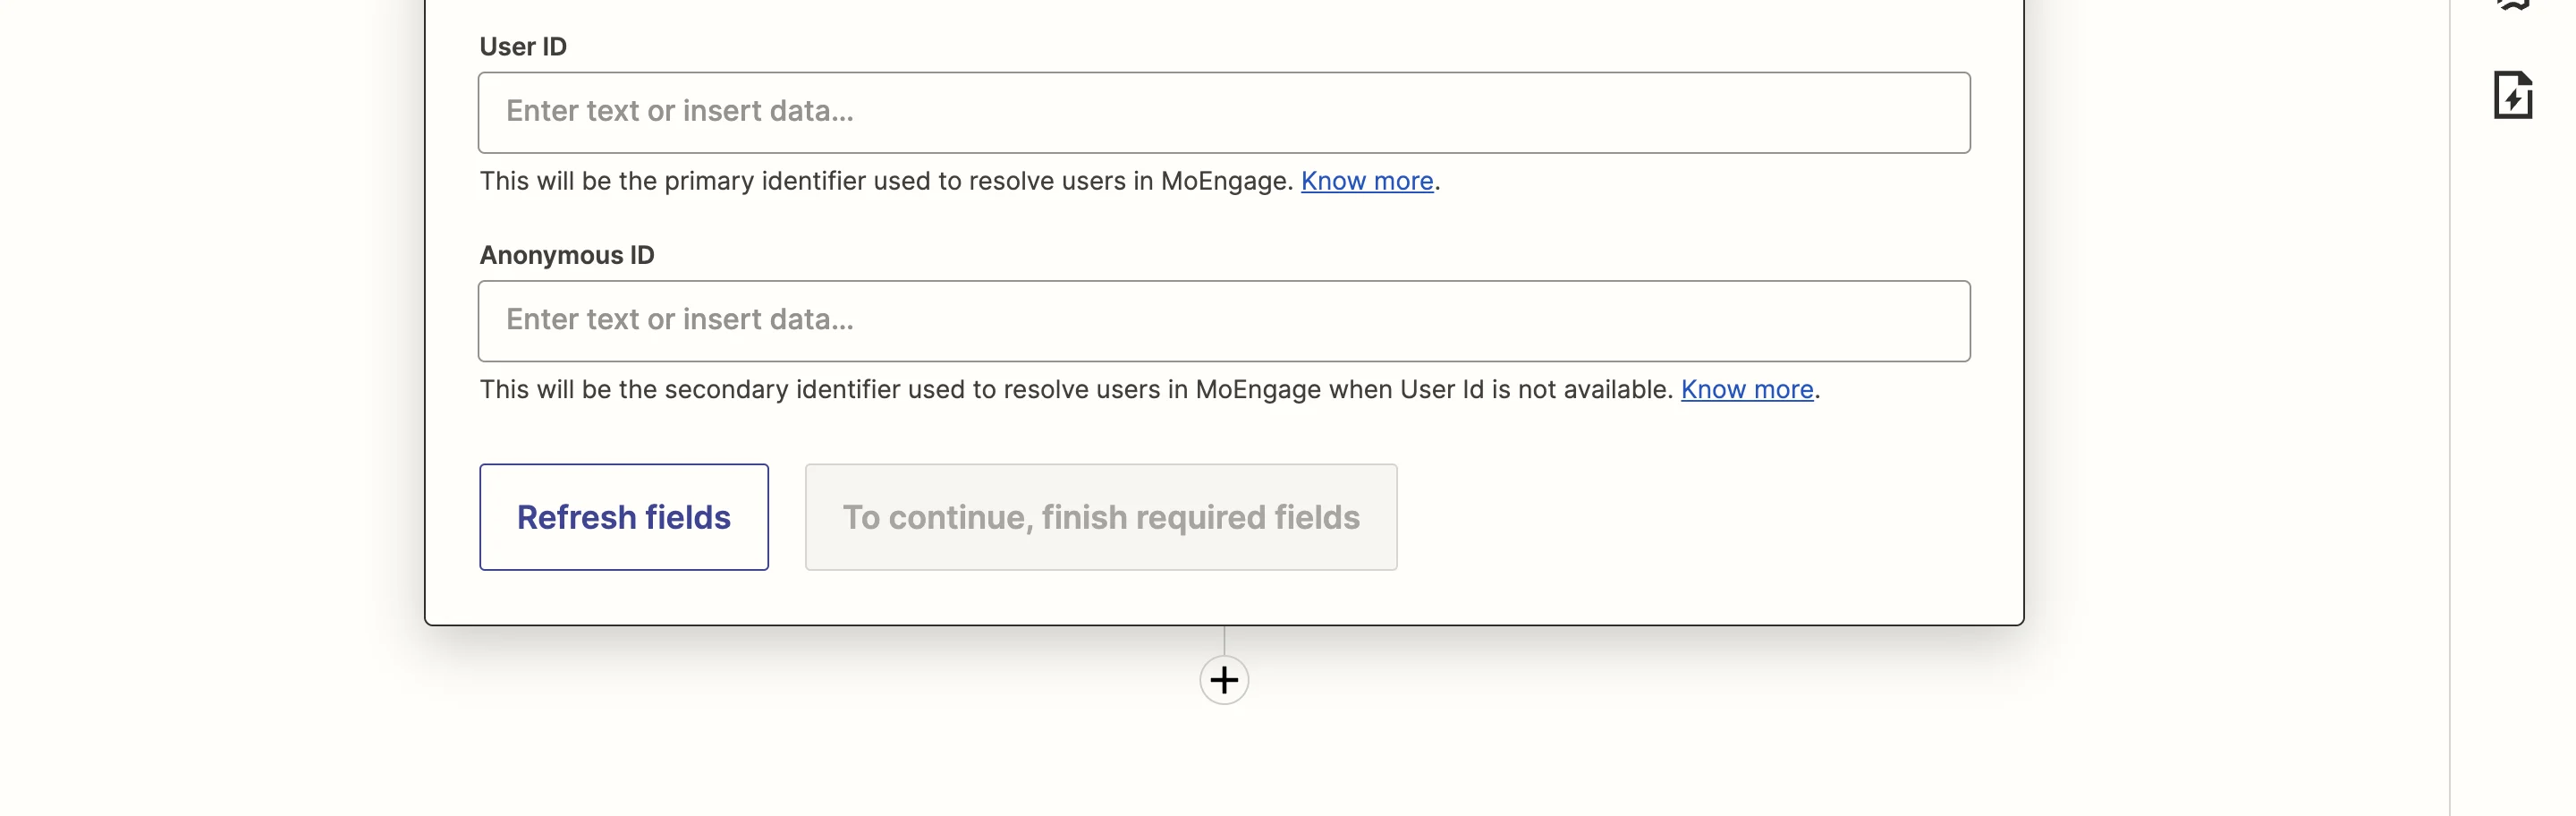
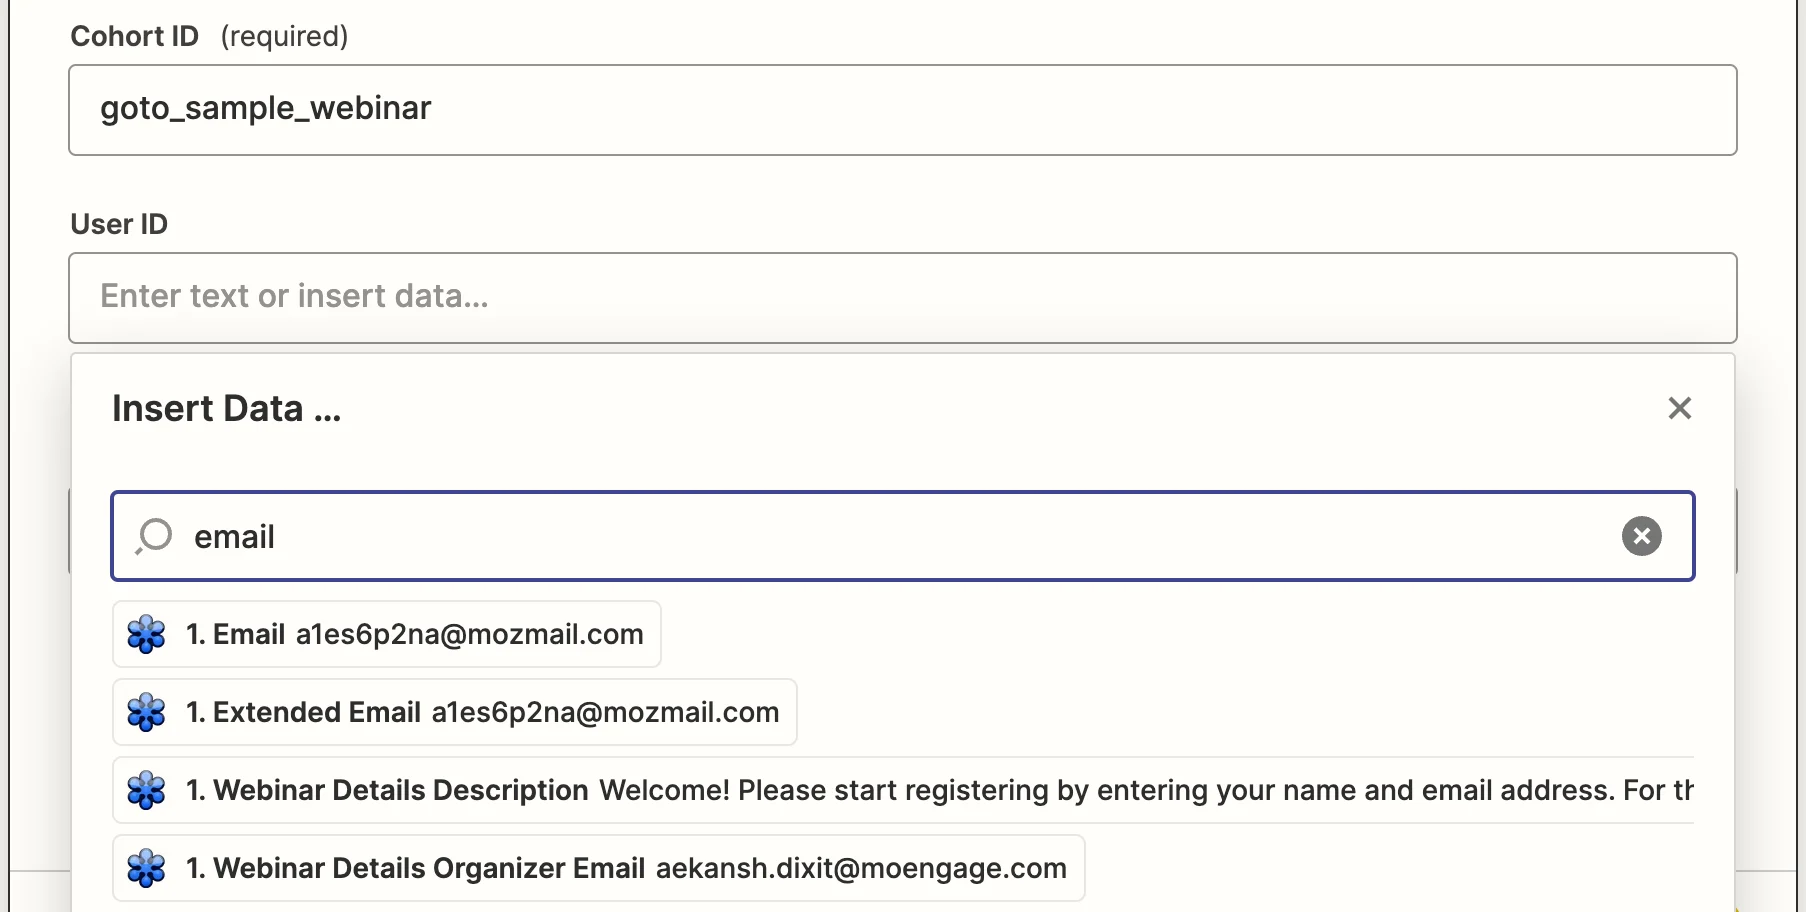
Cohort Name→"goto_sample_webinar"Cohort ID→"goto_sample_webinar"User ID→GoTo Webinar (Email)Anonymous ID→GoTo Webinar (Email)- Once you are satisfied with your mappings, click on “Continue”.
- You will now be presented with an option to test this setup.
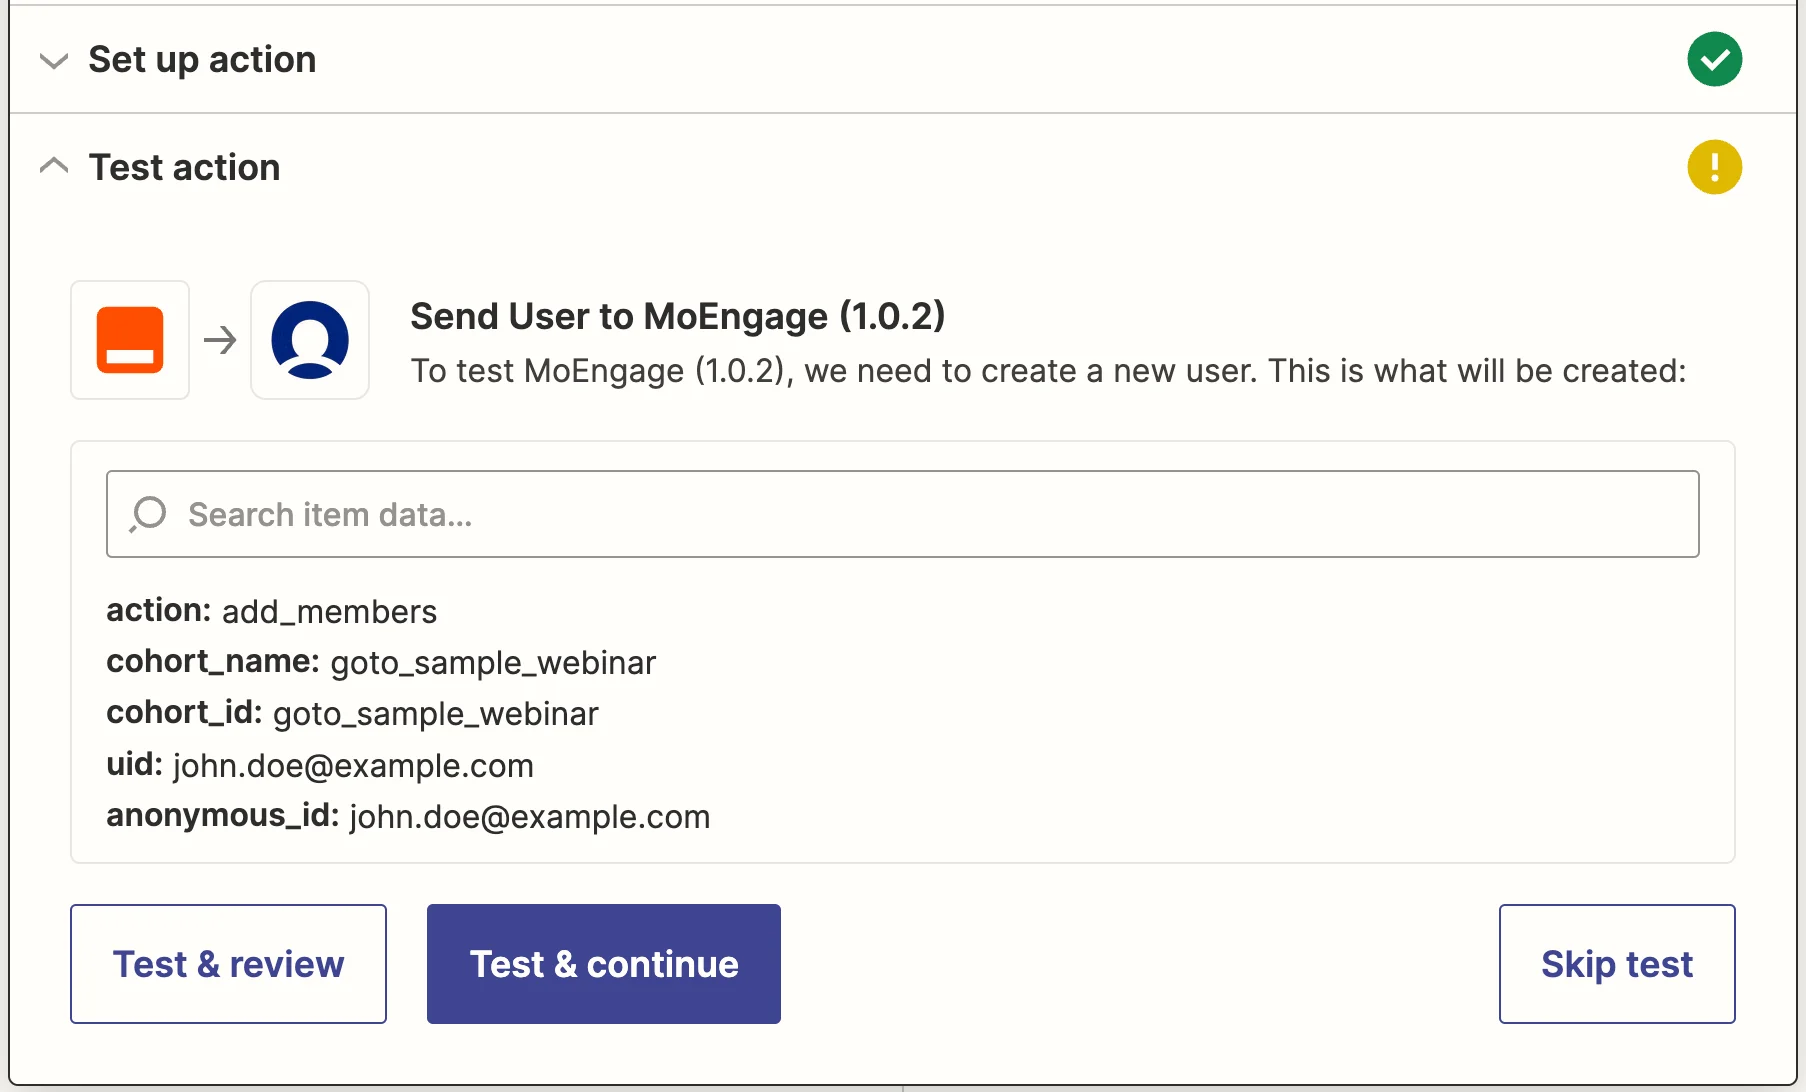
- Click on “Test & continue” to test this setup.
- If the API call was successful, you should see a “success” return.
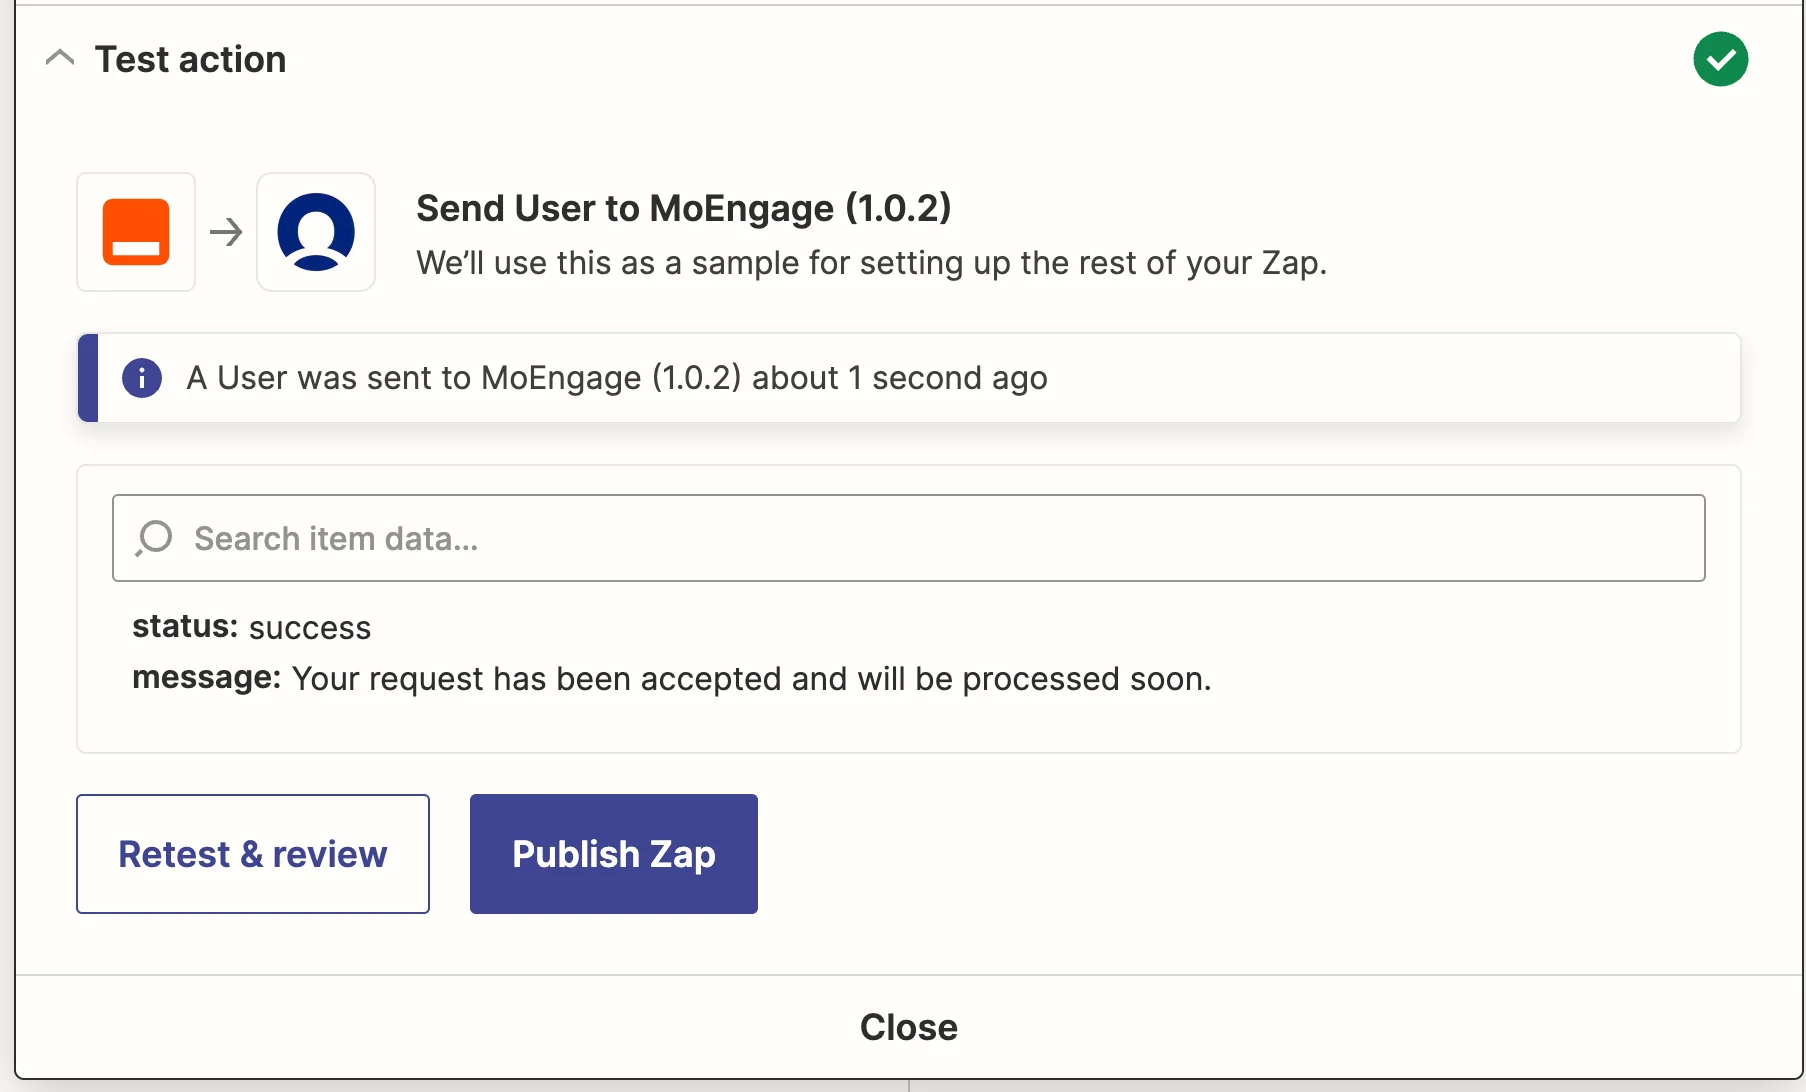
- Once you are satisfied that everything works, click on “Publish Zap” and it will run every time a new registrant is added to your Webinar.