Overview
MoEngage Personalize helps you to create real-time connected experiences that accelerate conversions. In turn, this aids in connecting your customer needs and your brand experience. Prerequisites- The Web SDK should be integrated to create a personalized web experience. For more information, refer to Integrate Web SDK.
- Disable ad blockers in the browser. The personalization editor will not load if ad blockers are enabled.
Create Web Experience
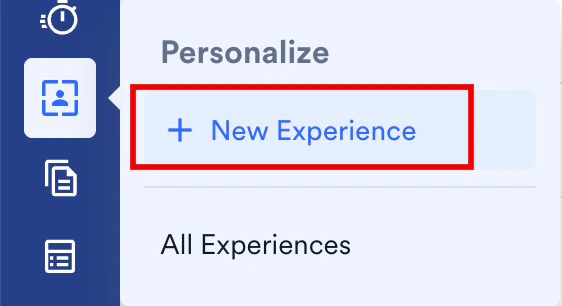
To create a personalized experience, perform the following steps:- On the sidebar menu in MoEngage, hover over the Personalize menu item
 . The Personalize menu appears.
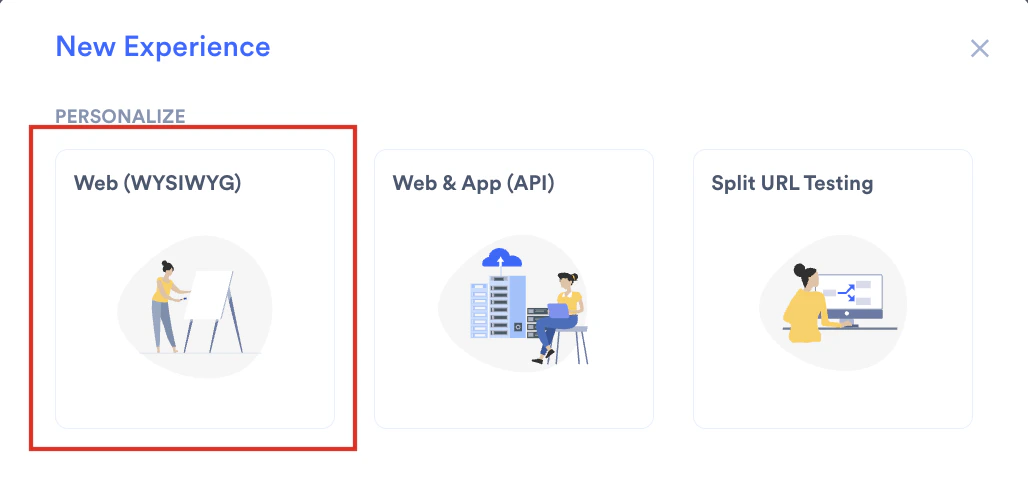
 - Click + New Experience.
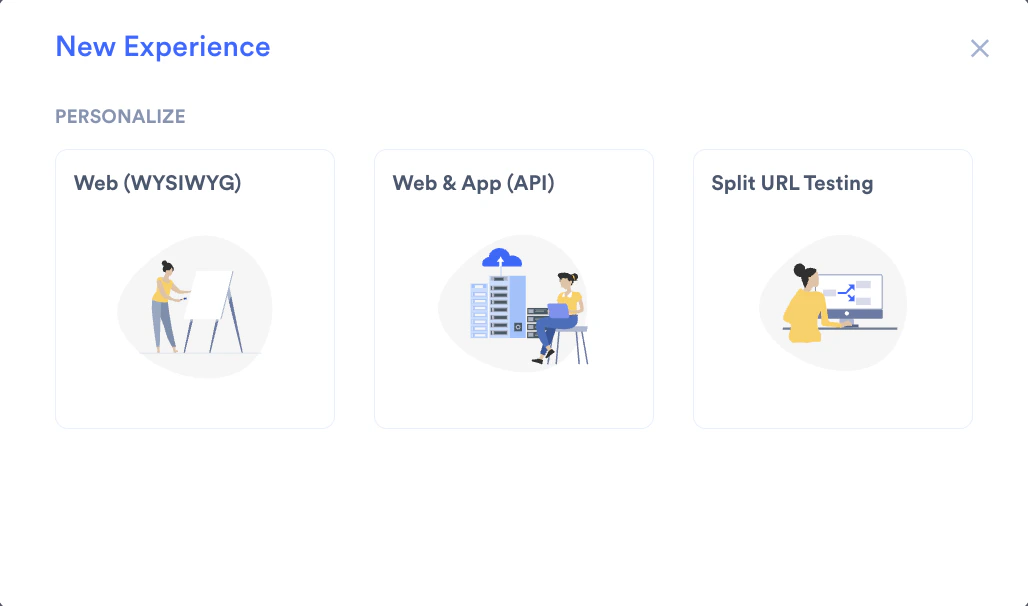
- Click Web (WYSIWYG).
- Target Users: Specify the audience for your web experience.
- Content: Specify the variation and personalized content for the selected users.
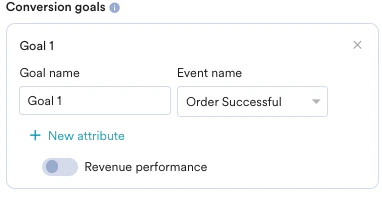
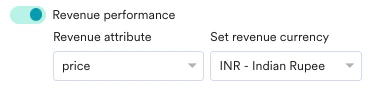
- Schedule and goals: Specify a delivery schedule, conversion goals, and delivery controls for the experience.
Step 1: Target Users
This section contains the following:Experience Details
- Experience name - Type the name of the experience to manage and identify it. The experience name must have at least five characters and at most 256.
- Experience tags - Select the experience tags from the drop-down list. Tags help you add context to your experience. For example, you can add ‘onboarding’ as a tag for an experience created for onboarding users to your platform or app. For more information, refer to Tags.
Target Audience
Select +Add Audience to define the target user segment for the Experience.Defining your Target Audience
Defining your Target Audience
You can add multiple audiences (up to ten) to your experience. For example, let’s take the case of a brand that sells skin care products. If a marketer creates the following audience segments, they can personalize the website for each of these segments.
- Users who have viewed perfumes or have shown an interest in them - the marketer can personalize the website such that perfumes are shown primarily on the page with mentions of the latest arrivals, discounts, upcoming sales, testimonials, celebrity reviews, etc.
- Users who have clicked on discount offers for skin care products - the marketer can personalize the website such that offers and discounts on skin care products are shown primarily on the page.
- Users who have shown interest in natural skin care products - the marketer can personalize the website such that natural and cruelty-free products are shown primarily on the page.
- Add an existing audience by selecting one of the already added audiences shown in the dropdown. Click Select at the bottom line to add the audience to your experience.
- Duplicate and edit an existing audience. Select an audience in the dropdown and click Duplicate and Edit at the bottom right corner to modify the details.
- Add a new audience by clicking + New Audience.
- Audience Name - the unique name that identifies your audience.
-
Segmentation criteria - the segmentation filters that help you define your audience.
This section helps you add criteria for the target user selection. For example, if you want to add/delete users who have added items to the cart but have yet to complete the purchase or users who have not received notifications or opened their app in the last ‘x’ days, and so on.
All Users User Property User Behavior User Affinity Custom Segment
Allows you to send the campaign to all the users of the app. When you use this option, you cannot add multiple filters.
Allows you to target the users based on user property such as first seen, last seen, city, and so on.
Select the User Properties and do the following:
- Select desired user property and filter conditions.
- Provide the filter value/s to create a rule.
- Select the execution condition and the desired user activity (event)
- Provide event frequency and time duration for the event execution
- Add Event attribute with a filter condition
- Provide the filter value/s to create a rule.
- Select the desired user event or attribute.
- Select the user affinity parameter from
- Predominantly Select affinity attribute with a filter condition and provide the affinity values.
- Minimum of Select affinity attribute with a filter condition and provide the affinity values.
- Most number of times: Type or use the arrows to provide the top or bottom percentage of users
- Least number of times: Type or use the arrows to provide the top or bottom percentage of users
- Type or use the arrows to provide time duration for the event execution.
- Click the Attribute button to add more attributes to the filter.
-
In-session attributes - allow you to group website visitors based on specific conditions. You can add the following in-session attributes:
- Exclude Users - You can exclude users who use certain in-session attributes by clicking Exclude Users and specifying the in-session attributes in the Select attribute dropdown.
- In-session behavior -allows you to group and target website visitors based on their actions within the current session in progress. For example, if a user views a particular clothing brand or specific apparel such as jeans, you can personalize other webpages in the same session with this information by displaying recommendation banners for other items from the same brand or displaying similar products. This helps you deliver a personalized experience immediately within the same session without waiting for the user’s next visit.
- To personalize using the user’s in-session behavior, click +In-session Behavior and add the event condition - Has Executed/Has Not Executedand choose the event in the Select an event dropdown. Note: Only the last ten instances of the selected user action will be considered for targeting In-Session behavior.
- The Save for later use checkbox is checked by default. This saves the audience added and makes it available for other experiences.
-
Click Add at the bottom right corner of the screen to add the audience.

Control Group
Toggle the Global control group to exclude users in the global control group from the Experience. For more information, refer to Control Groups.After filling in this information, click on Next. You will see a popup that opens.URL(s) to Personalize
Specify the URL for personalization according to your need:Single Page
In this option, you can specify one URL to be personalized.Multiple Pages
In this option, you can specify multiple URLs to be personalized. This is particularly useful when you wish to personalize a set of pages for a specific set of users. For example, let’s consider the case where user lands on an e-commerce website after having clicked on an ad for jeans. Marketers may wish to customize the page that lists jeans and similar items such as shorts and trousers for such users. The multiple-page personalization option is useful in such cases. To add multiple pages, click on the *+*symbol and add the URLs for the pages to be personalized. You can specify the exact URLs to be included or excluded using the filter conditions - is and is not. You can also specify URLs that begin with, end with, and contain certain phrases to be included or excluded. For example, to include any URL that contains jeans, specify the filter condition as follows:
Custom Attributes
In this option, you can personalize multiple webpages based on the type of the webpage(s) and/or the information on the webpage(s). This is particularly useful when you wish to personalize a set of pages for a specific set of users. For example, determine that the webpage is the site homepage or a category page (say, furniture or electronics) without relying on the URL structure of the webpage. To add multiple attributes, click on the *+*symbol and select the attributes from the dropdown. You can specify the exact attributes to be included or excluded using the filter conditions - is and is not. You can also specify attributes that begin with, end with, and contain certain phrases to be included or excluded. For example, personalize all webpages where the attribute pageType is product. You can choose from a list of pre-defined attribute types or define a custom attribute of your own following the steps here.
-
- Check if the Web SDK is integrated.
-
Check if an experience has already been configured for the URL specified for personalization. A message is shown in the UI if an experience has already been added to the URL
Step 2: Content
In this step, you personalize the webpage using MoEngage’s WYSIWYG editor. Refer here for a deep-dive on the editor capabilities. Additionally, you can perform A/B testing using one of the below methods:- Manually allocating user traffic between variations
- Using MoEngage’s Merlin AI to auto-allocate traffic between variations
Manually allocating user traffic
You can always edit the user traffic allocation between variations either pre or post publishing a personalized experience.
Auto-allocate user traffic using Merlin AI
The user traffic allocation logic cannot be updated once the experience is published.
Other actions
- View- This option lets you view the personalized page for the selected variation.
- Copy link - This option lets you copy the link of the personalized URL for the selected variation. This option is not available for the default variation. You can use this to share the link of the personalized URL with your team for review or approval.
- Edit Page to Personalize - You can also edit the URL you are personalizing by clicking on the Page to Personalize link with the pen icon at the top right corner of the screen.
Step 3: Schedule and goals
In this step, set the scheduling criteria for your experience. You can set the start and end dates and times for your experience.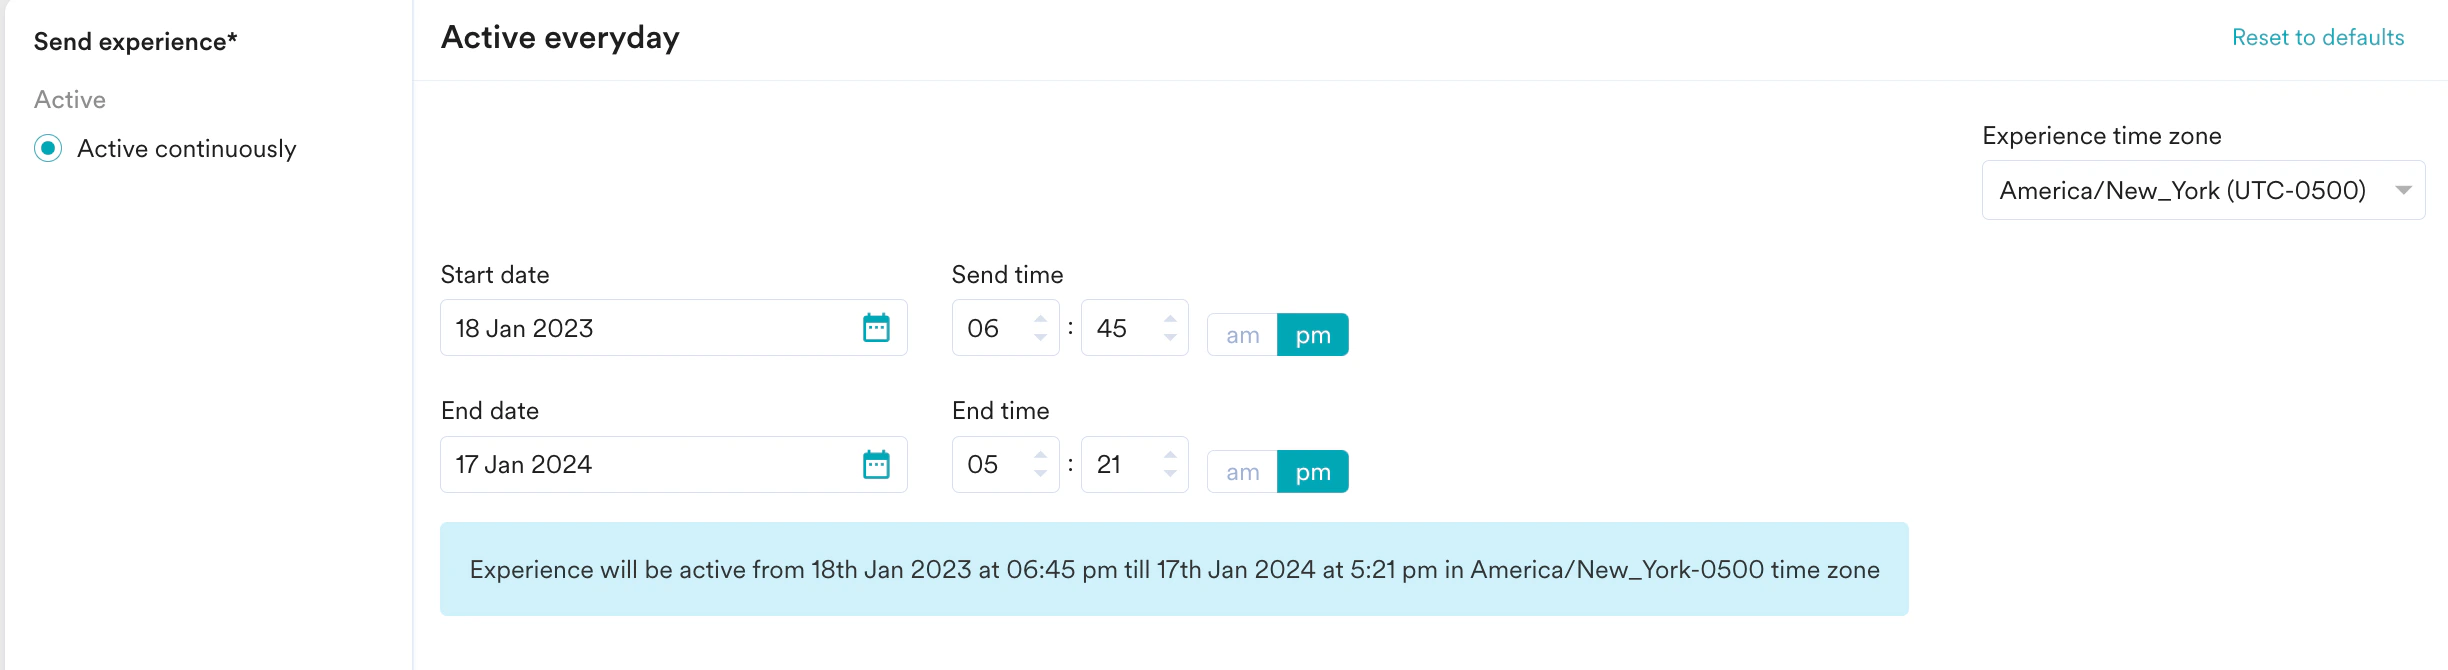
- How many users have viewed the product page?
- How many of them added that product to the cart?
- How many of them made a successful order?