MoEngage × Stripe
The MoEngage and Stripe integration uses real-time payment and subscription data to build unified user profiles and drive personalized engagement. By forwarding payment lifecycle events from Stripe to MoEngage, you can improve segmentation and maintain data consistency across your marketing stack.Use Cases
Integrating Stripe with MoEngage helps you address the following use cases:- Recover lost sales: Automatically trigger personalized notifications (push, email, or SMS) when a payment fails or a checkout session expires, guiding users back to complete their purchase.
- Subscription lifecycle journeys: Trigger onboarding flows on
customer.subscription.created, re-engagement campaigns when a subscription is paused, and win-back sequences oncustomer.subscription.deleted. - Smarter segmentation: Use real-time subscription status and plan data to build dynamic segments for relevant post-purchase offers.
Key Features
The Stripe integration delivers the following capabilities within MoEngage:- Real-time data sync: Instantly sync checkout, invoice, and subscription events from Stripe to MoEngage to trigger timely, data-driven campaigns.
- Customer profile enrichment: Automatically update user profiles with contact information (email, name, and phone) and Stripe customer IDs to keep your data current and identity-resolved across events.
Integration
PrerequisitesEnsure you have admin access to your Stripe Dashboard.
Step 1: Generate Authentication Credentials
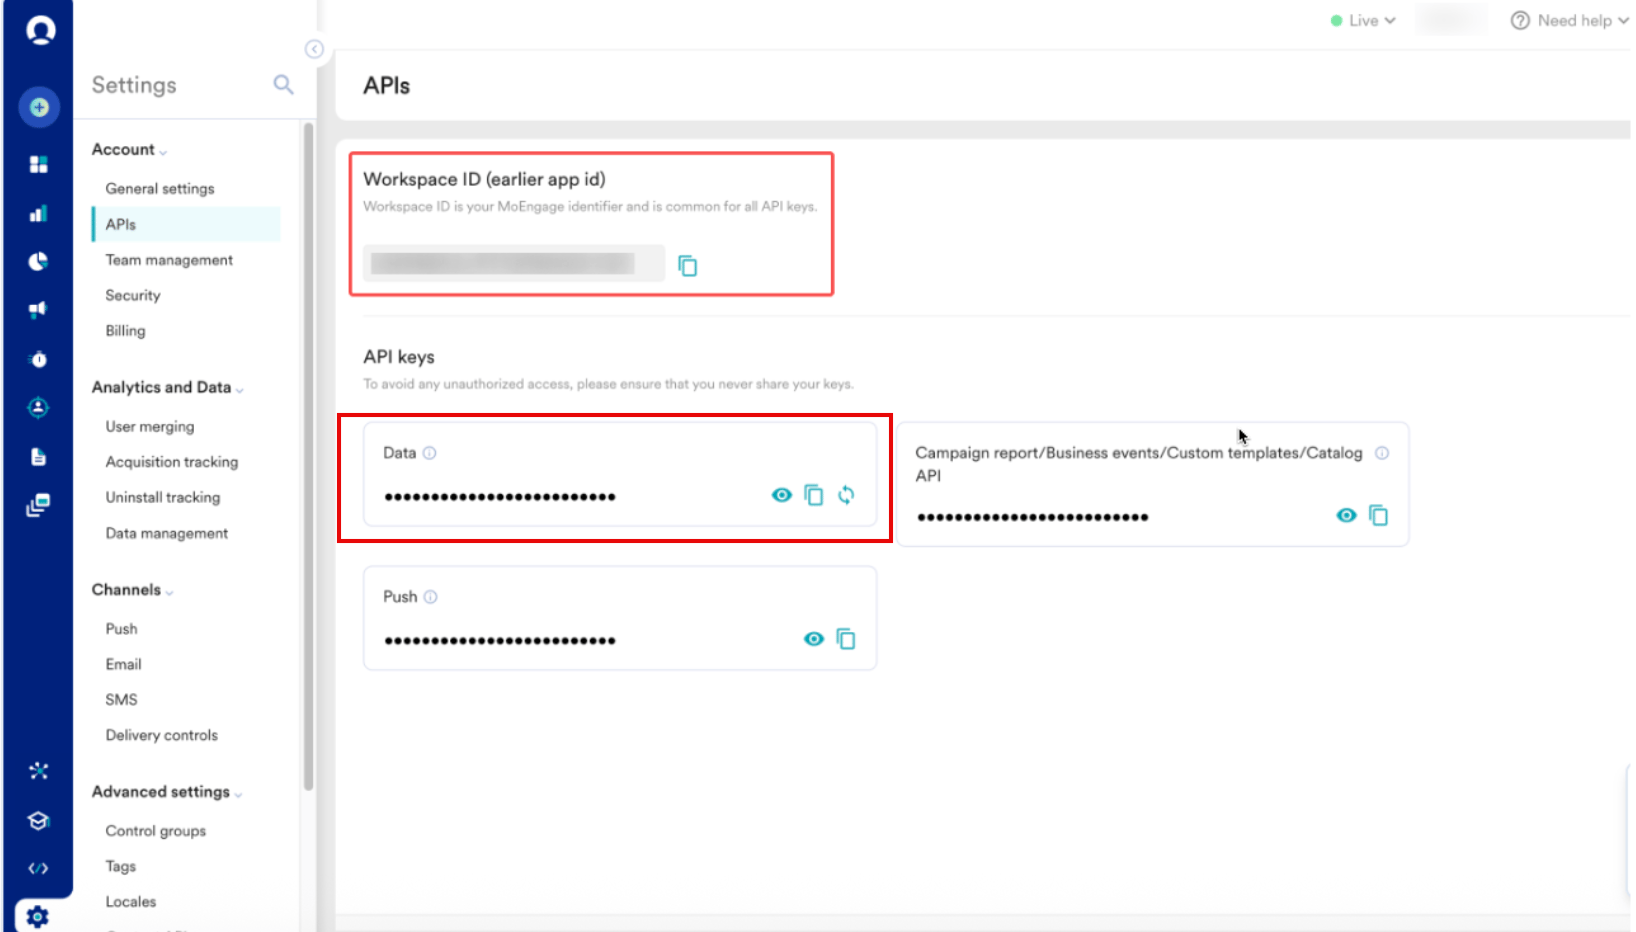
To generate the authentication credentials that Stripe uses to send data to MoEngage, perform the following steps:- On the MoEngage UI, navigate to Settings > Account > APIs.
- Copy the ID under Workspace ID (earlier App ID).
- In the API keys section, copy the API key on the Data tile.
- Build your webhook URL by inserting your Workspace ID and Data API Key into the MoEngage endpoint, and replace
0Xwith your data center number (for example,api-01for DC-01). Use the following format:
Before you contact MoEngage Support for your unique ingestion endpoint, decide which customer identifier (email or Stripe Customer ID) you will use as the primary identity. Make sure it aligns with your current MoEngage identity configuration to avoid creating duplicate profiles during the data sync.
Step 2: Configure Webhooks in Stripe
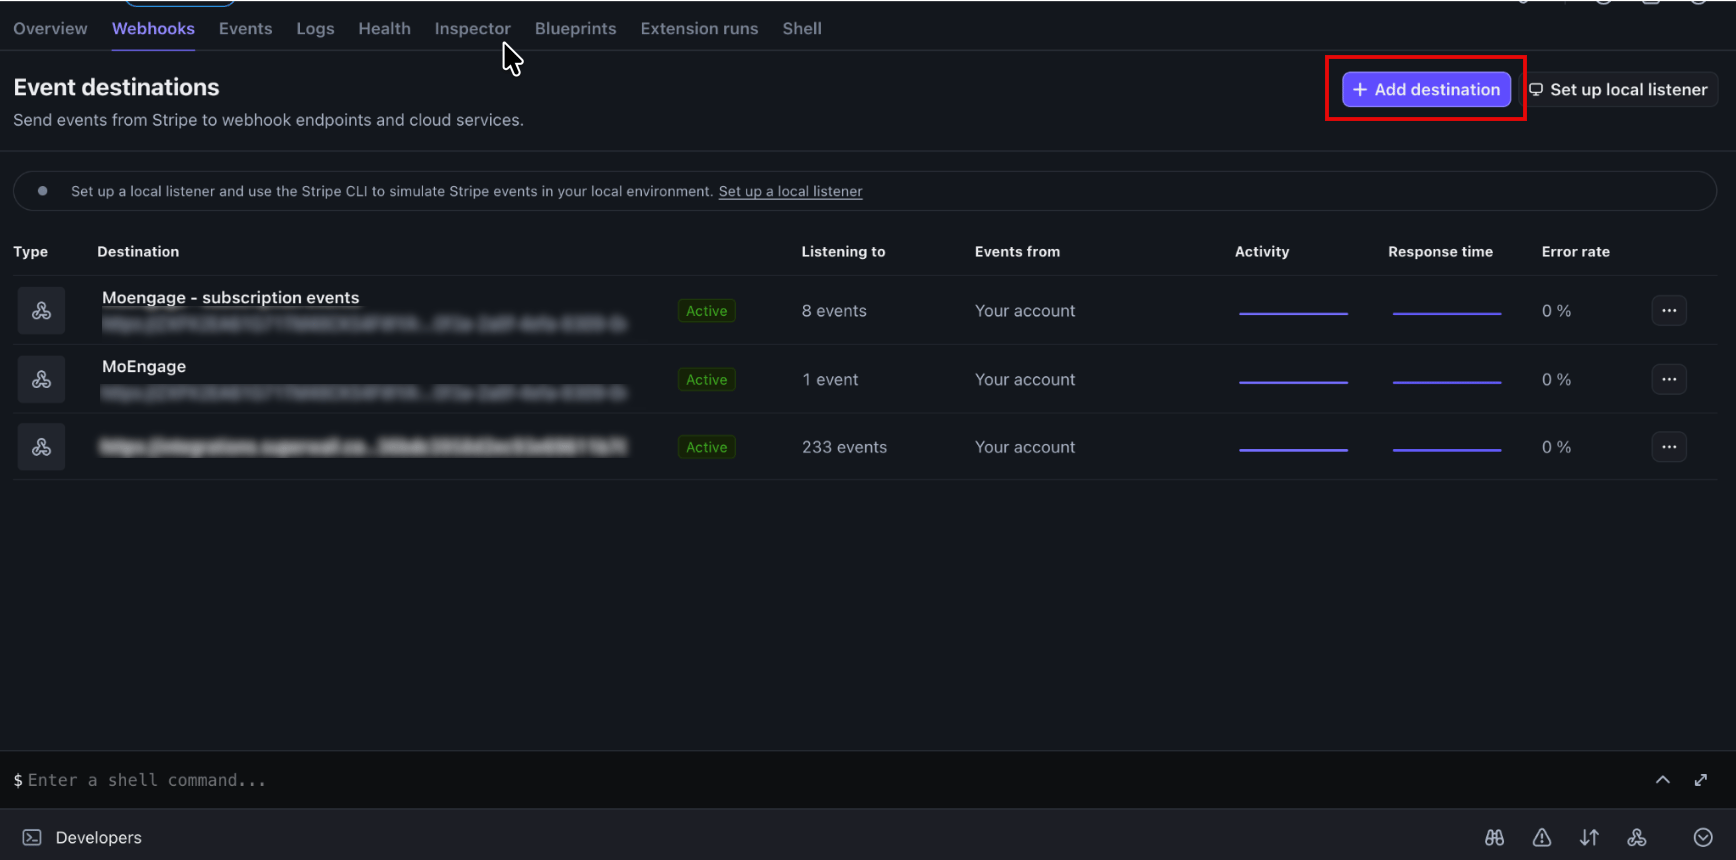
After you have your endpoint URL and credentials, configure the webhook in your Stripe Dashboard. To configure the webhook, perform the following steps:- Log in to your Stripe Dashboard and navigate to Developers > Webhooks.
-
On the Event destinations page, click Add destination.
-
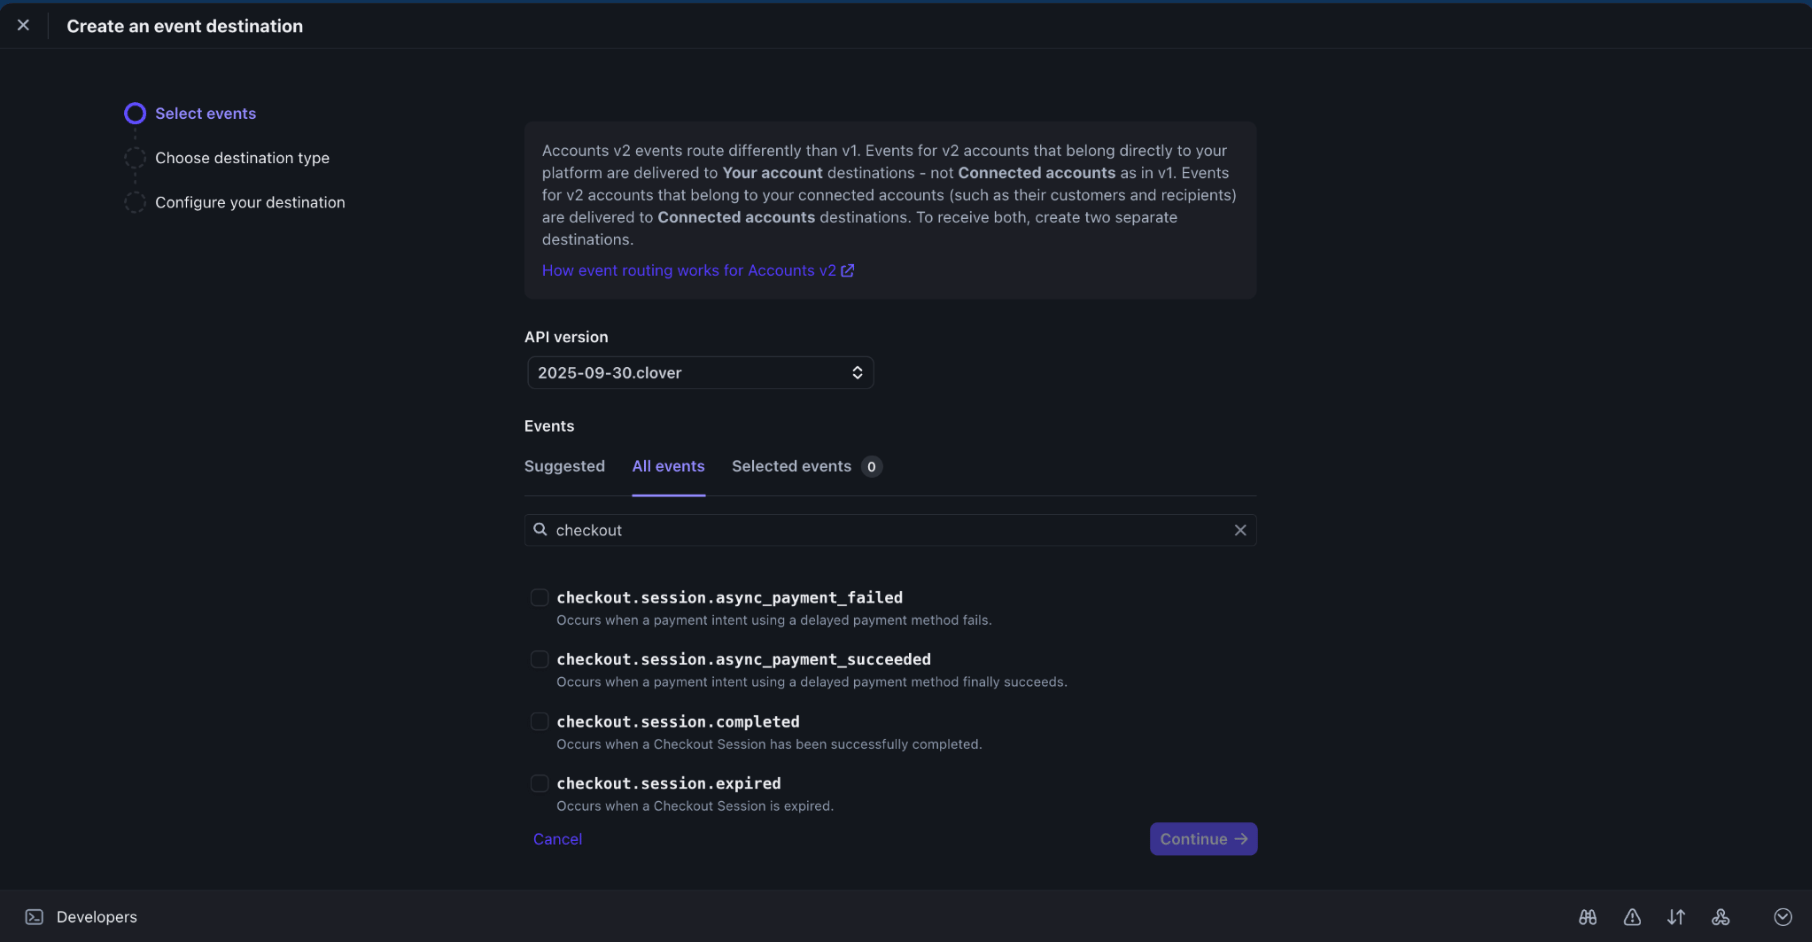
On the Select events step, keep the default API version, and then under Events, add the following events:
- Click Continue.
-
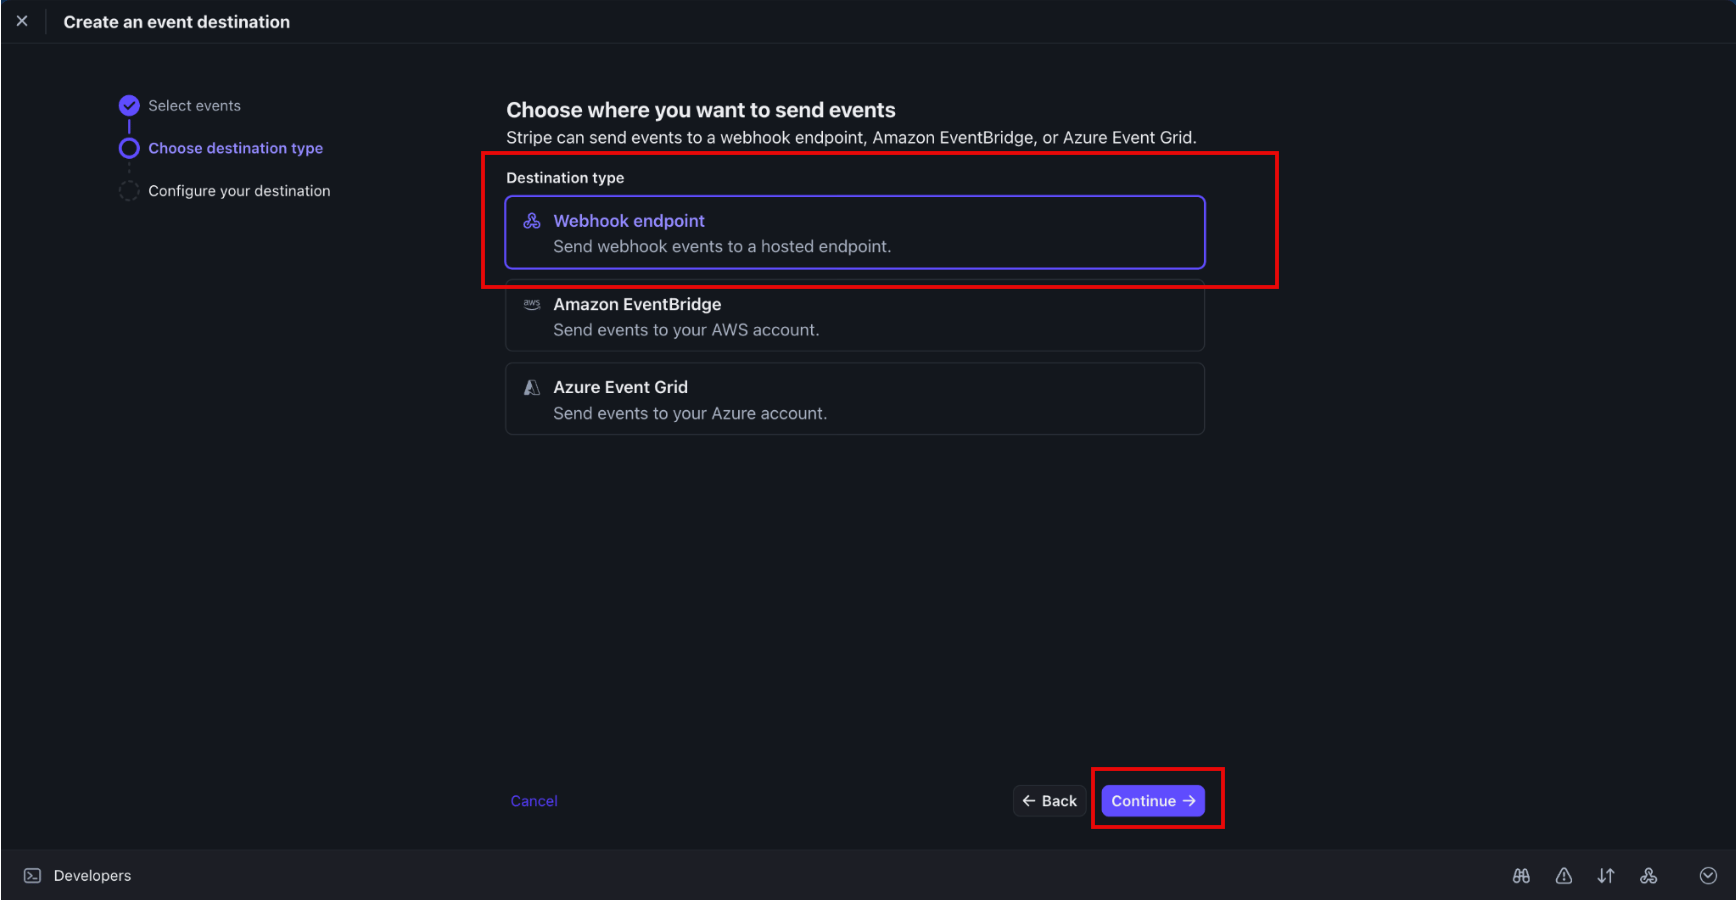
On the Choose destination type step, select Webhook endpoint, and then click Continue.
-
On the Configure your destination step, in the Endpoint URL box, paste the MoEngage endpoint URL you built in the Generate Authentication Credentials section, and then enter a descriptive name in the Destination name box.
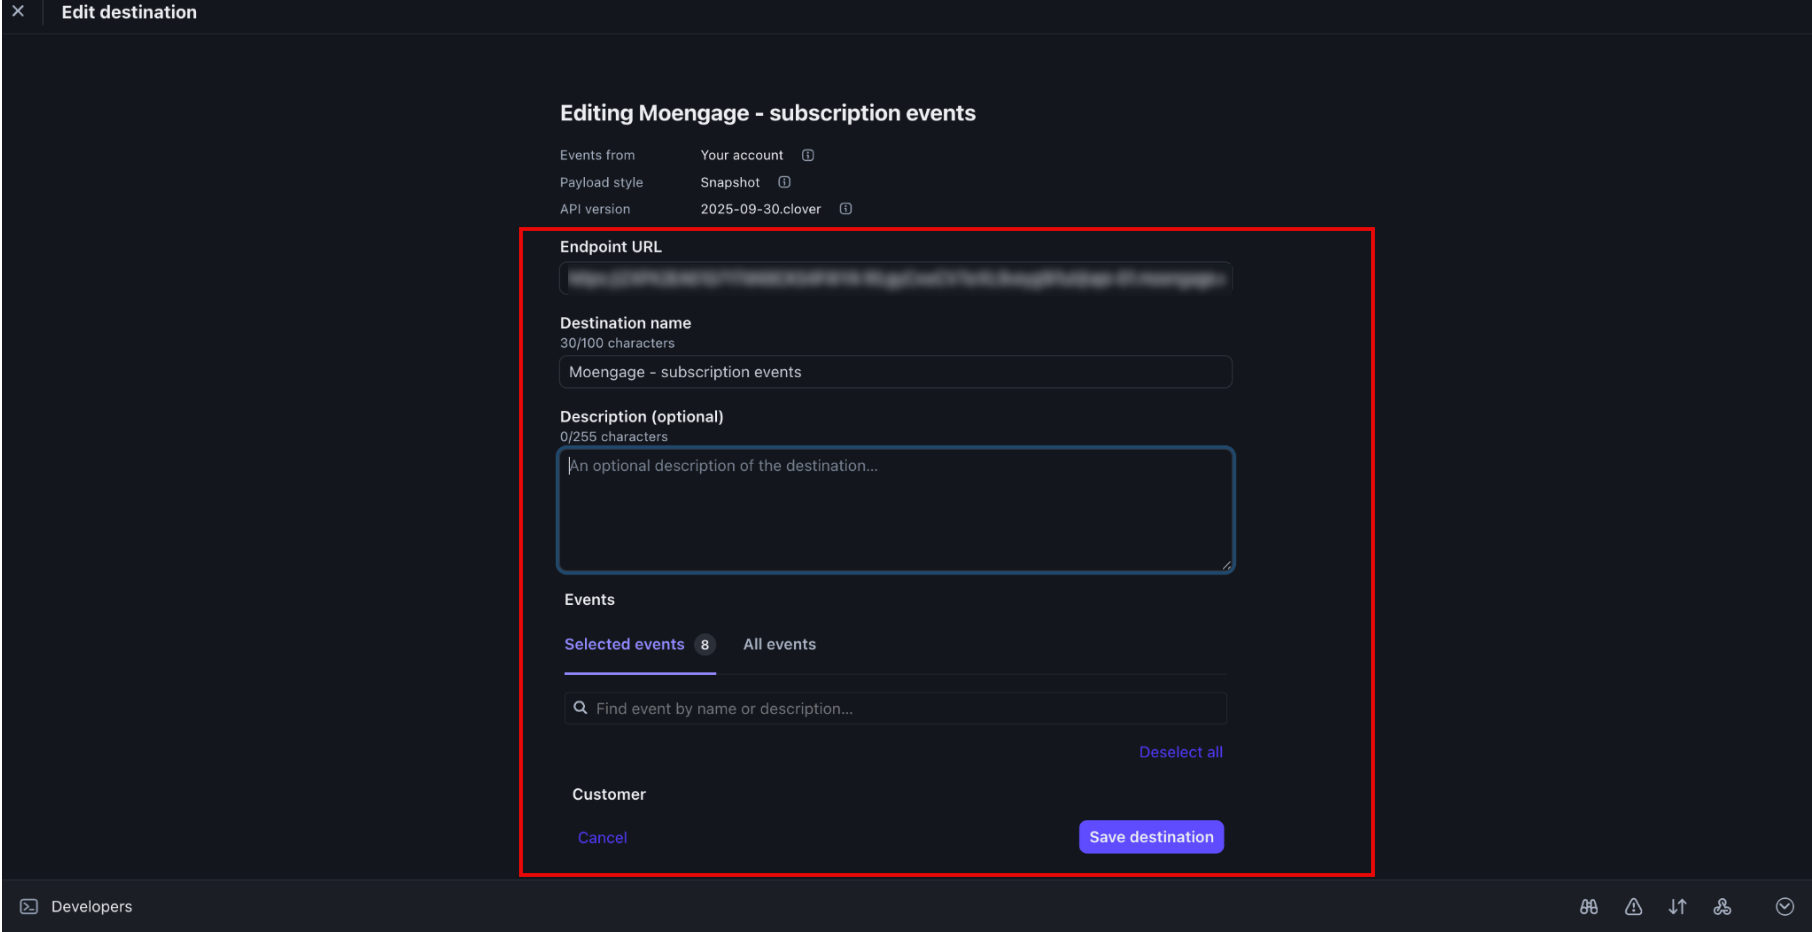
- Click Save destination.
MoEngage profiles are created or updated during checkout and invoice events, which use email as the identity. Subscription events use the Stripe Customer ID for profile updates. Ensure that multi-ID resolution is active in your workspace to successfully ingest subscription data.
Step 3: Verify Events in MoEngage
To verify that events appear in MoEngage in real time, perform the following steps:- On the left navigation menu of the MoEngage UI, go to Segment > Search Users.
- In the Search Users box, search for your test user by Customer ID (email for checkout and invoice events; Stripe Customer ID for subscription events).
- Open the user profile and check the event history for the Stripe event names, along with attributes such as payment amount, currency, and subscription status.
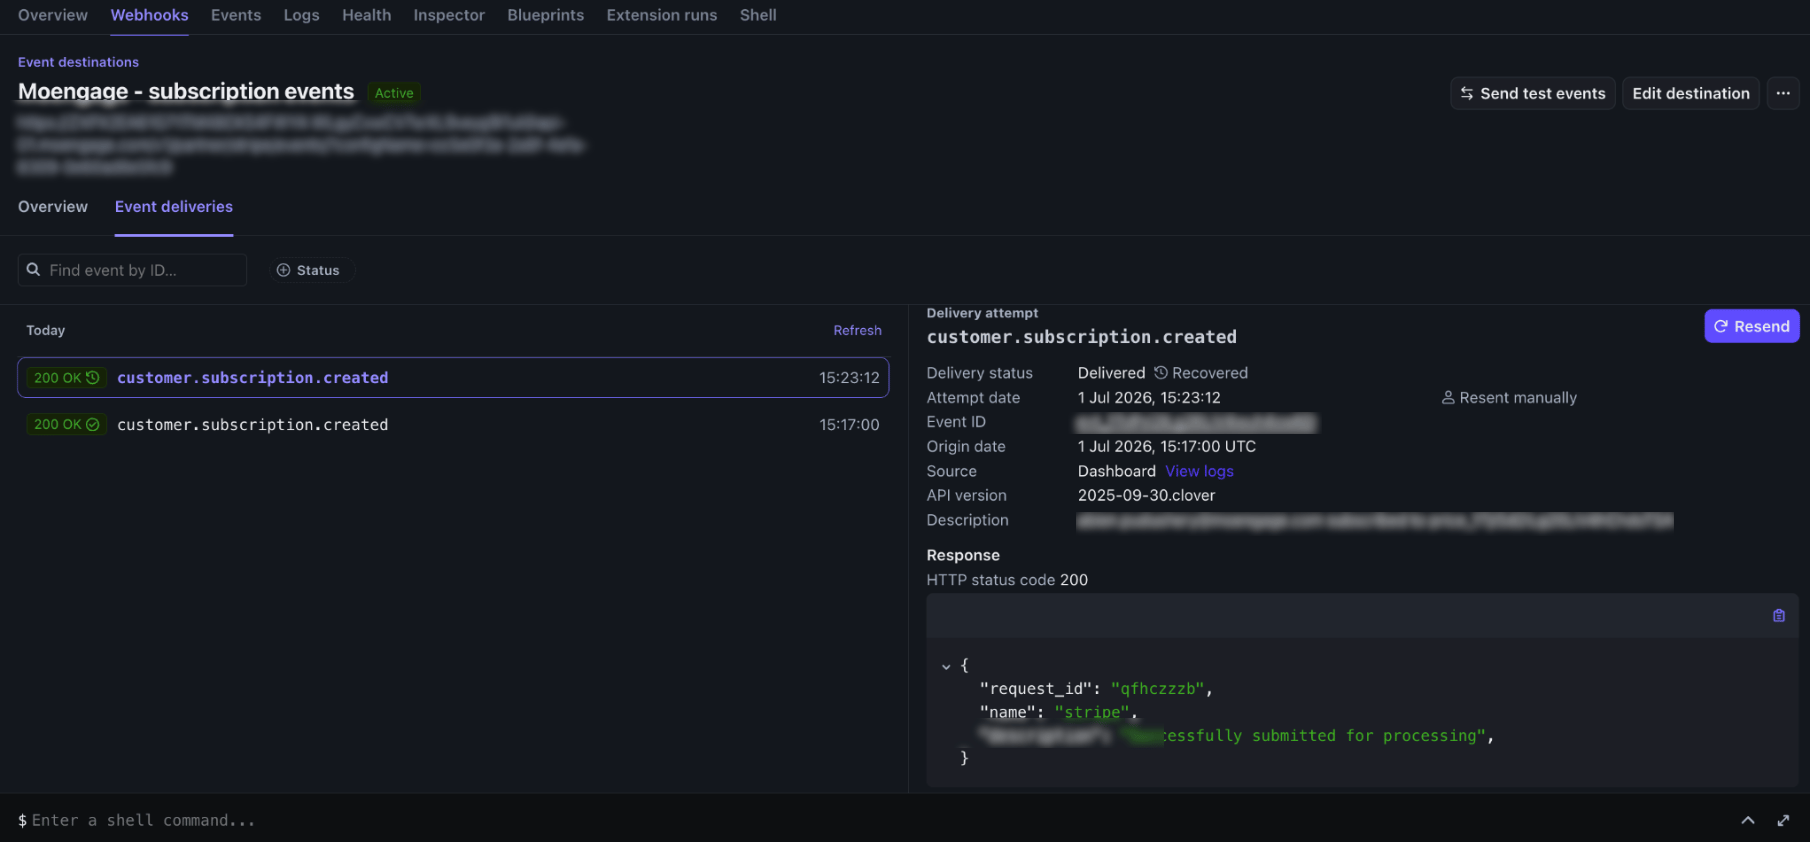
200 OK status and a response body that includes the request_id, "name": "stripe", and "description": "Successfully submitted for processing".