

Sender Configuration
To configure a sender from 8x8 on the MoEngage Dashboard, perform the following steps:- Go to Settings -> Channels -> WhatsApp -> Sender configuration.
- Click + Add connector. The WhatsApp connector pop-up window is displayed.
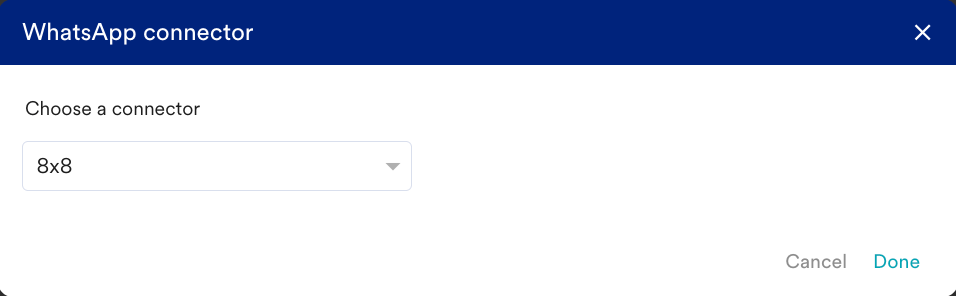
- From the Choose a connector drop-down list, select 8x8 and click Done.
- Add the following details:
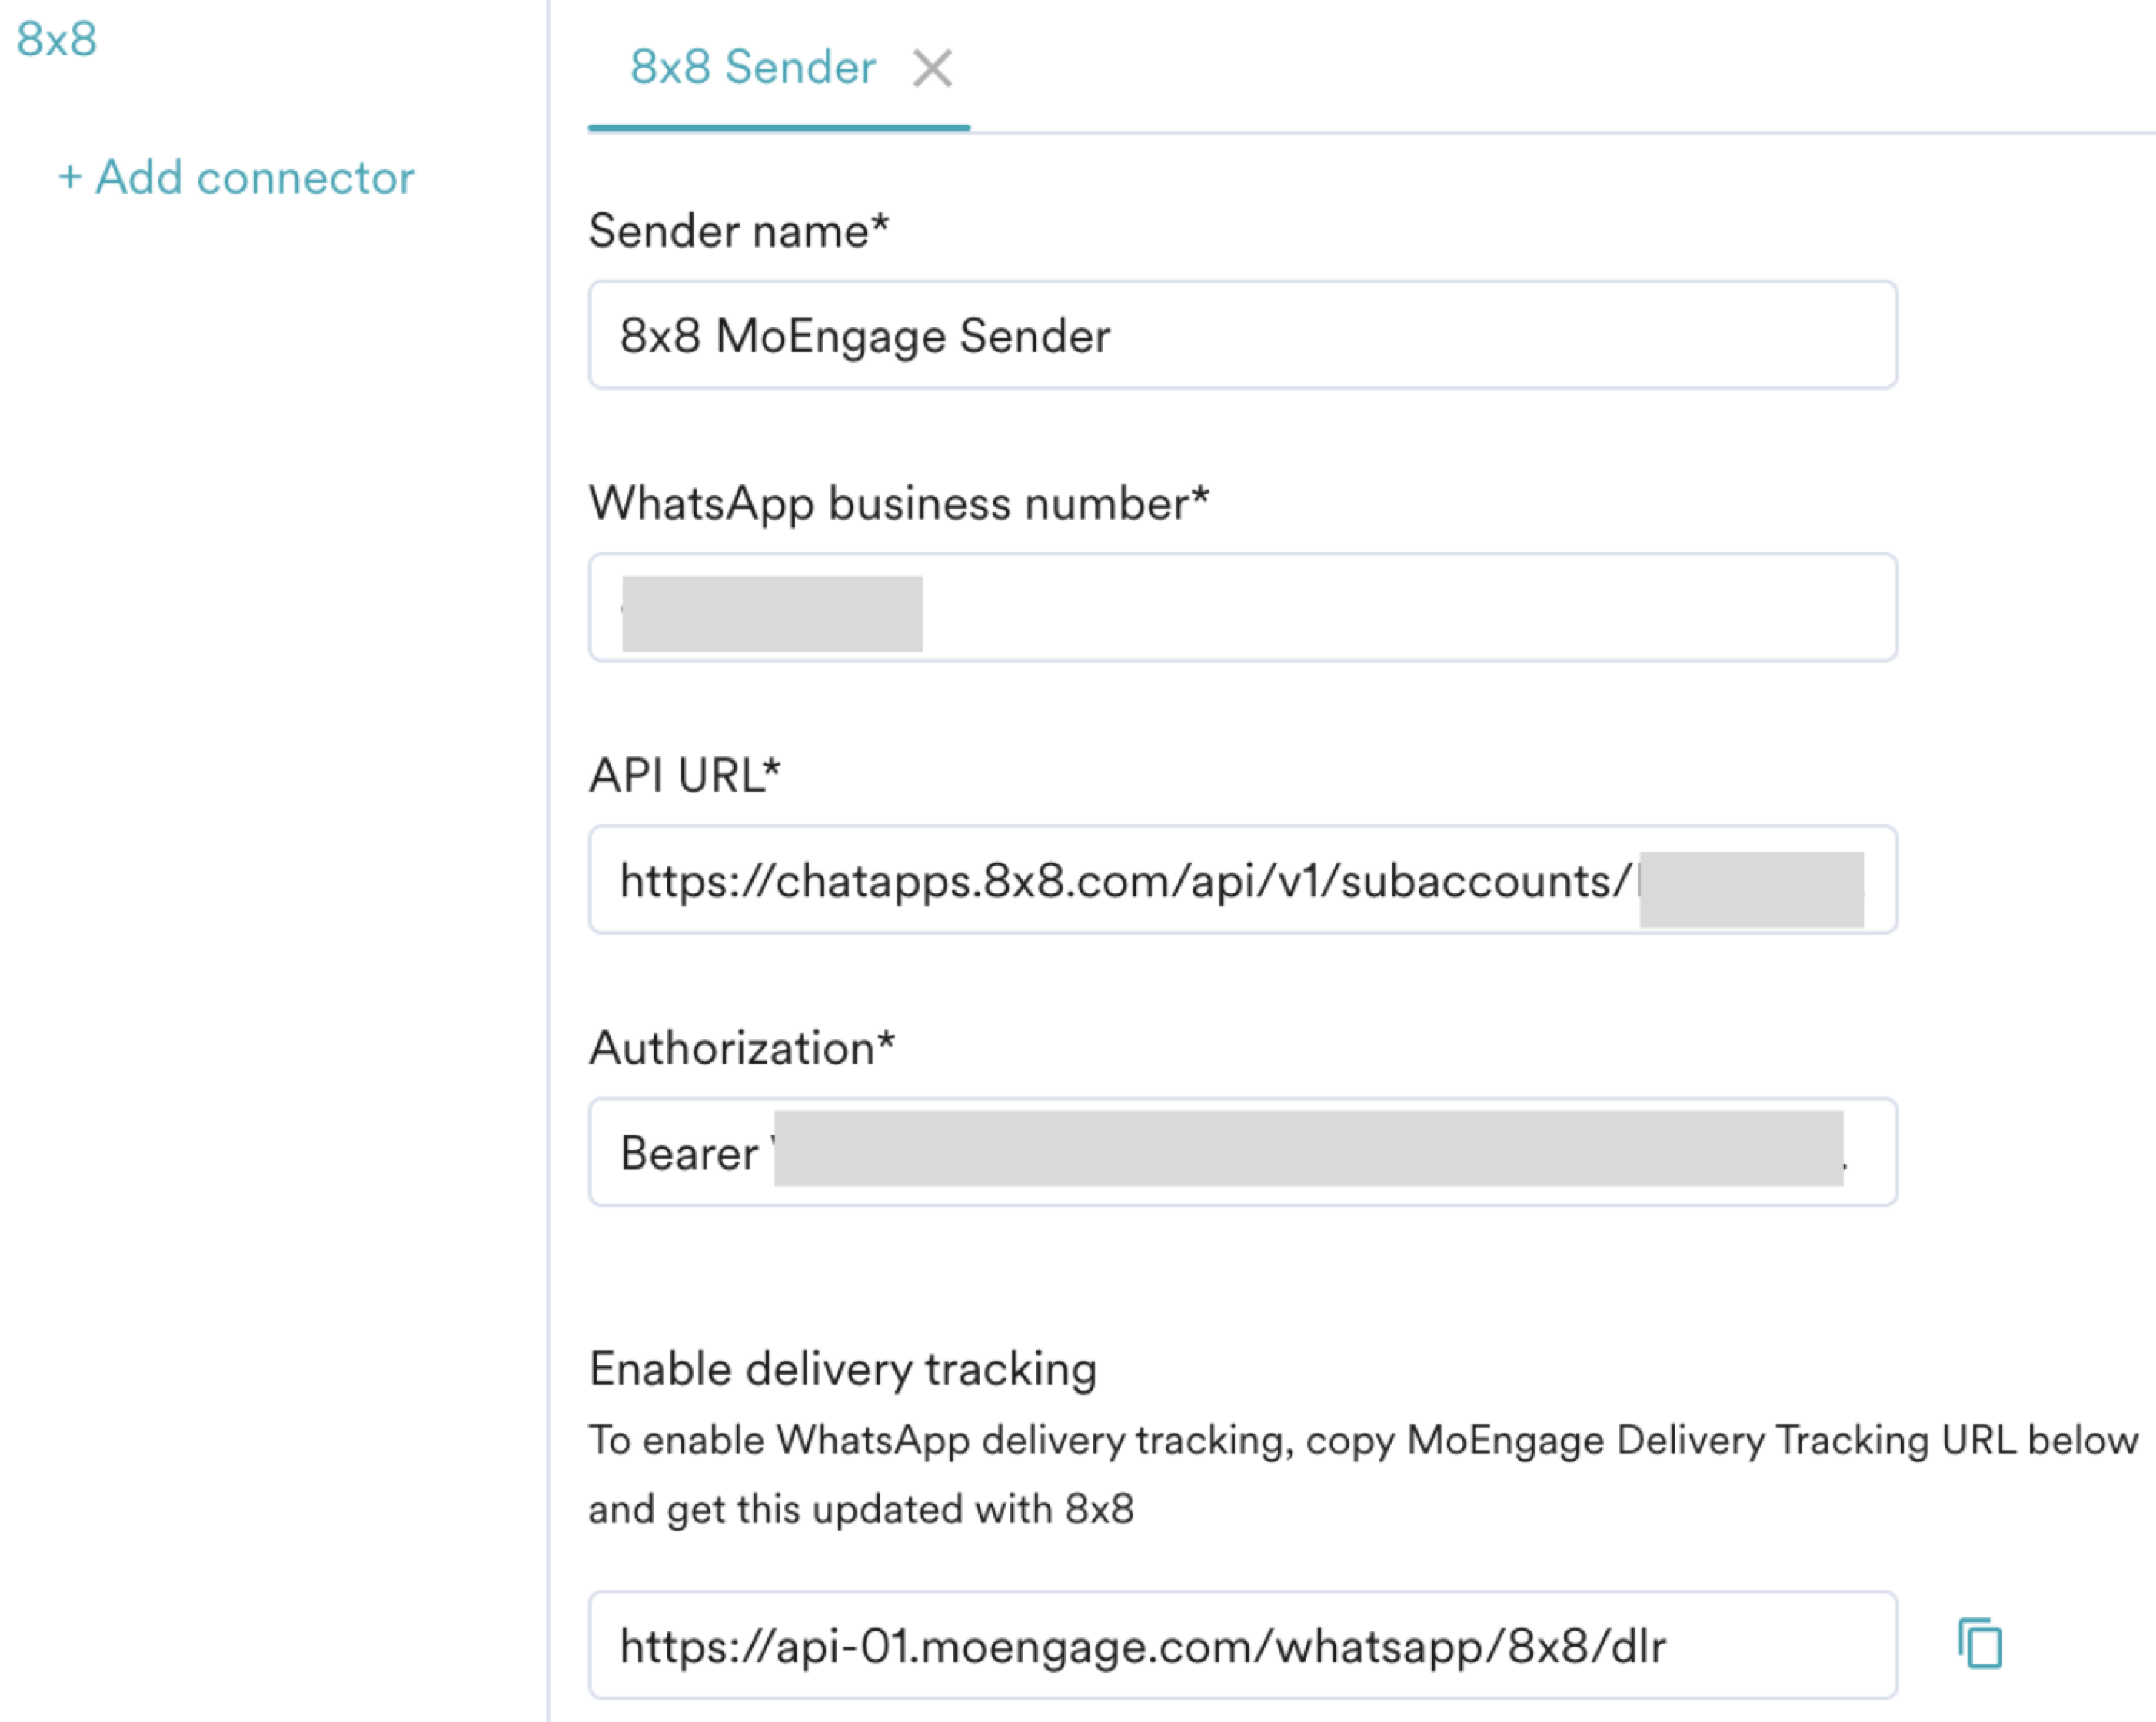
- Click Save.
Upon successful integration, you will get the following message.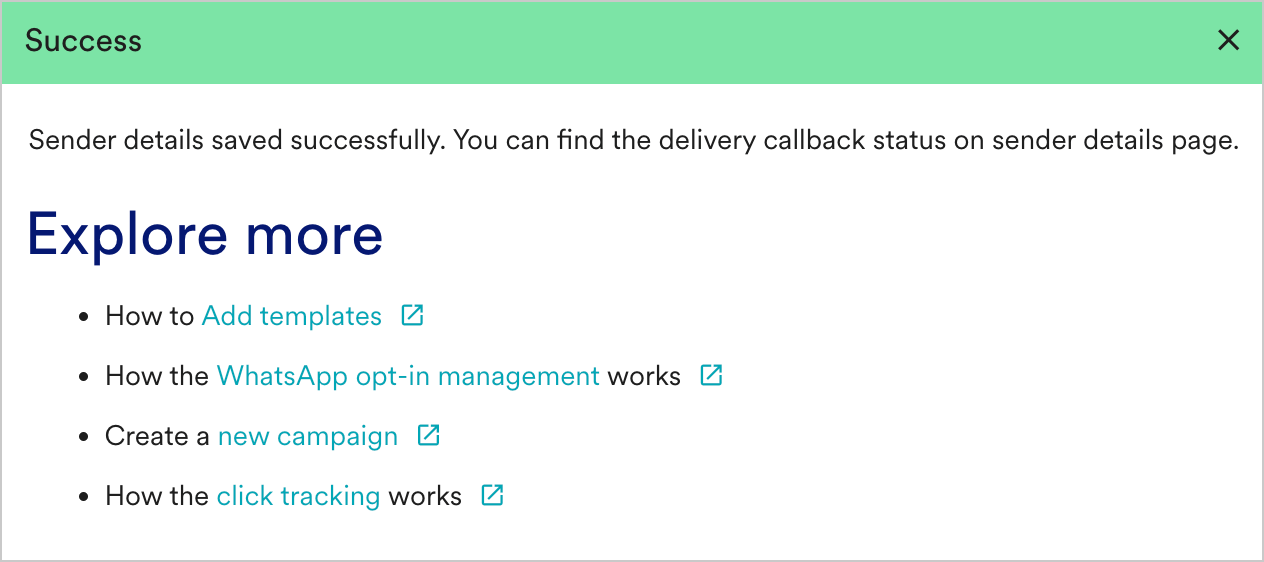
Delivery Tracking
To track the delivery of your WhatsApp Messages inside MoEngage, you would need to copy MoEngage Delivery Tracking URL and share it with our support team for us to configure it for you. You should be able to see the URL as shown below: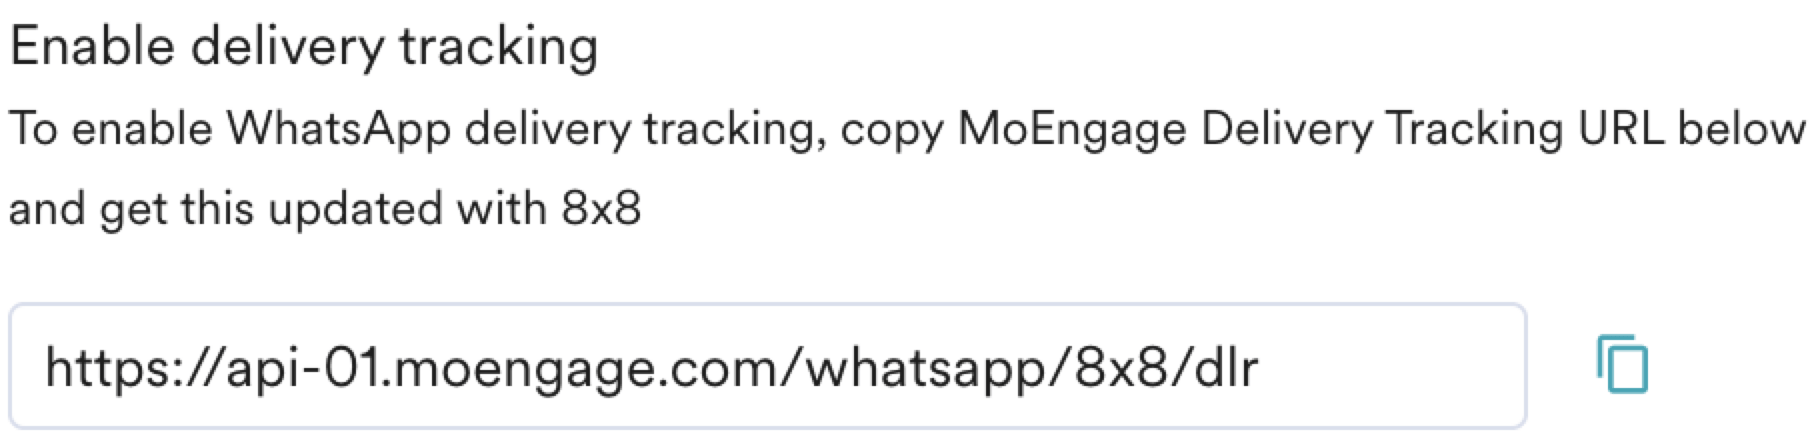
- You should have pre-approved templates with 8x8 to create a WhatsApp campaign for an 8x8 sender in MoEngage.
- You can create the same template verbatim in MoEngage. For more information, refer to Add Templates.