OSM Templates: Configuration and Customization
This guide explains how to configure MoEngage’s pre-defined On-site Messaging templates and how to customize their HTML code.Template Overview
MoEngage On-site Messaging campaigns offer various pre-defined templates. The following table describes each template and its common uses.Images
Upload high-quality images under 2 MB for On-site Messaging campaigns. Larger image files can cause delays in message display, especially for users on slower internet connections.Image Aspect Ratios
The following table lists recommended aspect ratios for images in each On-site Messaging template. You can adjust image dimensions and styles in the code editor.Supported Image Types
On-site Messaging templates support .png, .jpeg, and .gif image formats.Template Responsiveness
If you use large images with uncommon aspect ratios, create separate campaigns for desktop and mobile web. This ensures proper display across all devices.Configure Background Color
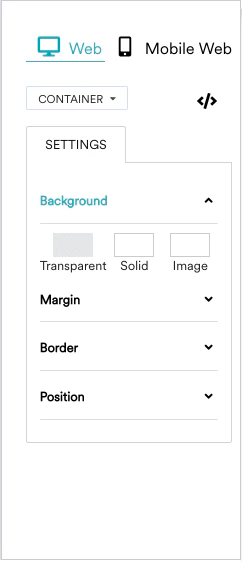
You can add a background color to your on-site messages. You can also remove it for a transparent message. Define a background color by navigating to Container > Background, and then select one of the following options:- Solid: To add a background color to your template.
- Transparent: To make the message background transparent.
- Image: To add an image to your template background. This is not generally recommended.
Customize Templates in Code View
You can edit the HTML code of any existing MoEngage template using the code view. Click the Code View button, as shown in the following image.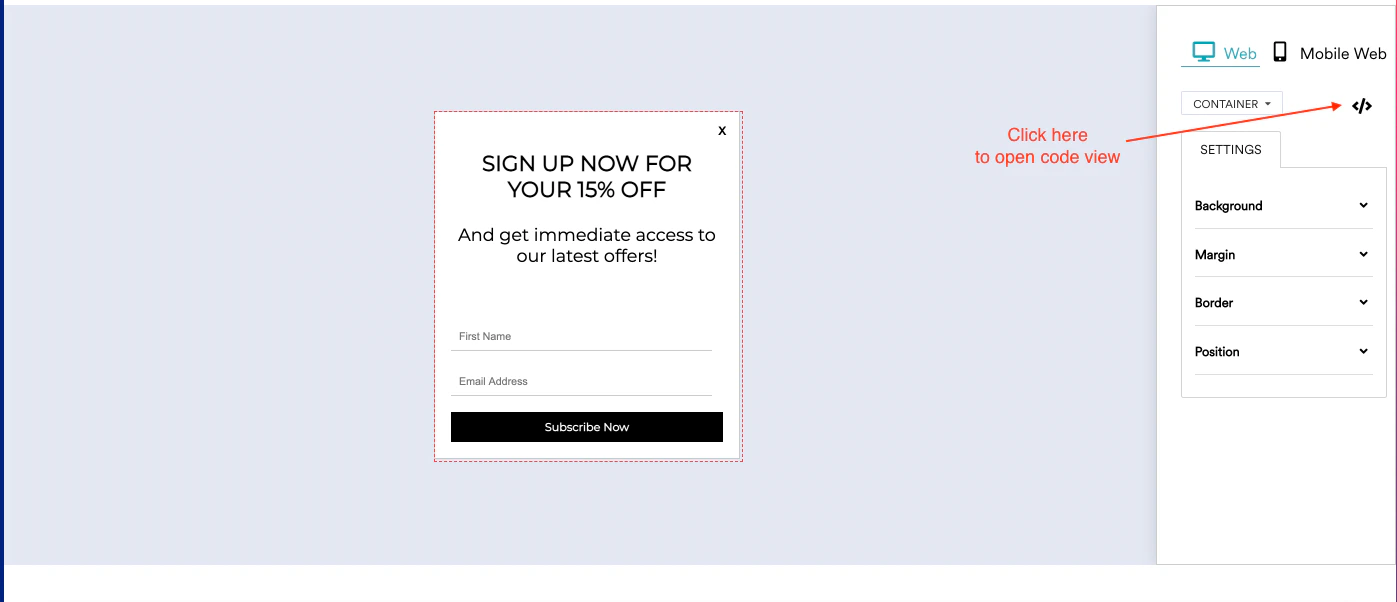
- For close button: Add the moe-inapp-close CSS class to your template. The MoEngage SDK closes the template only when this class is present. Do not use custom JavaScript functions to close templates, as this can cause inconsistent behavior.
- For tracking clicks: Add the moe-inapp-click CSS class to your template. This class is essential for MoEngage to track clicks and attribute them to your campaign.
- To close the template and redirect users after a call to action (CTA) click or link, add both the moe-inapp-close and moe-inapp-click classes to the HTML template.
Lead Gen Template
The Lead Gen template enables you to capture information from your website visitors, such as email addresses, mobile numbers, or other preferences. This data is saved directly to your MoEngage user profiles for re-engagement.Popular Use Cases
Use the Lead Gen template for the following common scenarios:- Capture email addresses from website visitors for future email campaigns.
- Collect mobile numbers to send SMS messages later.
- Record user names for personalized communication.
- Gather user interests, such as preferred brands or products.
Create a Lead Gen Campaign
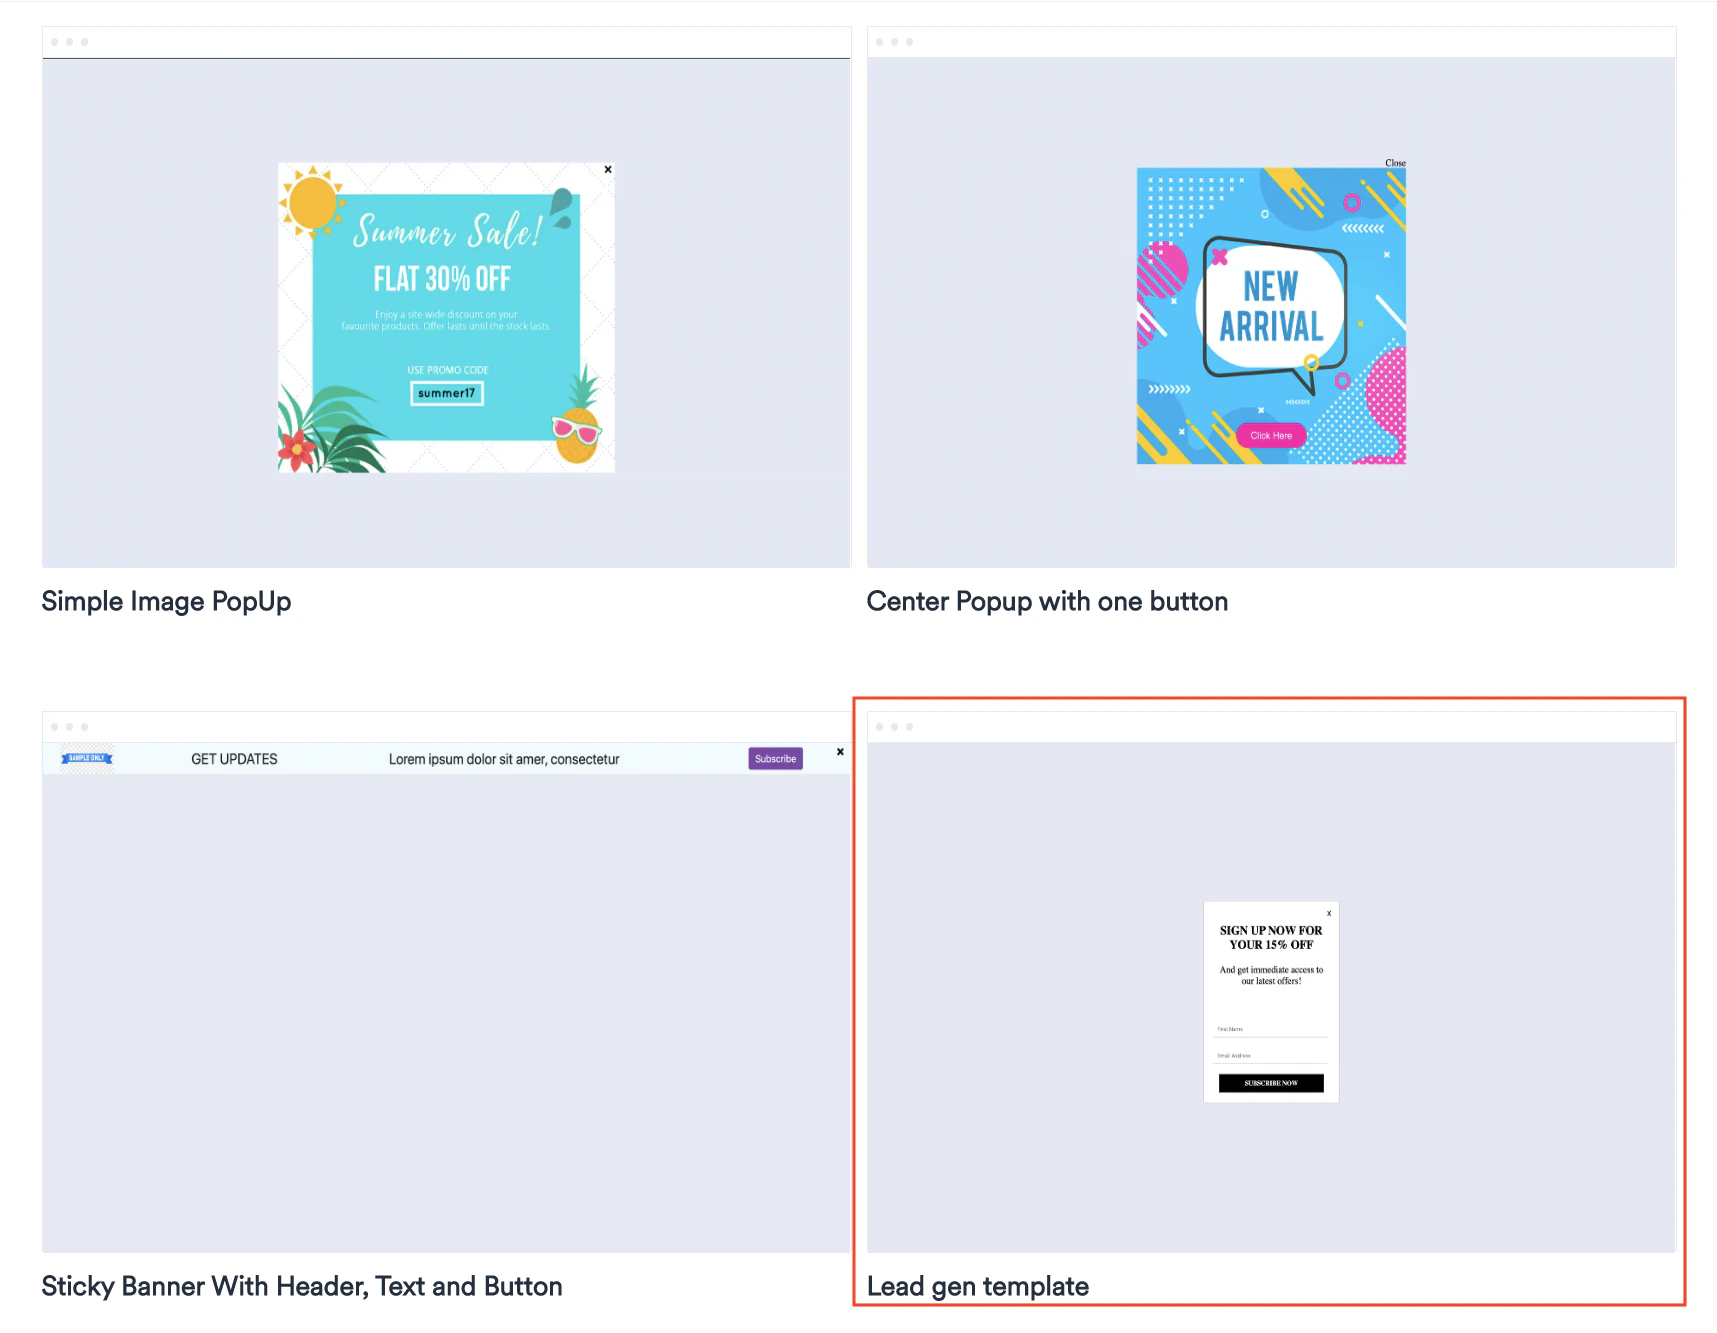
To create a Lead Gen campaign in MoEngage:- On the template selection page, select the Lead Gen template.
- Configure your On-site Messaging campaign. For details, see Create On-site Messaging Campaigns.
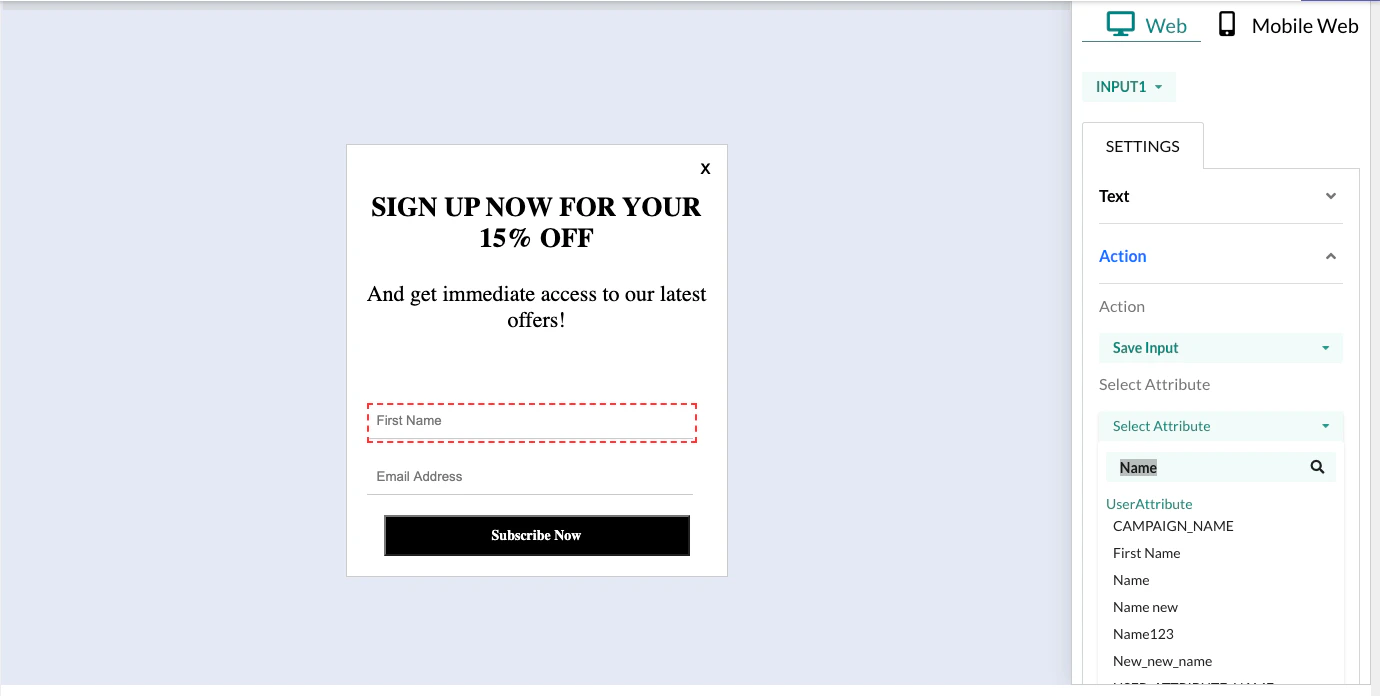
- To capture user input, map the input field from the Lead Gen template to a user attribute. In the second step of campaign creation, click the input widget on the template, and then configure the user attribute where this input will be saved.
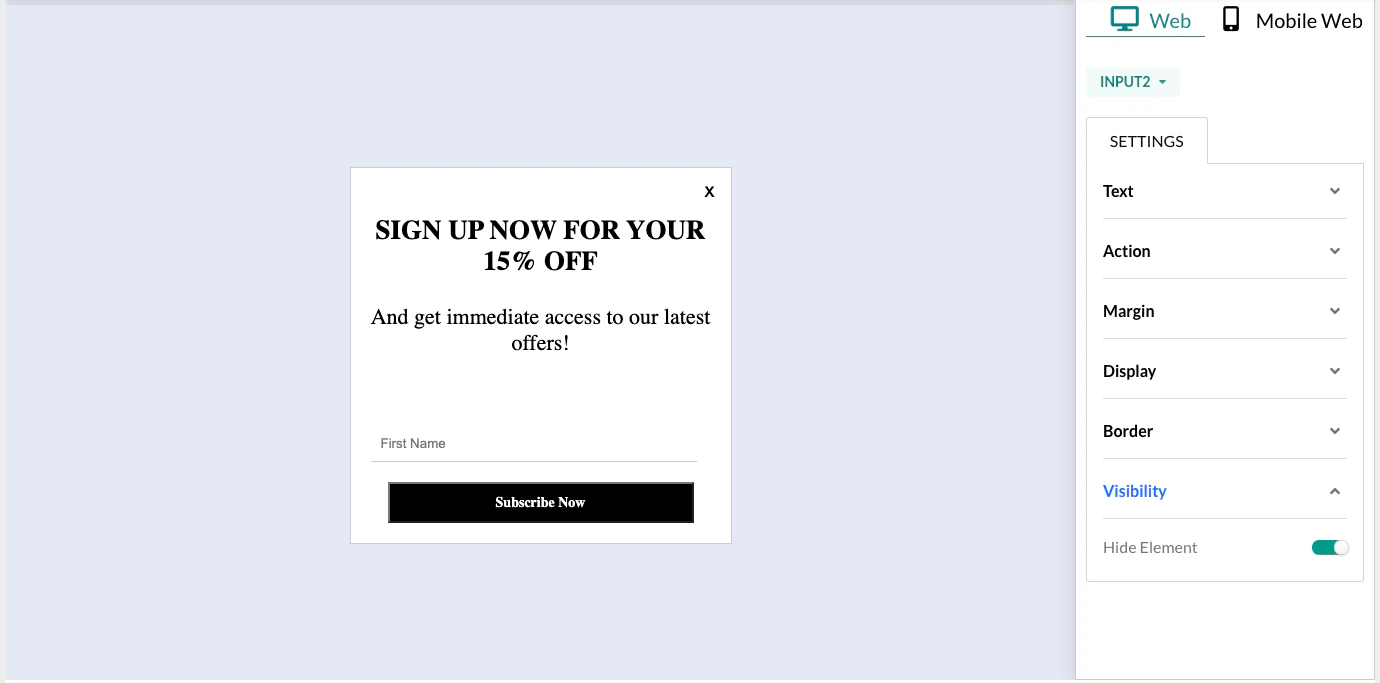
- To hide an input field, select the input widget and choose to hide it.
View Captured Data
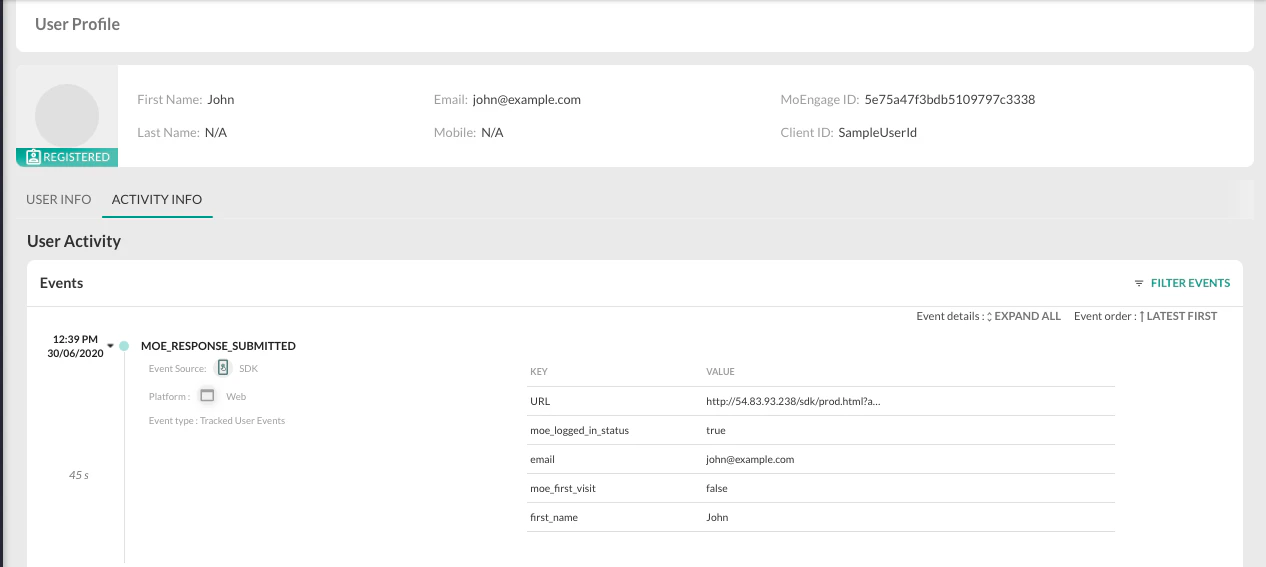
After users submit the Lead Gen template, MoEngage automatically tracks and saves the data. This data is visible in the user profile.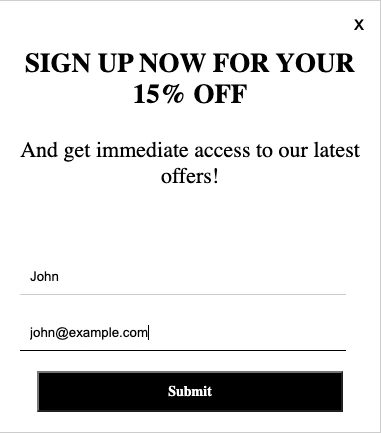
Example: Add a Phone Number Field
To add an input field for the phone number after the Email Address field, use the following code: JavaScriptrequired to the input tag.
Example: Display an Error Message
To display an error message if a mandatory field is left blank, use the following JavaScript: JavaScriptExample: Add Custom Validation
The Lead Gen template validates email addresses by default. To add custom validation to existing or new fields, modify the<input> tag for that field and add the following attribute:
JavaScript
isFormDataValid() method. For example, the following code validates an Indian mobile number:
JavaScript
isMobileNumberValid() method within isFormDataValid() to validate mobile numbers.
SMS Sign-Up Template
The SMS Sign-Up template in MoEngage On-site Messaging allows you to collect consent from users for SMS notifications. For more information about North America compliance, see SMS for North America Region. MoEngage offers two SMS Sign-Up templates:- Fullscreen: SMS Sign-up with image
- Popup: SMS Sign-up without image
Prerequisites
Before you begin, be aware of SMS compliance for the North American region. For details, see SMS Regulations in the US.Create an SMS Sign-Up Campaign
- During On-site Messaging campaign creation, select an SMS Sign-Up template.
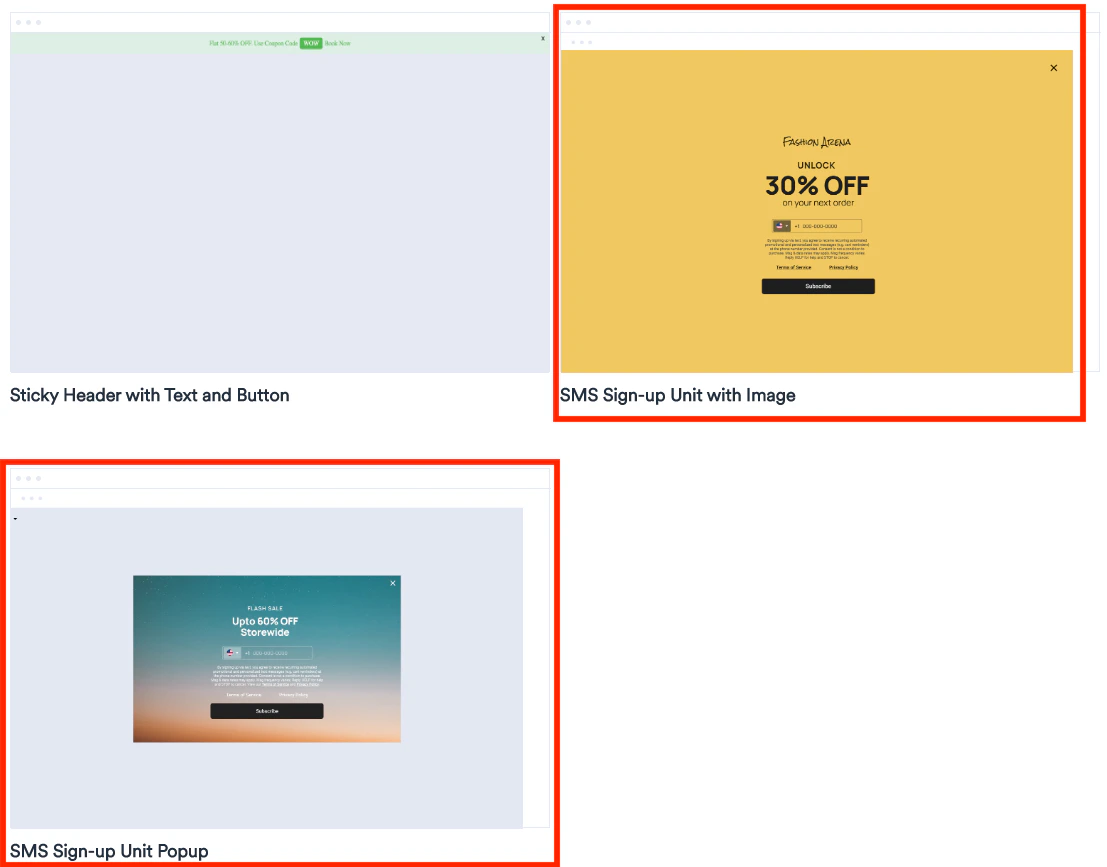
- Configure your On-site Messaging campaign. For details, see Create On-site Messaging Campaigns.
Configure SMS Sign-Up Templates
- Configure the template for web and mobile platforms as needed.
- Set up the button, image, and text content.
- Configure the legal text. MoEngage provides the following default text: By signing up for text messages, you agree to receive recurring automated promotional and personalized text messages (cart reminders) at the phone number provided. Consent is not a condition to purchase. Msg & data rates may apply. Msg frequency varies. Reply HELP for help and STOP to cancel.
- Set up your Terms of Service as required.
- Set up your Privacy Policy as required.
For Web
When you use templates for desktop or web:- Provide a valid mobile number.
- Click the button to confirm your subscription for notifications.
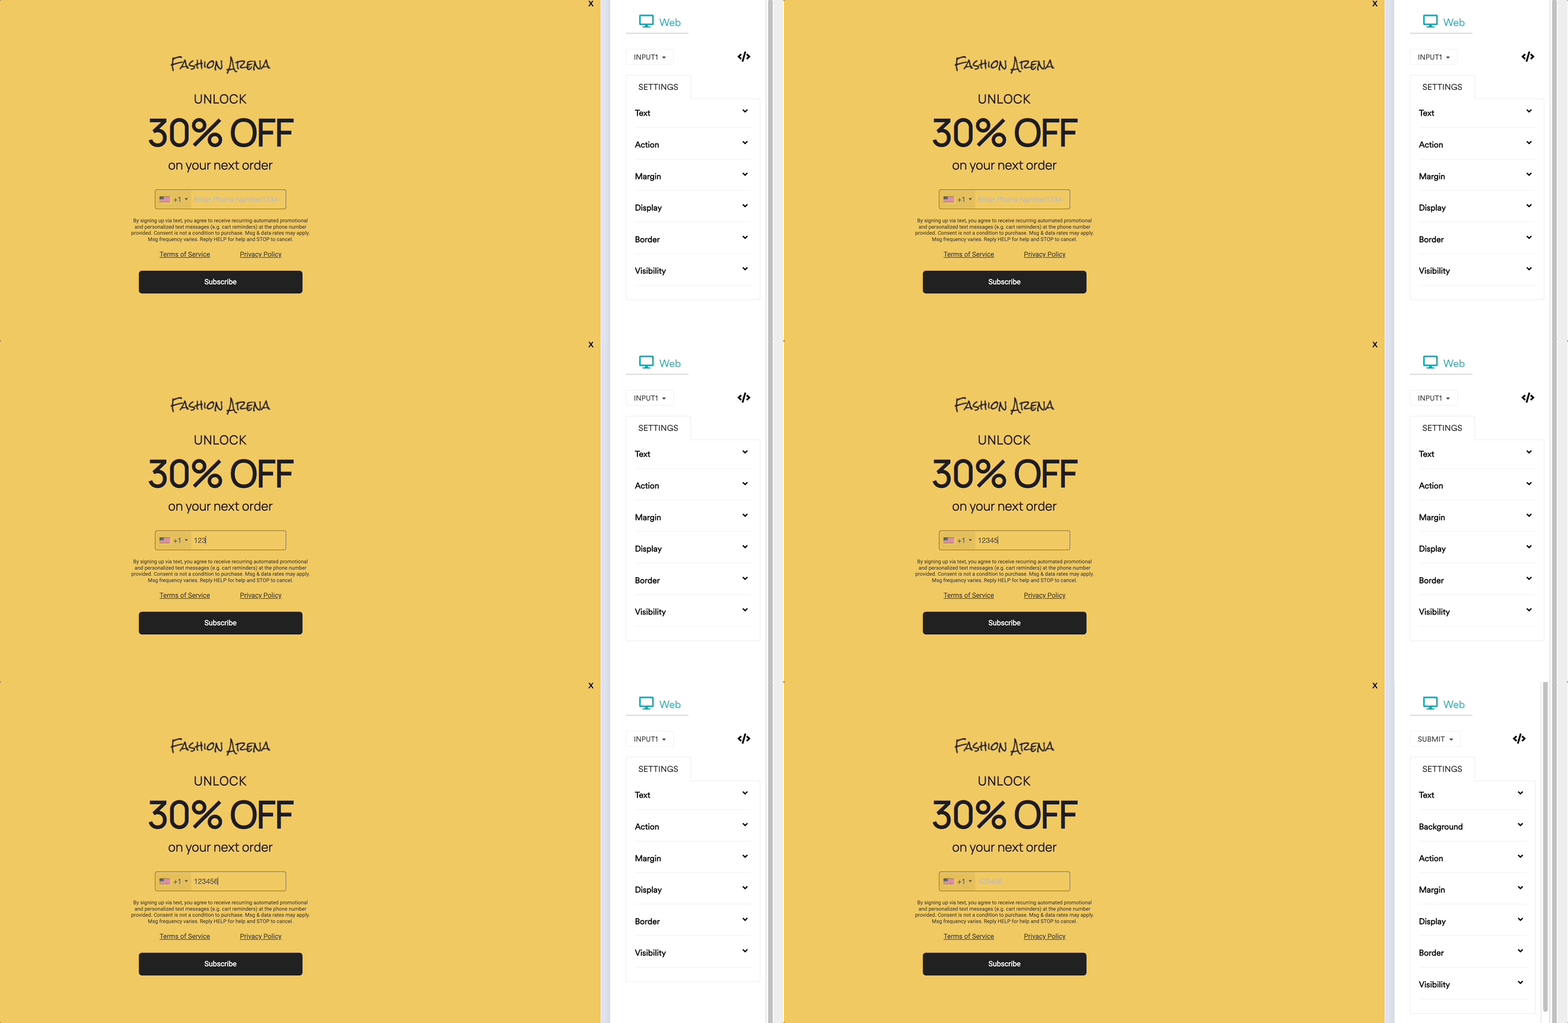
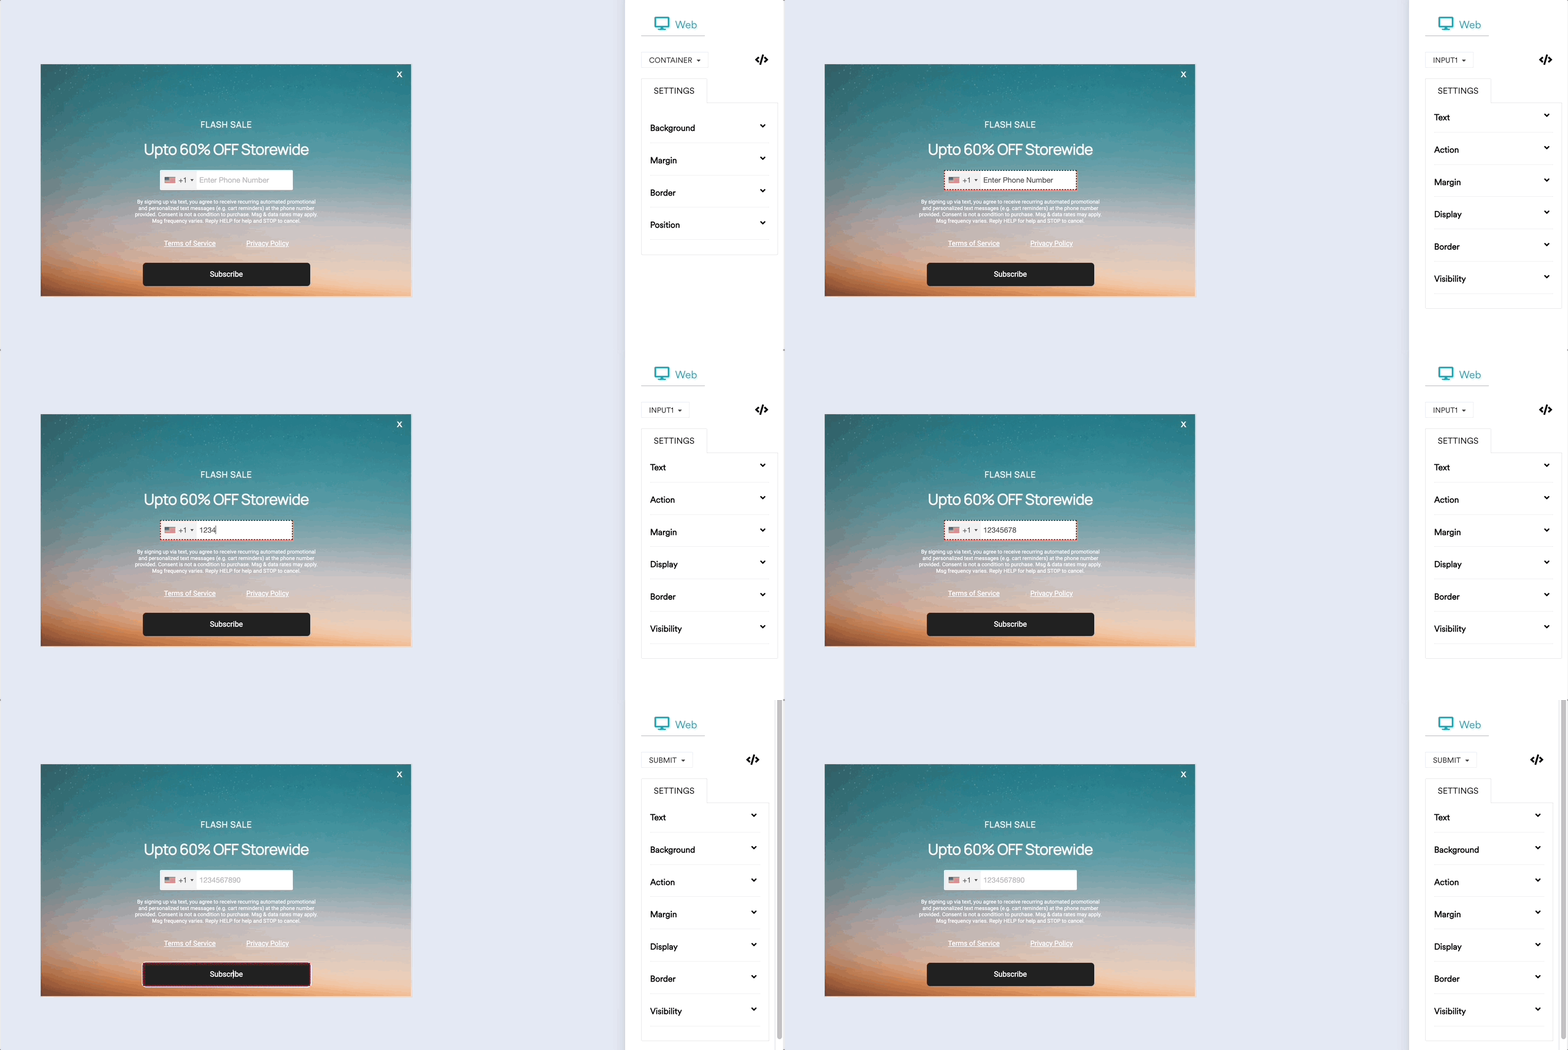
For Mobile
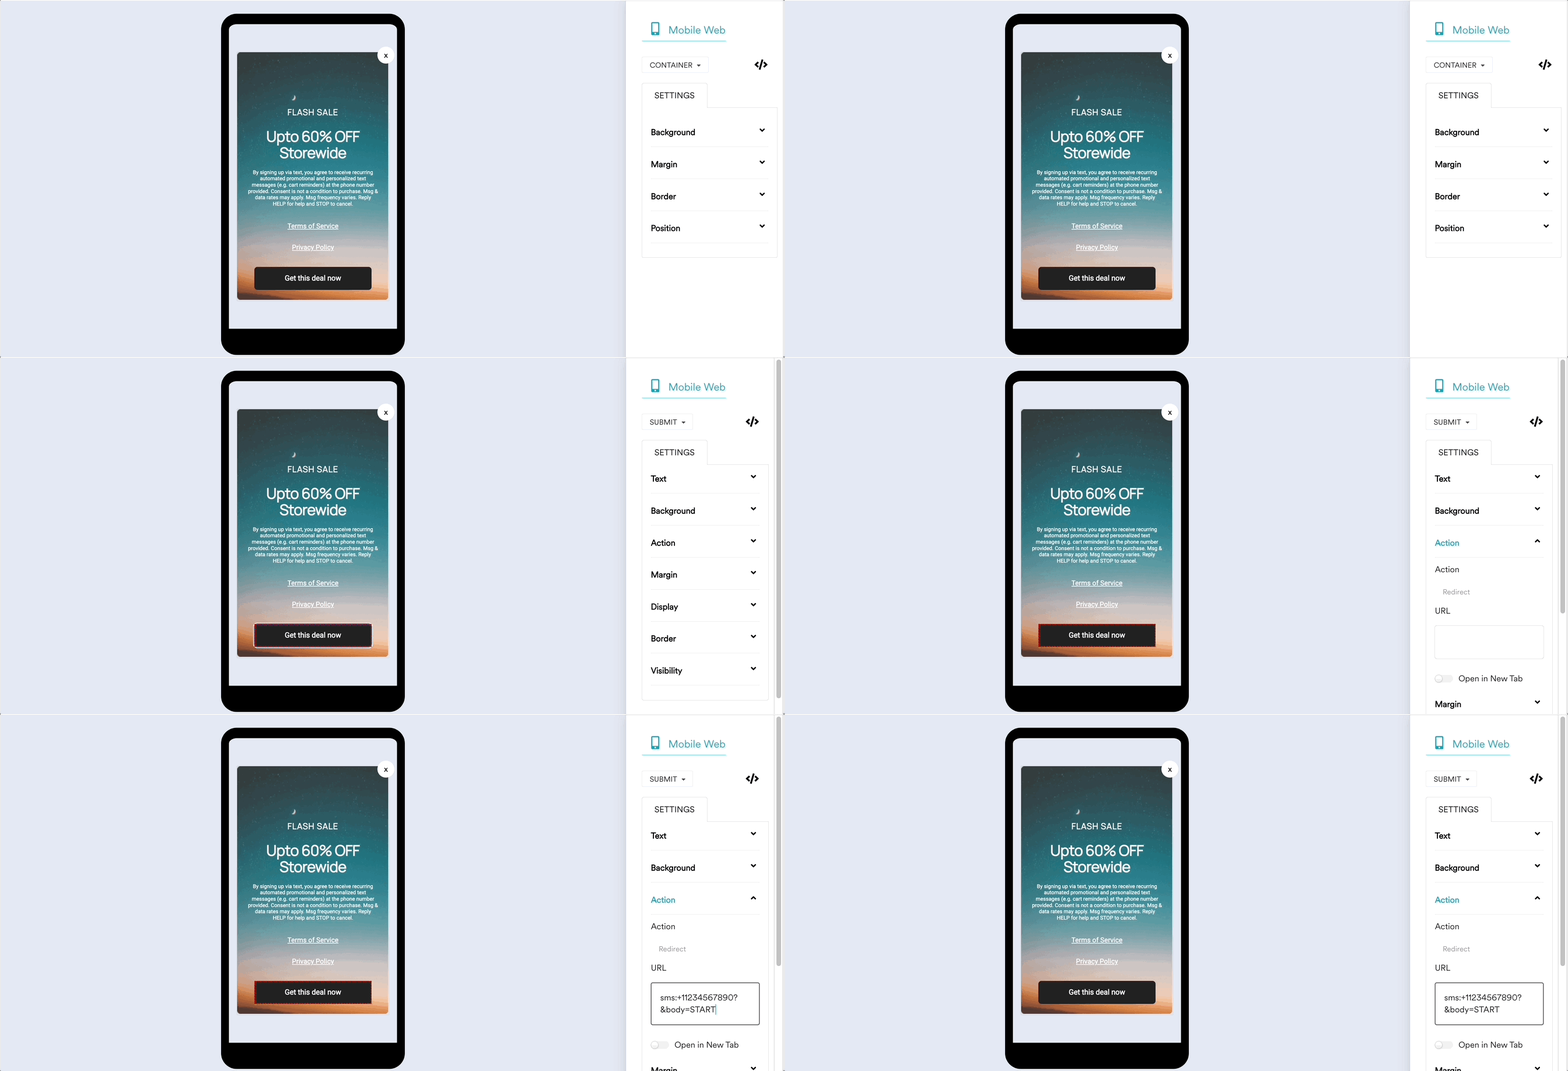
When you use templates for mobile: Configure the button to get consent by adding the following URL in the Action field of the button:sms:+11234567890?&body=START
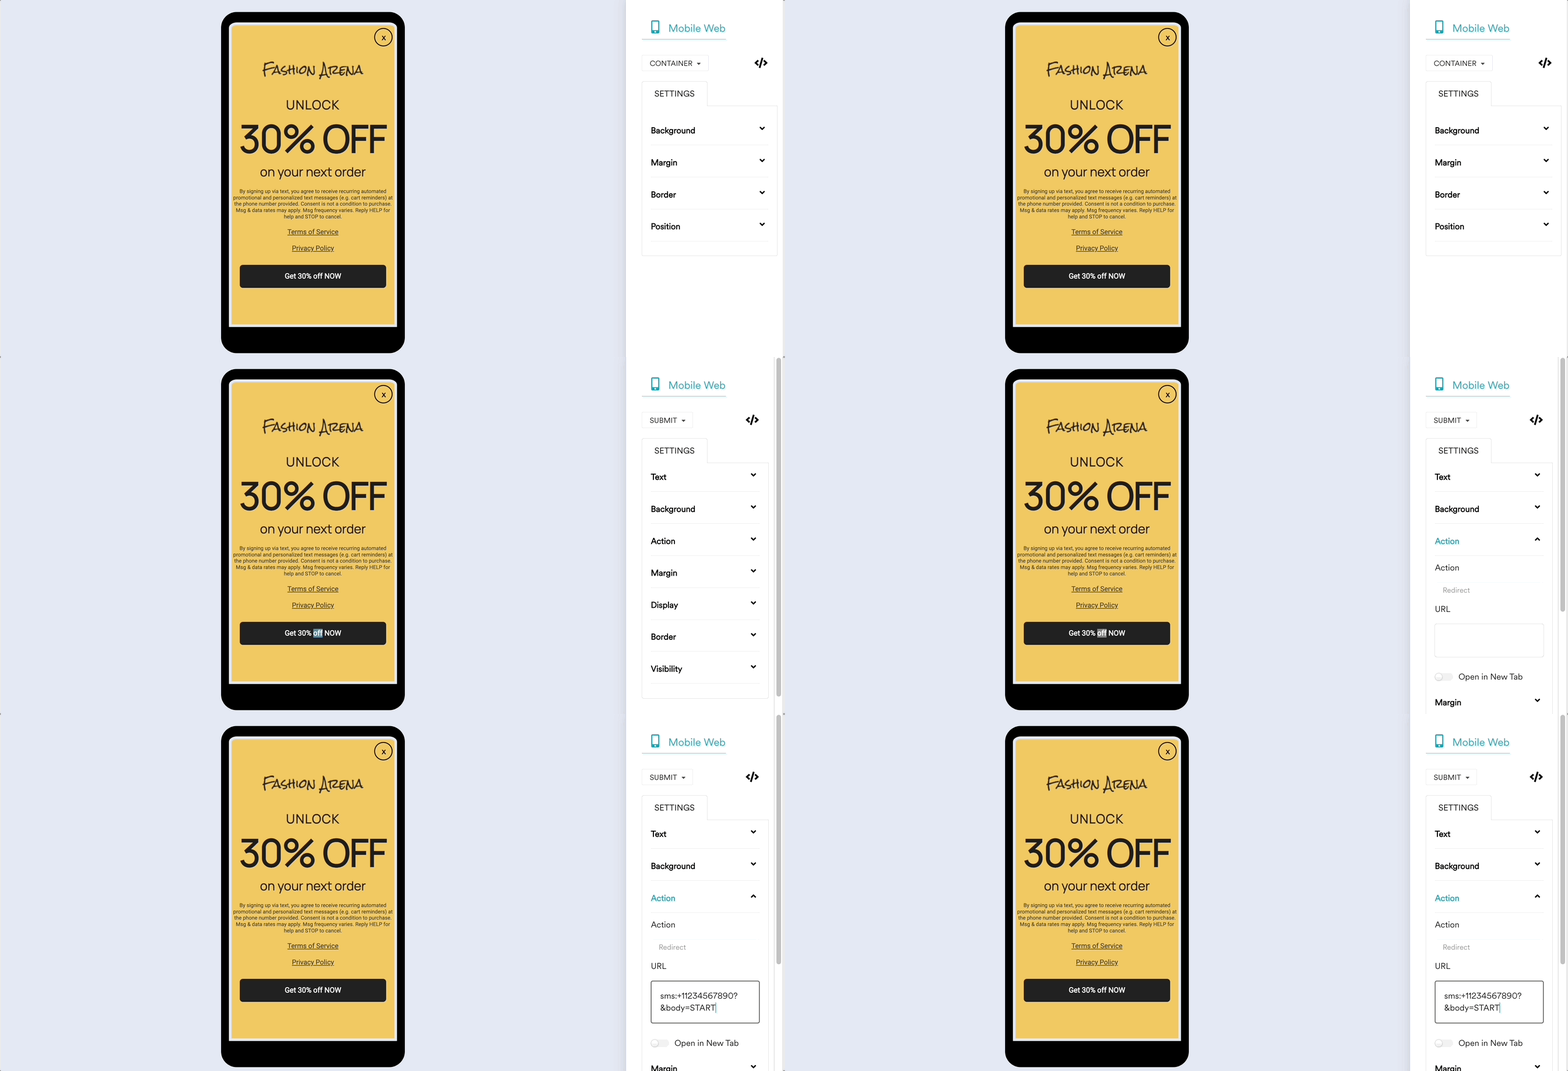
View Captured Data
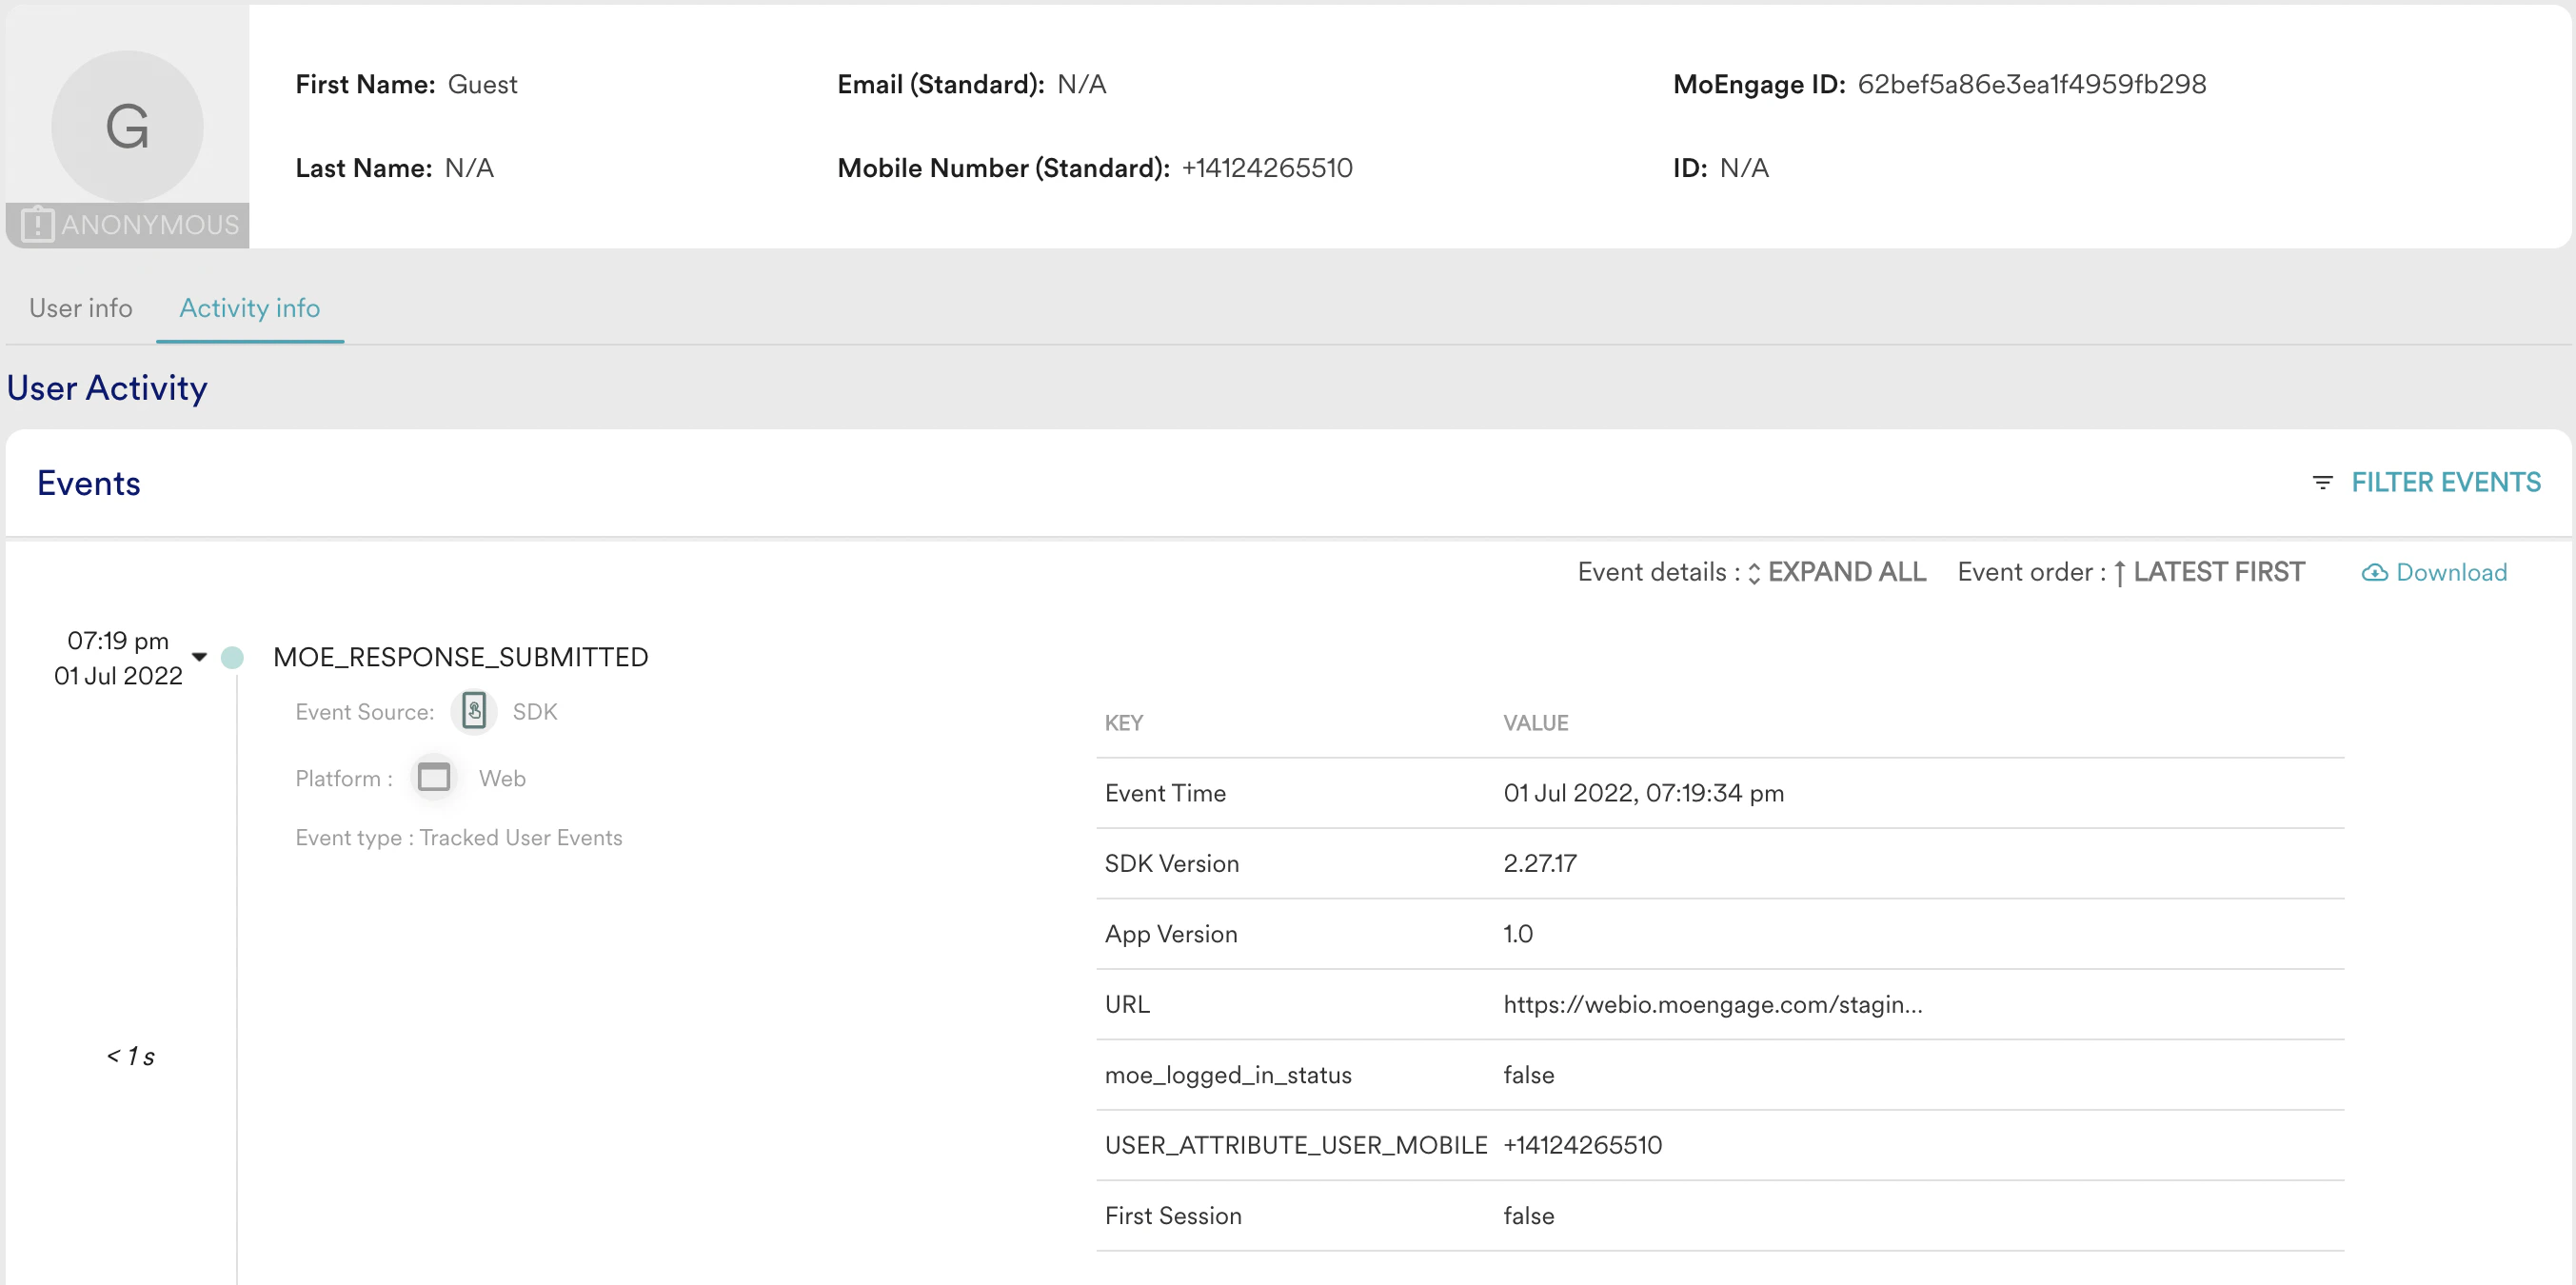
You can view the captured data in MoEngage user attributes. MoEngage tracks the MOE_RESPONSE_SUBMITTED event for every submission from an SMS Sign-Up On-site Message. The user profile displays the attribute and its status.