

Create
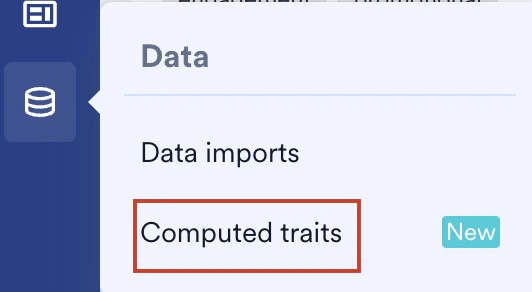
To get started, perform the following steps:- On the sidebar menu in MoEngage, hover over the Data menu item

- Click Computed traits.
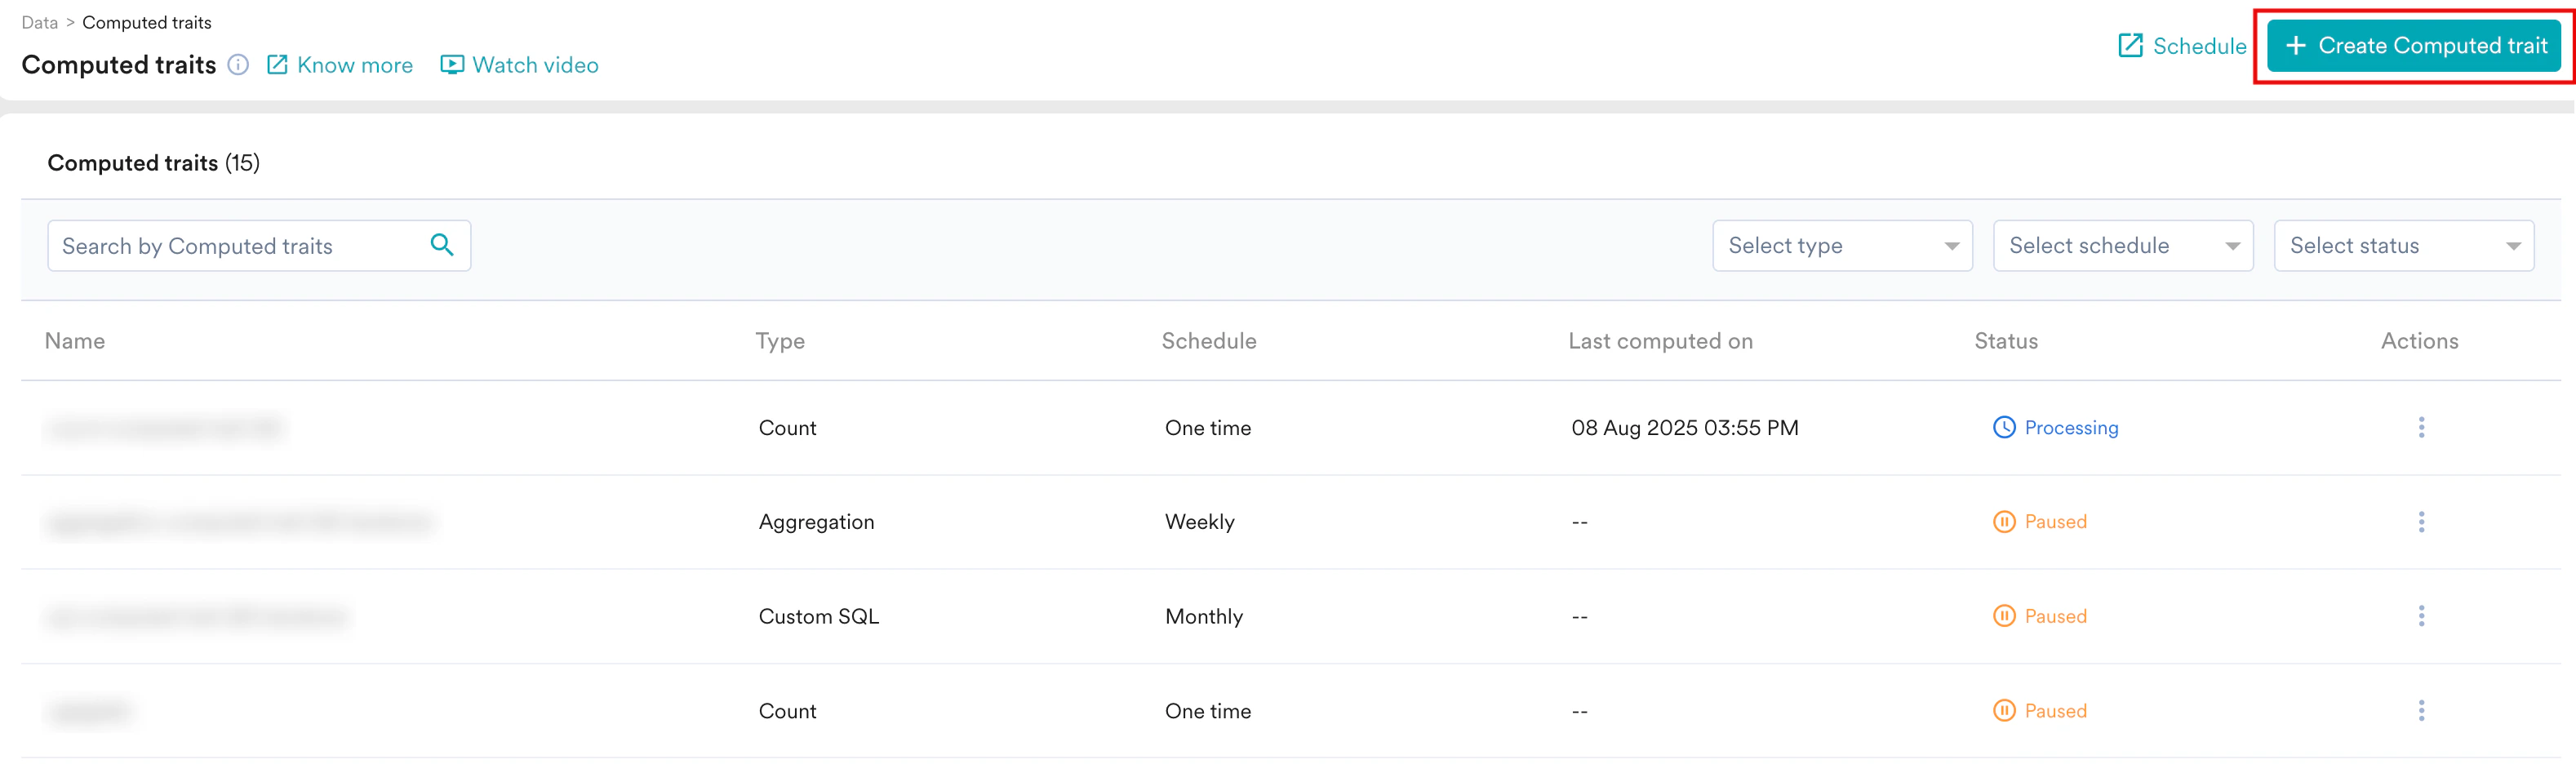
- Click + Create Computed trait. The Create computation dialog box appears.
- Click the desired computation method. You have the following options:
- Count
- Aggregation
- First/Last Value
- SQL Computation
Step 1: Basic Details
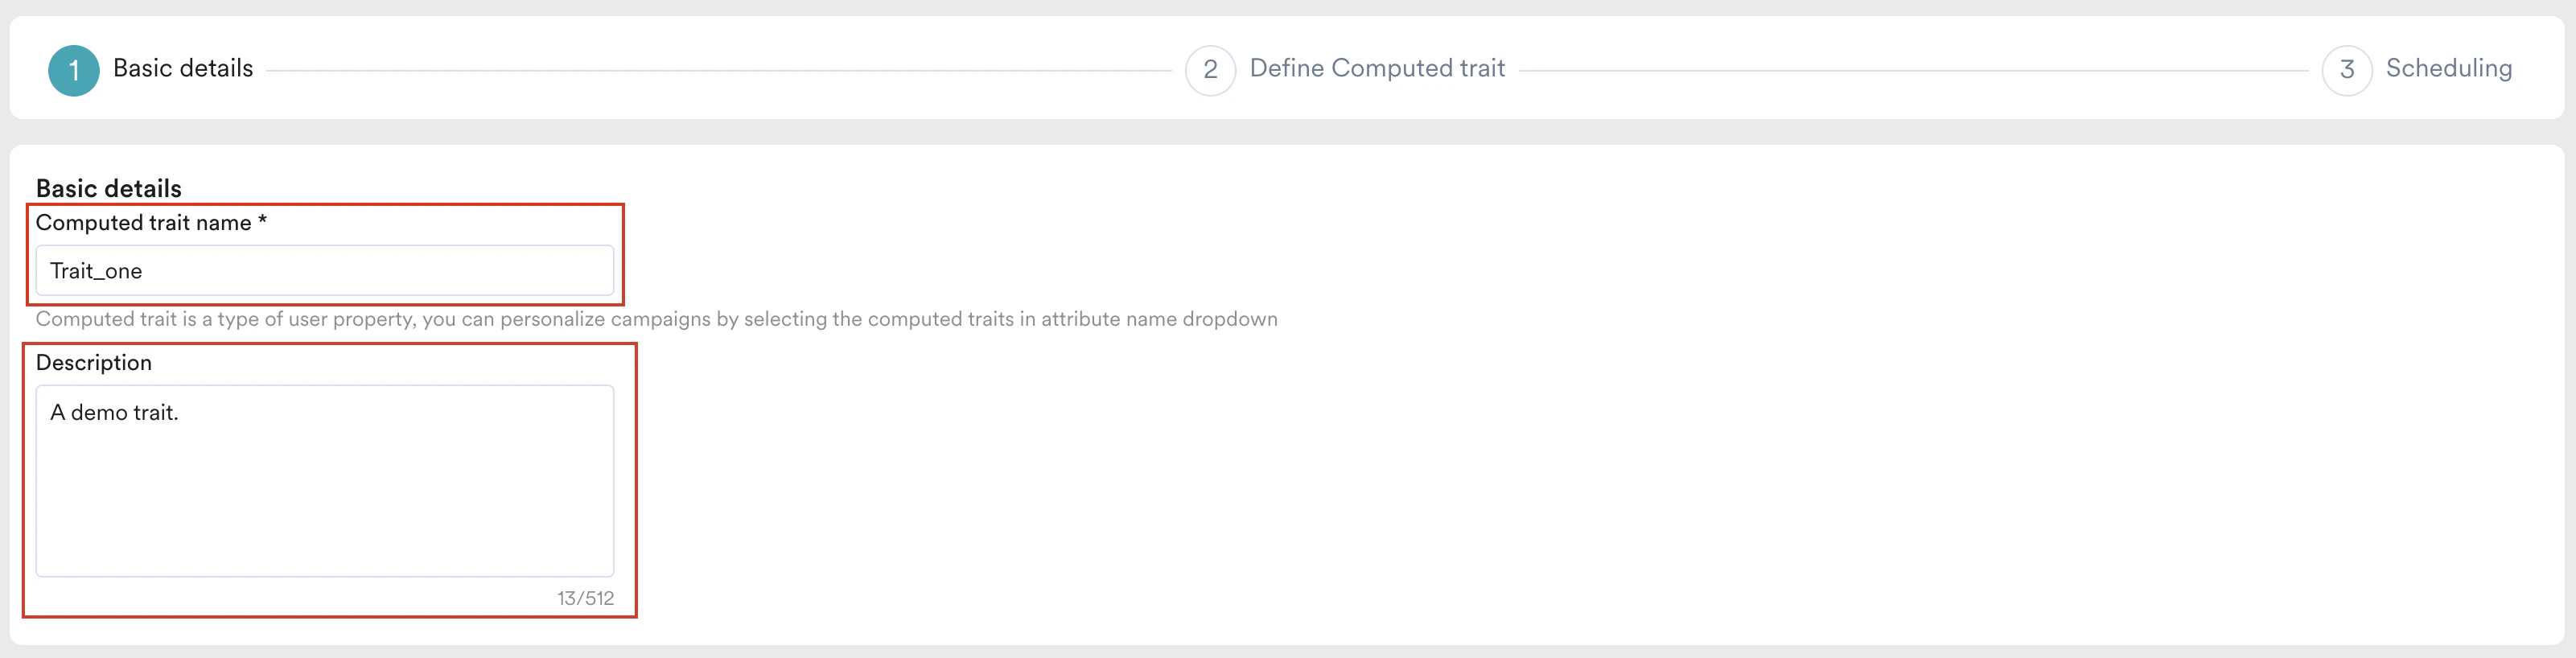
First, define the basic details and specify which users the computation applies to.- Computed trait name: Enter a unique name for your computation. This name will appear as a new user property across the MoEngage UI (for example, “Lifetime Value”).
- Description: Briefly explain what the computation calculates for your team’s reference.
- Filter users: Choose the users to be part of the computation. You can select:
- All users: The computation will run for every user in your account.
- Filter users by: Define a specific segment of users based on user properties, events, or affinities. For more information, refer to Create Segments.

Step 2: Define Computed Trait
Next, define the logic for how your trait will be calculated.- Select the Type: In the Type section, choose the desired type of computation. You can create traits based on:

- Count: Count the number of times users performed an action.
- Aggregation: Aggregate values of an event property (for example, Total order value).
- First/Last Value: Identify the first or last value of an event property.
- SQL Computation: Write a custom SQL query for complex calculations.
- Set up the Configuration: In the Configuration section, based on the type of computation that you selected, do the following:
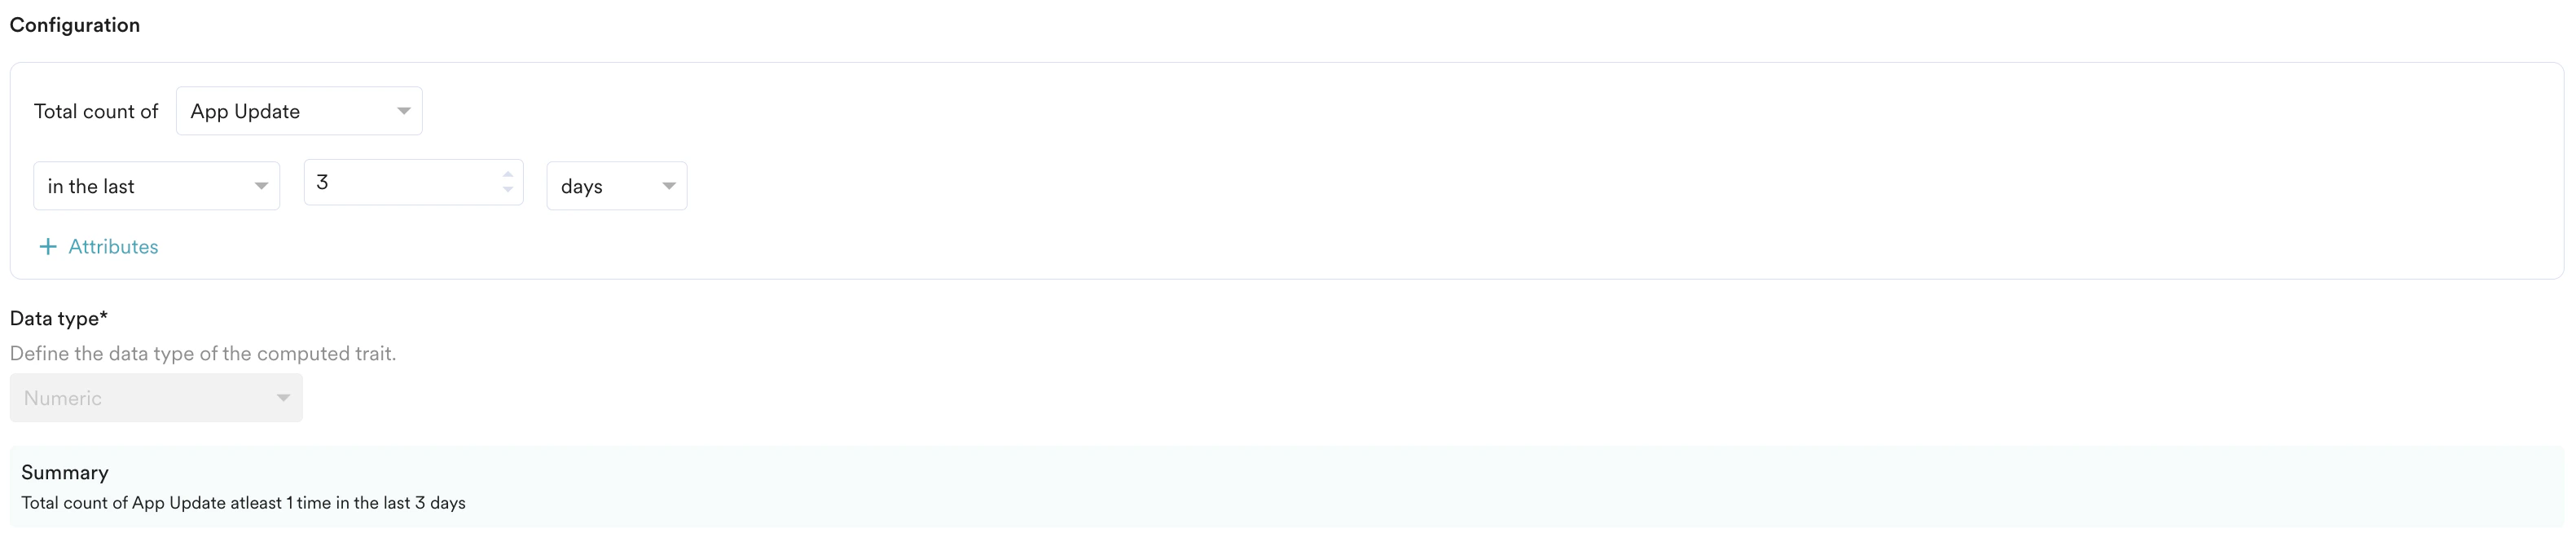
- For a Count computation, select the event to count, define the time period, and optionally add attribute filters.
- For an Aggregation computation, select the event and the time period. Then, choose the aggregation function. The following functions are available: Sum, Min, Max, Average, Median, Distinct count, and True if event exists. After selecting the function, select the event property you want to compute.
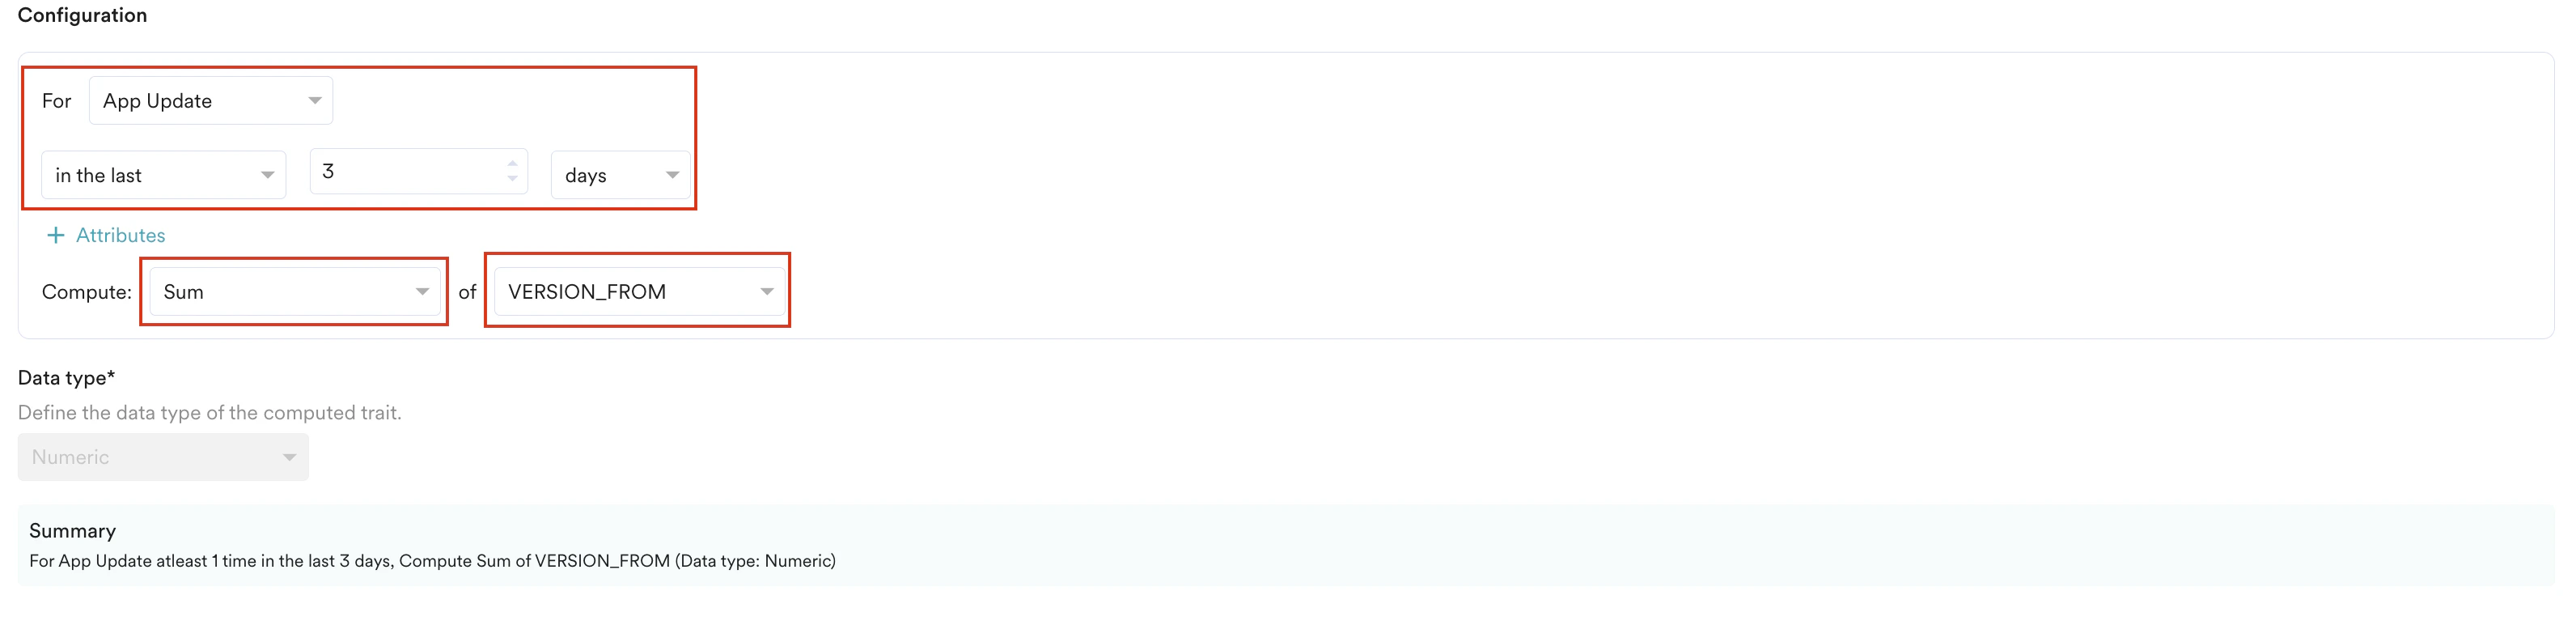
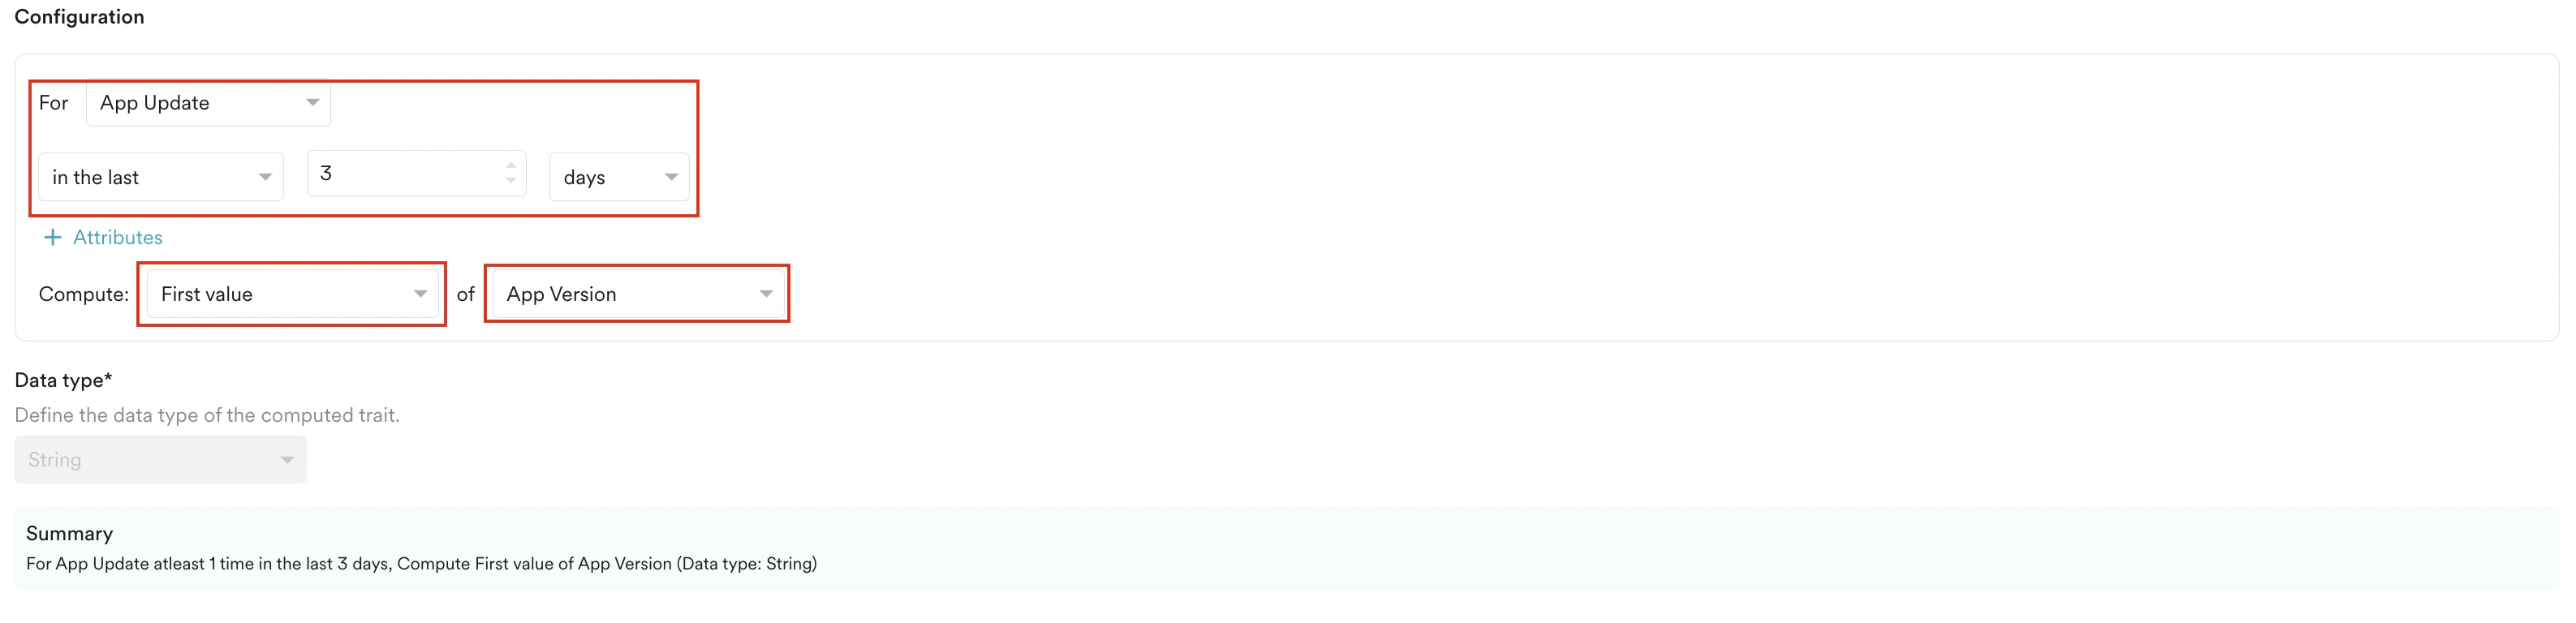
- For a First/Last Value computation, select the event and time period. Then, choose whether to compute the First value or Last value of a specific event property.
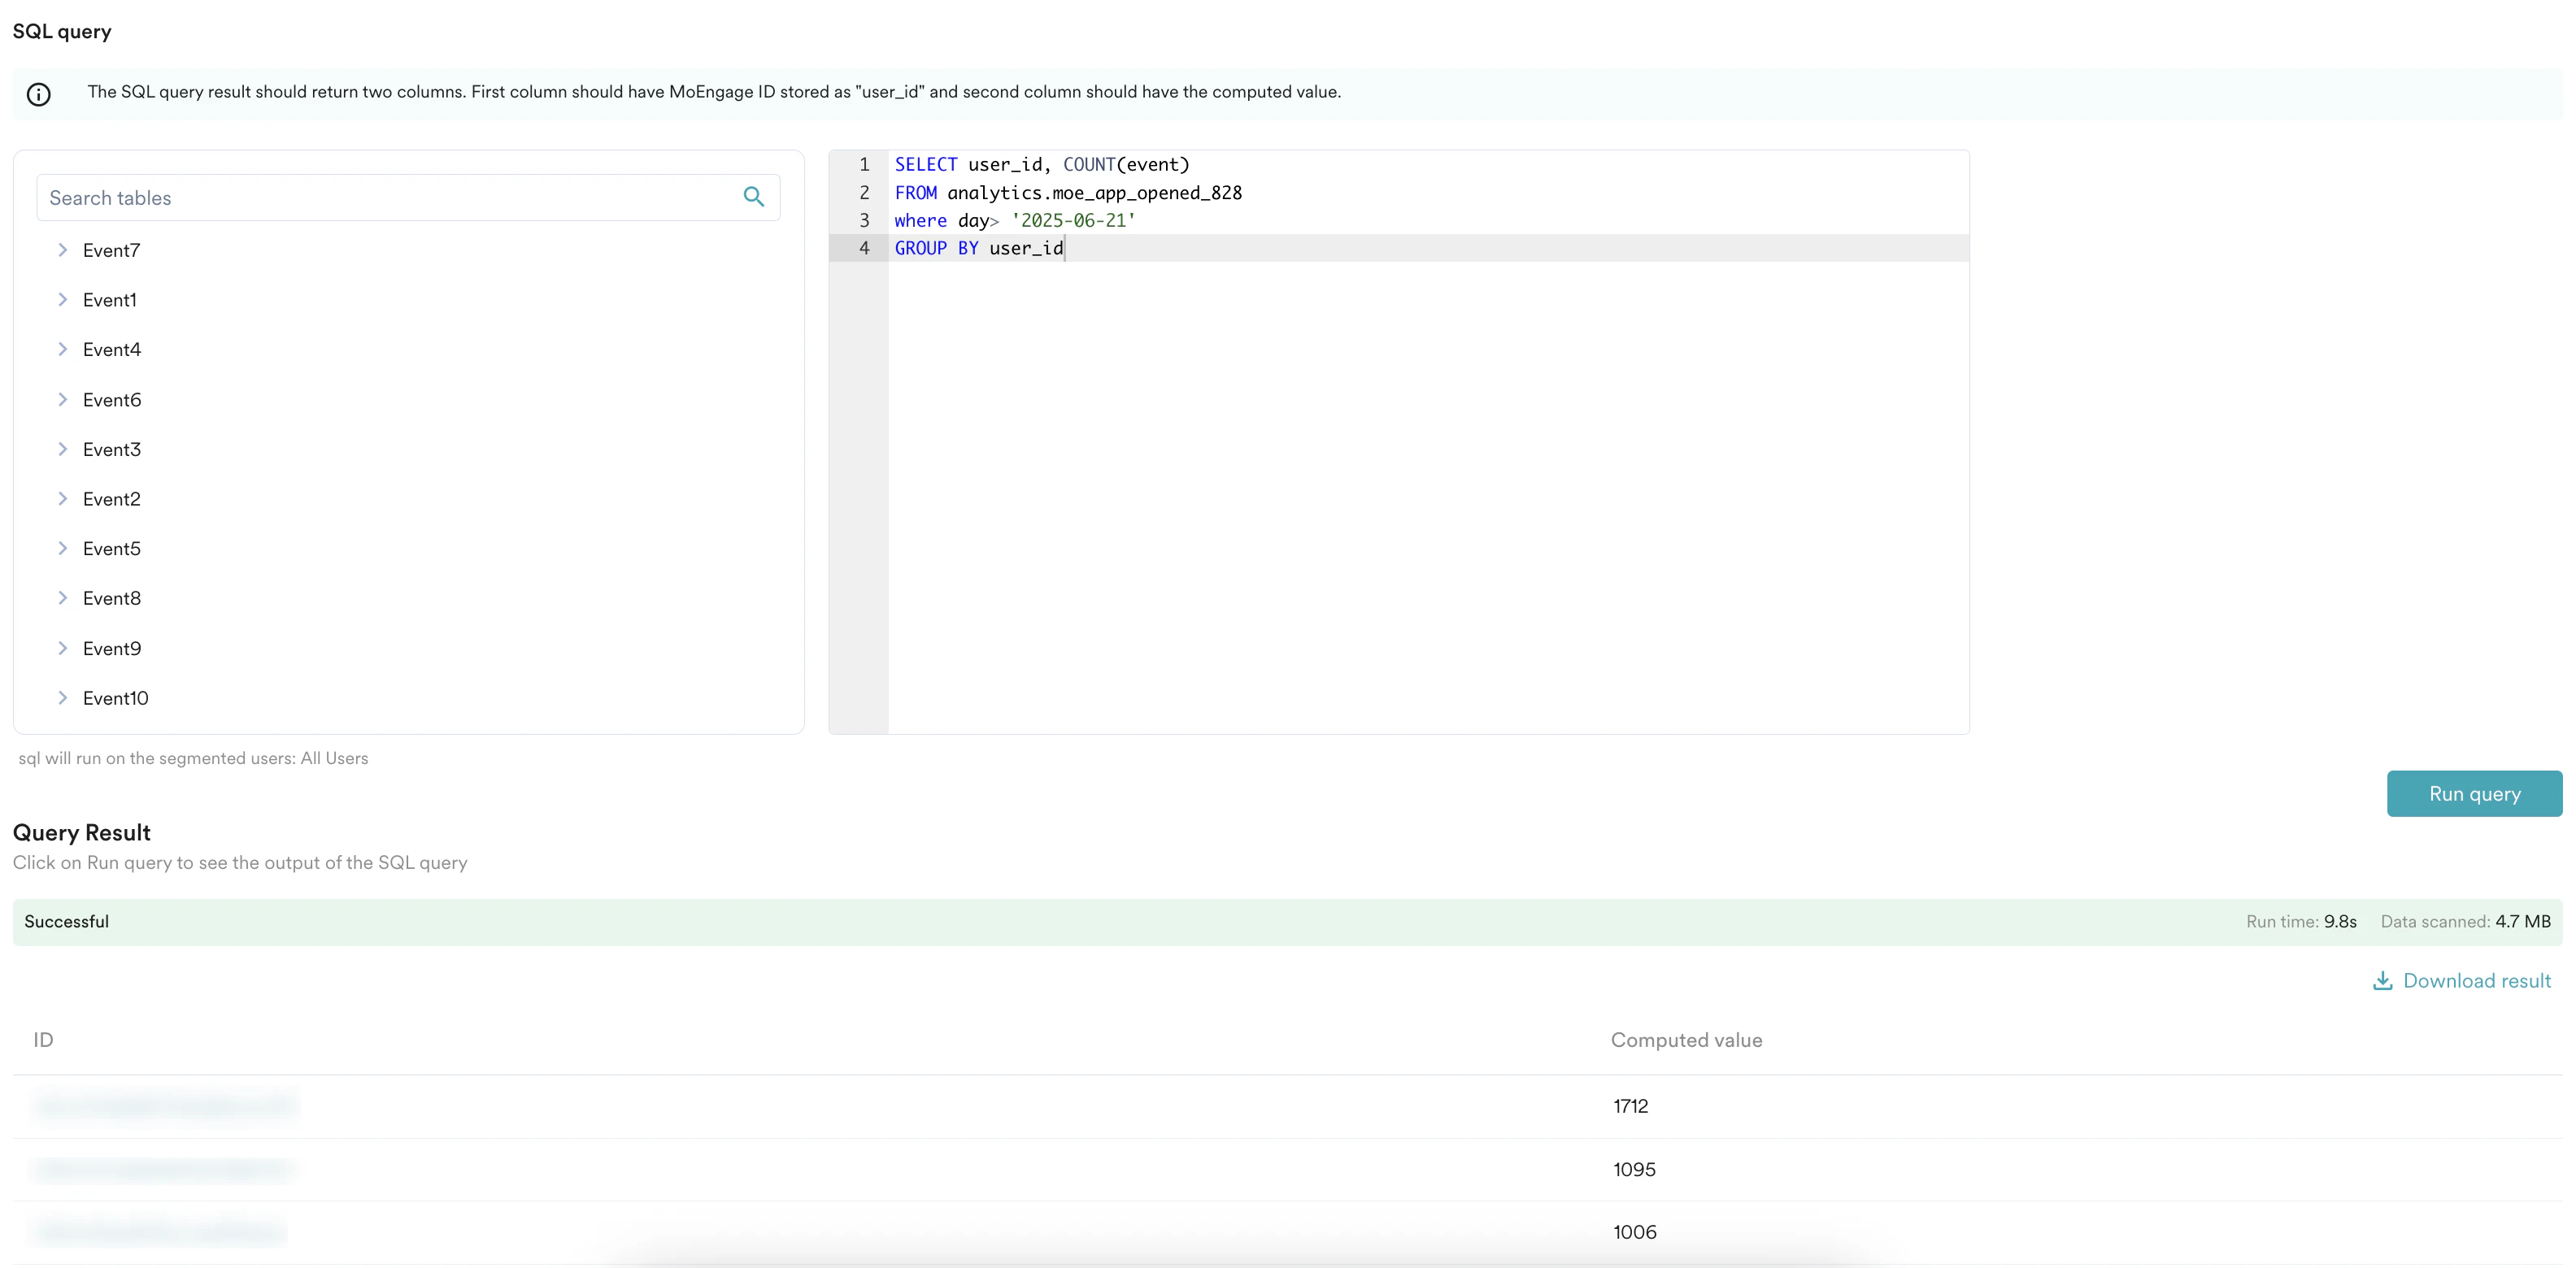
- For a SQL Computation, in the SQL editor, write your query. You can use the left section to browse and select user and event tables. Your query must return two columns: the MoEngage ID and the computed value for your new trait.
- For a Count computation, select the event to count, define the time period, and optionally add attribute filters.
- Define the Data type: Choose the data type of the computed trait’s output (for example, Numerical, String, Boolean). Defining a data type is only permitted when you select SQL as the computation type. For other computation types, the data type is auto-populated.
- Review the Summary: A plain-language summary of your configuration will be displayed for confirmation.

- Preview the trait: Before navigating to the next step, you must test the logic. Perform these steps to preview:
- In the Preview Computed Trait section, select a preview type.
- A specific user: Test the configuration on a specific user ID.
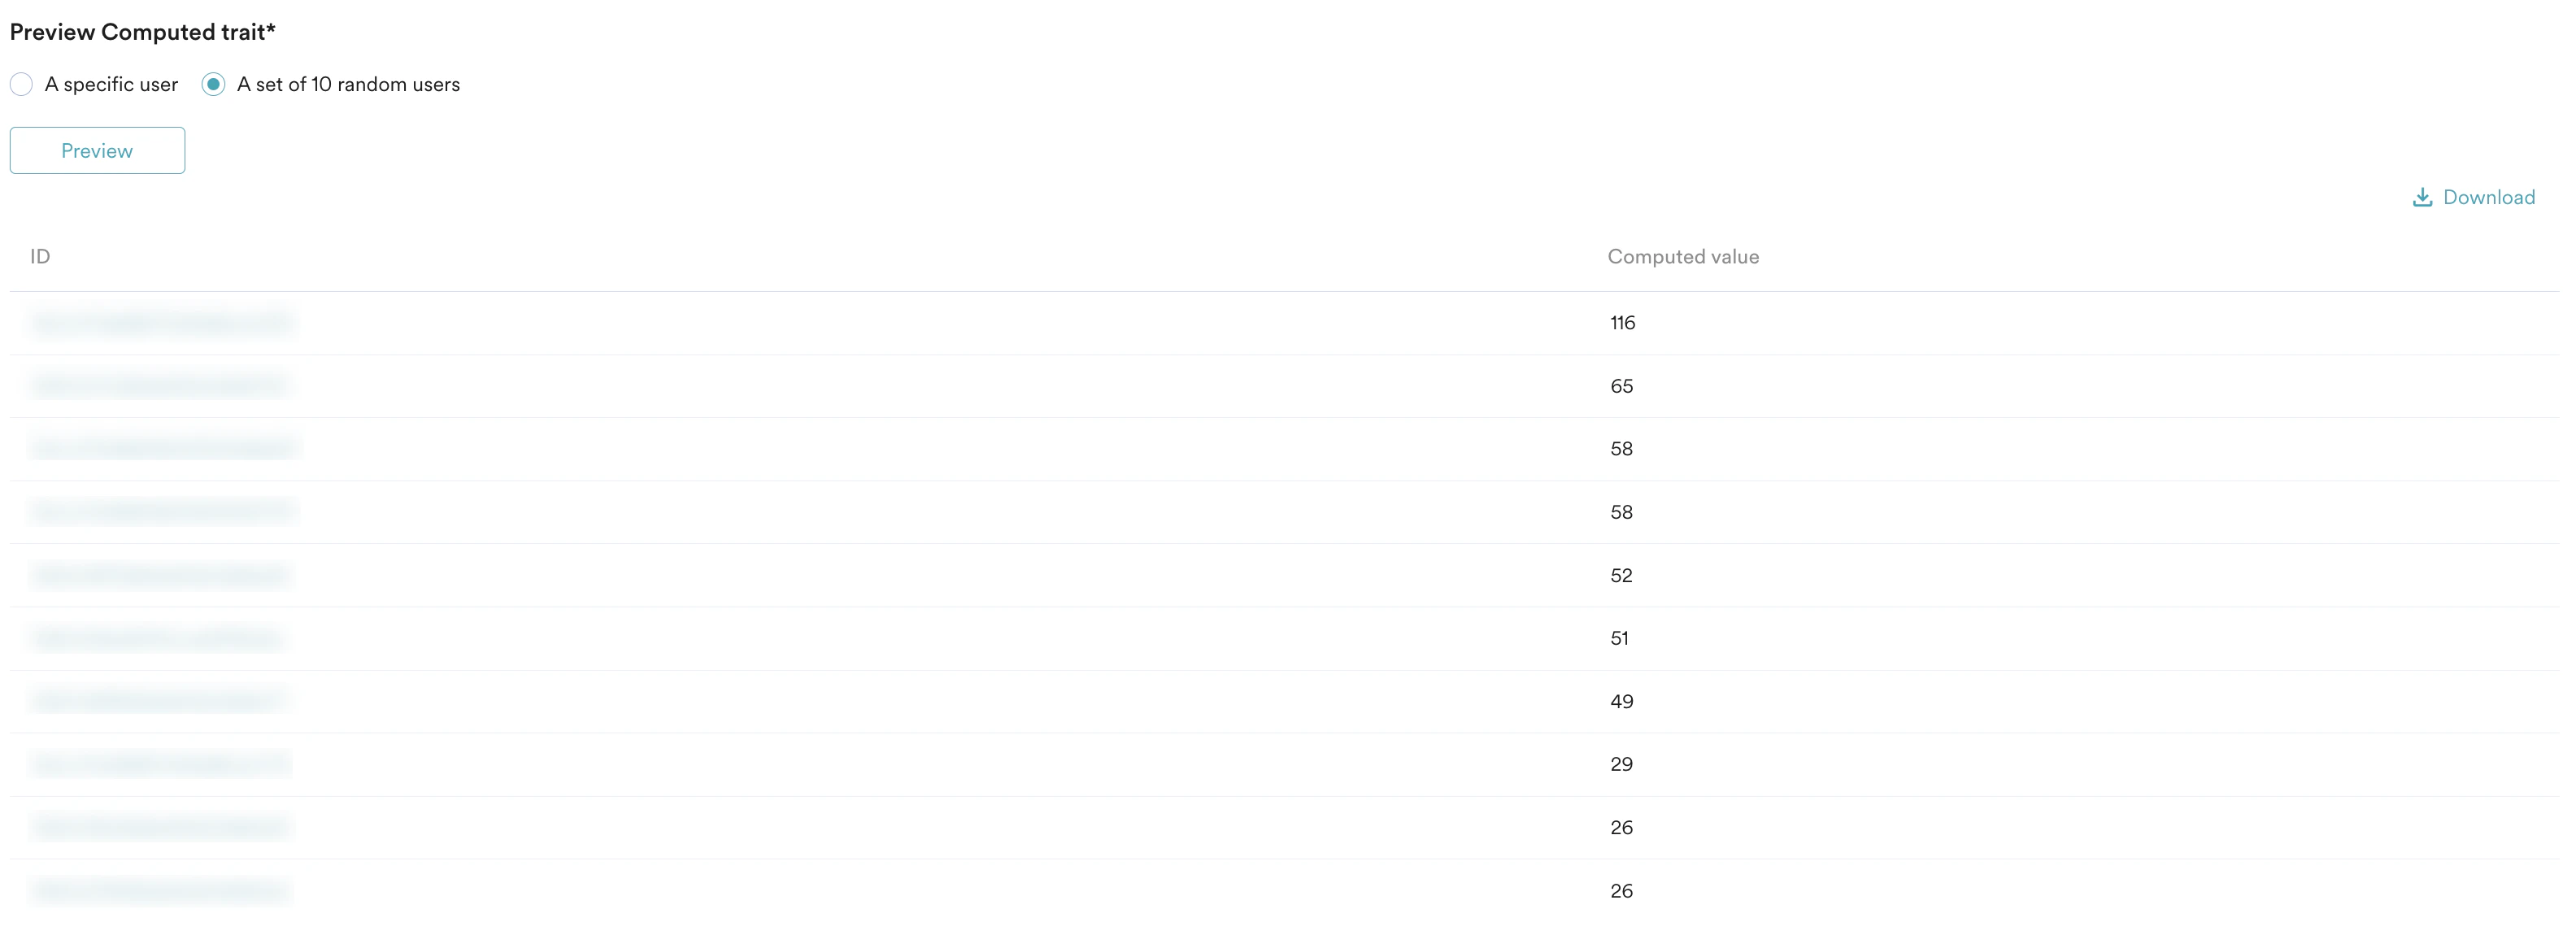
- A set of 10 random users: Test the configuration on a set of ten random users.
- Click Preview. A table is generated with ID and computed value.
- In the Preview Computed Trait section, select a preview type.
Step 3: Scheduling
Finally, decide how and when your computation should run. Perform the following steps to schedule and publish your computed trait.-
In the Schedule section, select when the computation will execute.
- In the One-time section, select Run at next schedule to run the computation once at the next scheduled time.
or - In the Periodic section, select the computation to run repeatedly on a Weekly or Monthly basis to keep the user property updated. You can adjust the schedule from the Settings page.

Computations can also be scheduled to run at a daily frequency. To enable daily scheduling for your account, contact your account manager. - In the One-time section, select Run at next schedule to run the computation once at the next scheduled time.
-
For Periodic computations, choose how to handle existing values for users. Select one of the following in the Computation action:
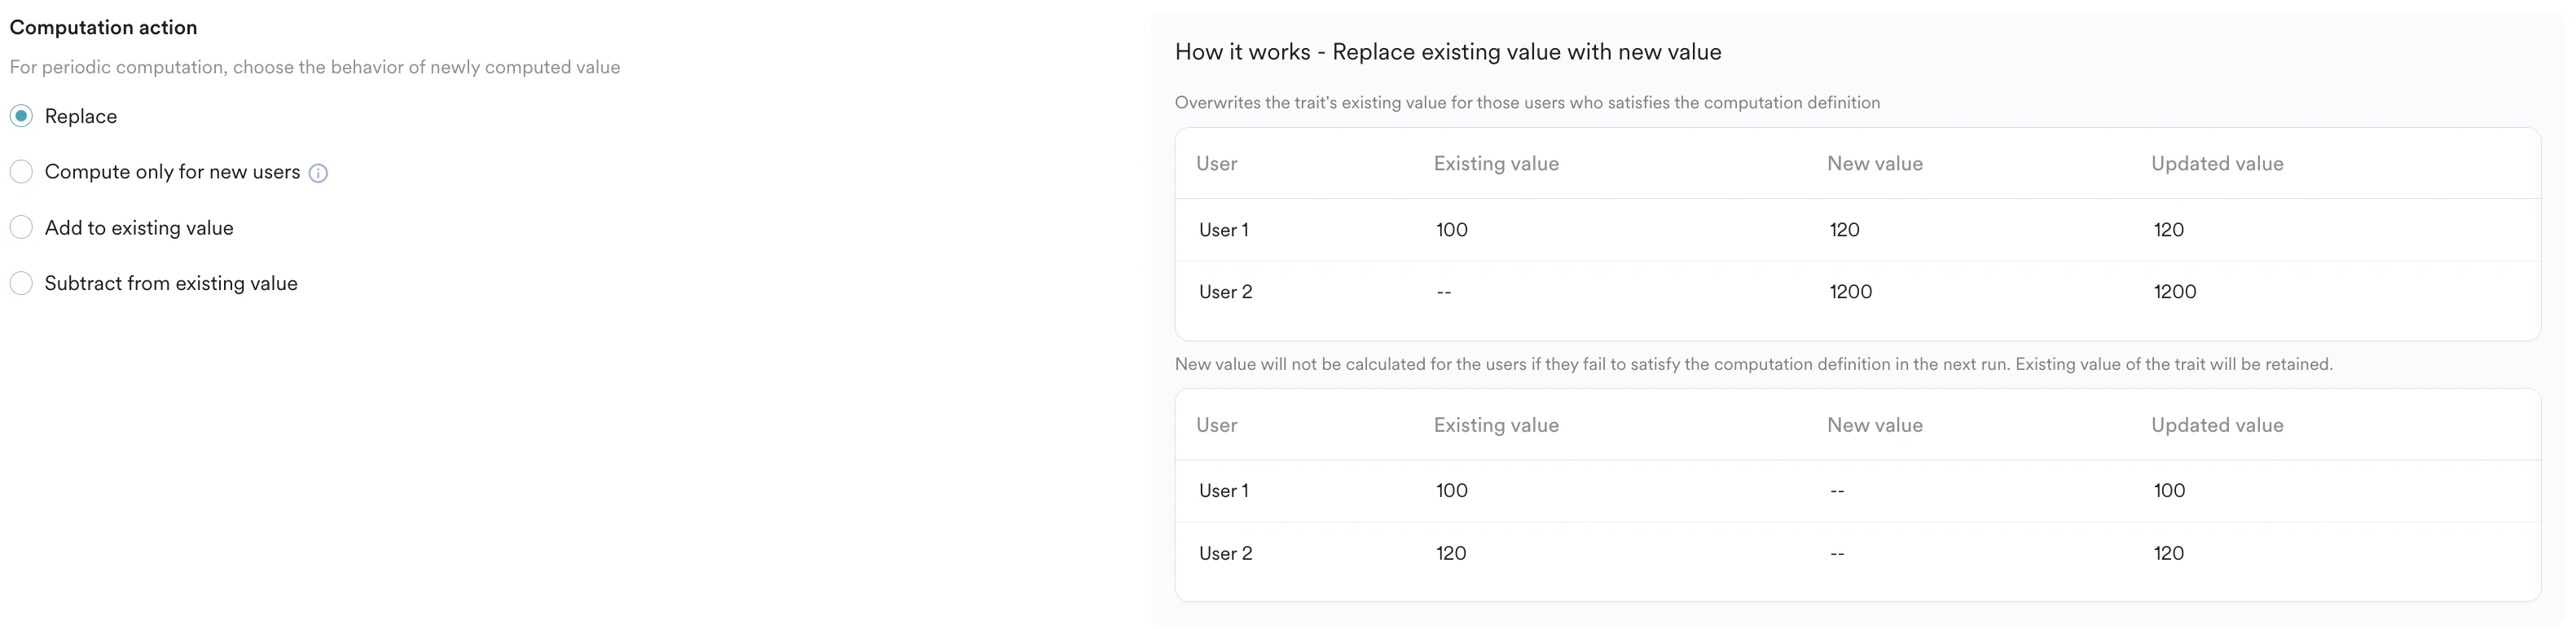
- Replace: Overwrites the old value with the new one for users who meet the computation definition. If a user no longer meets the definition, their existing value is retained.
- Compute only for new users: Calculates the value only for users who do not already have a value for this trait.
- Add to existing value: Adds the newly computed value to the user’s current value.
- Subtract from existing value: Subtracts the newly computed value from the user’s current value.
Manage Your Computations
The Computed Traits page lists all the computations you have created.Navigation
- After creating the computed trait, navigate to Data > Computed traits. The Computed traits page appears.
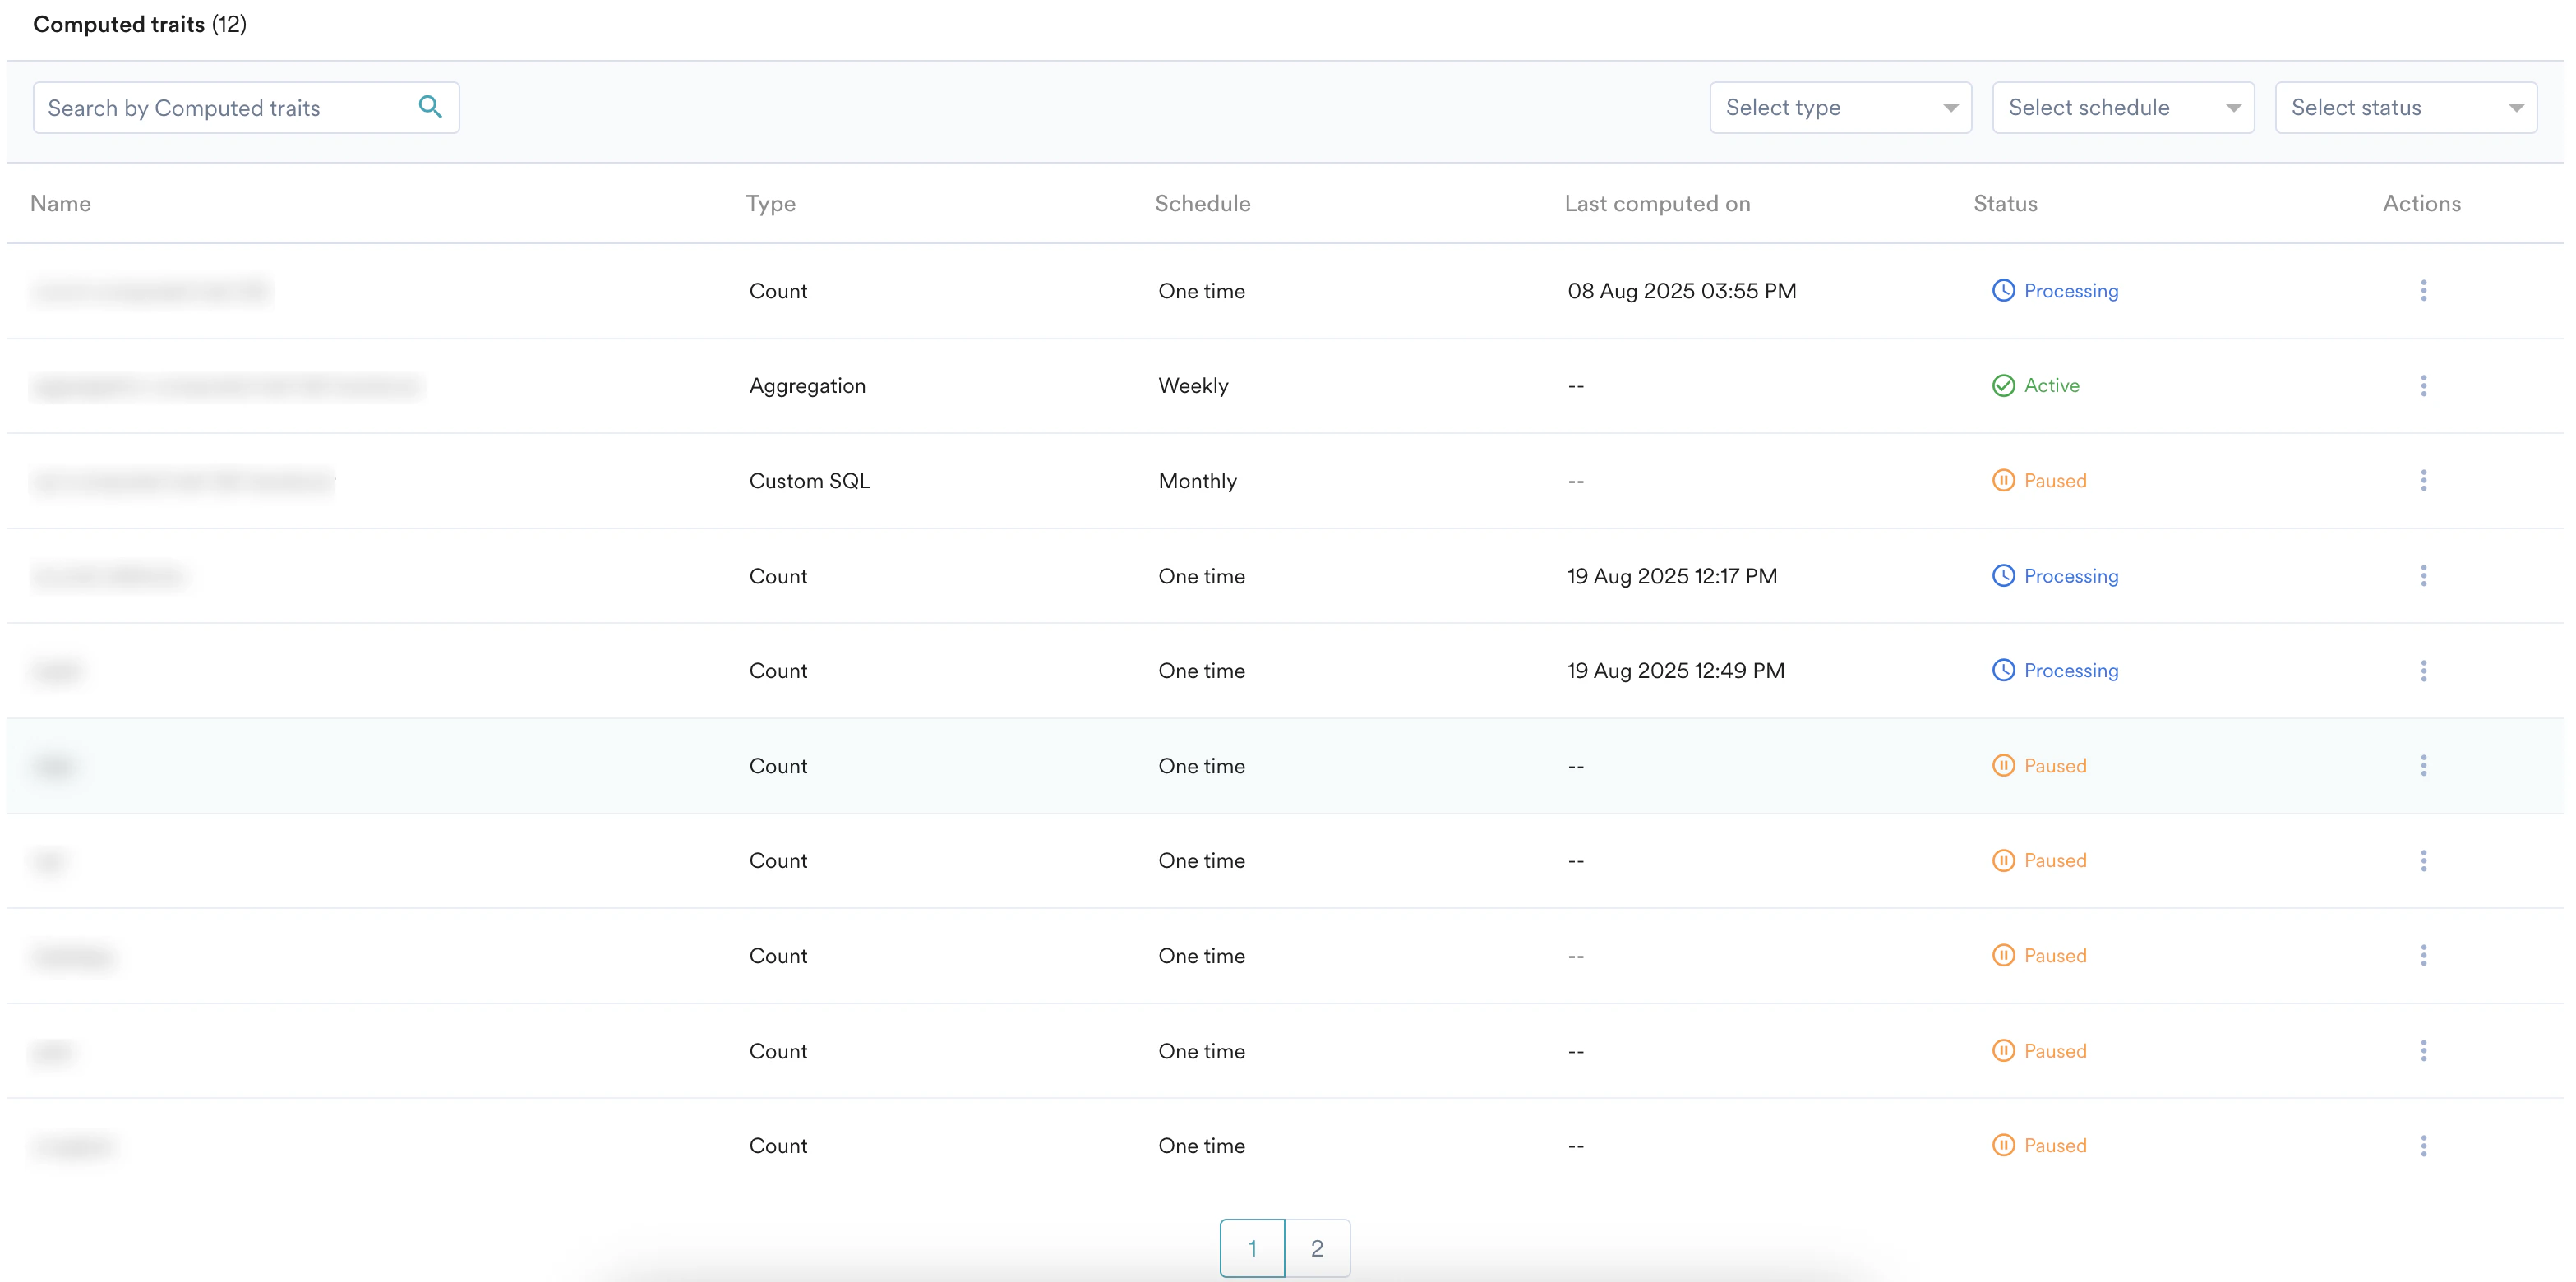
- Use the search box to search for a computed trait.
- See information like Type, Schedule, and Status.
- Use the filters in the header to filter the created computed traits by type, schedule, or status.
- For a computed trait, you can edit, pause, or view the computation. To do so, click the ellipsis icon against a name and select the desired option.

-
- View: See the detailed configuration of a computation on a new page. Alternatively, you can access the detail page by clicking the trait name.
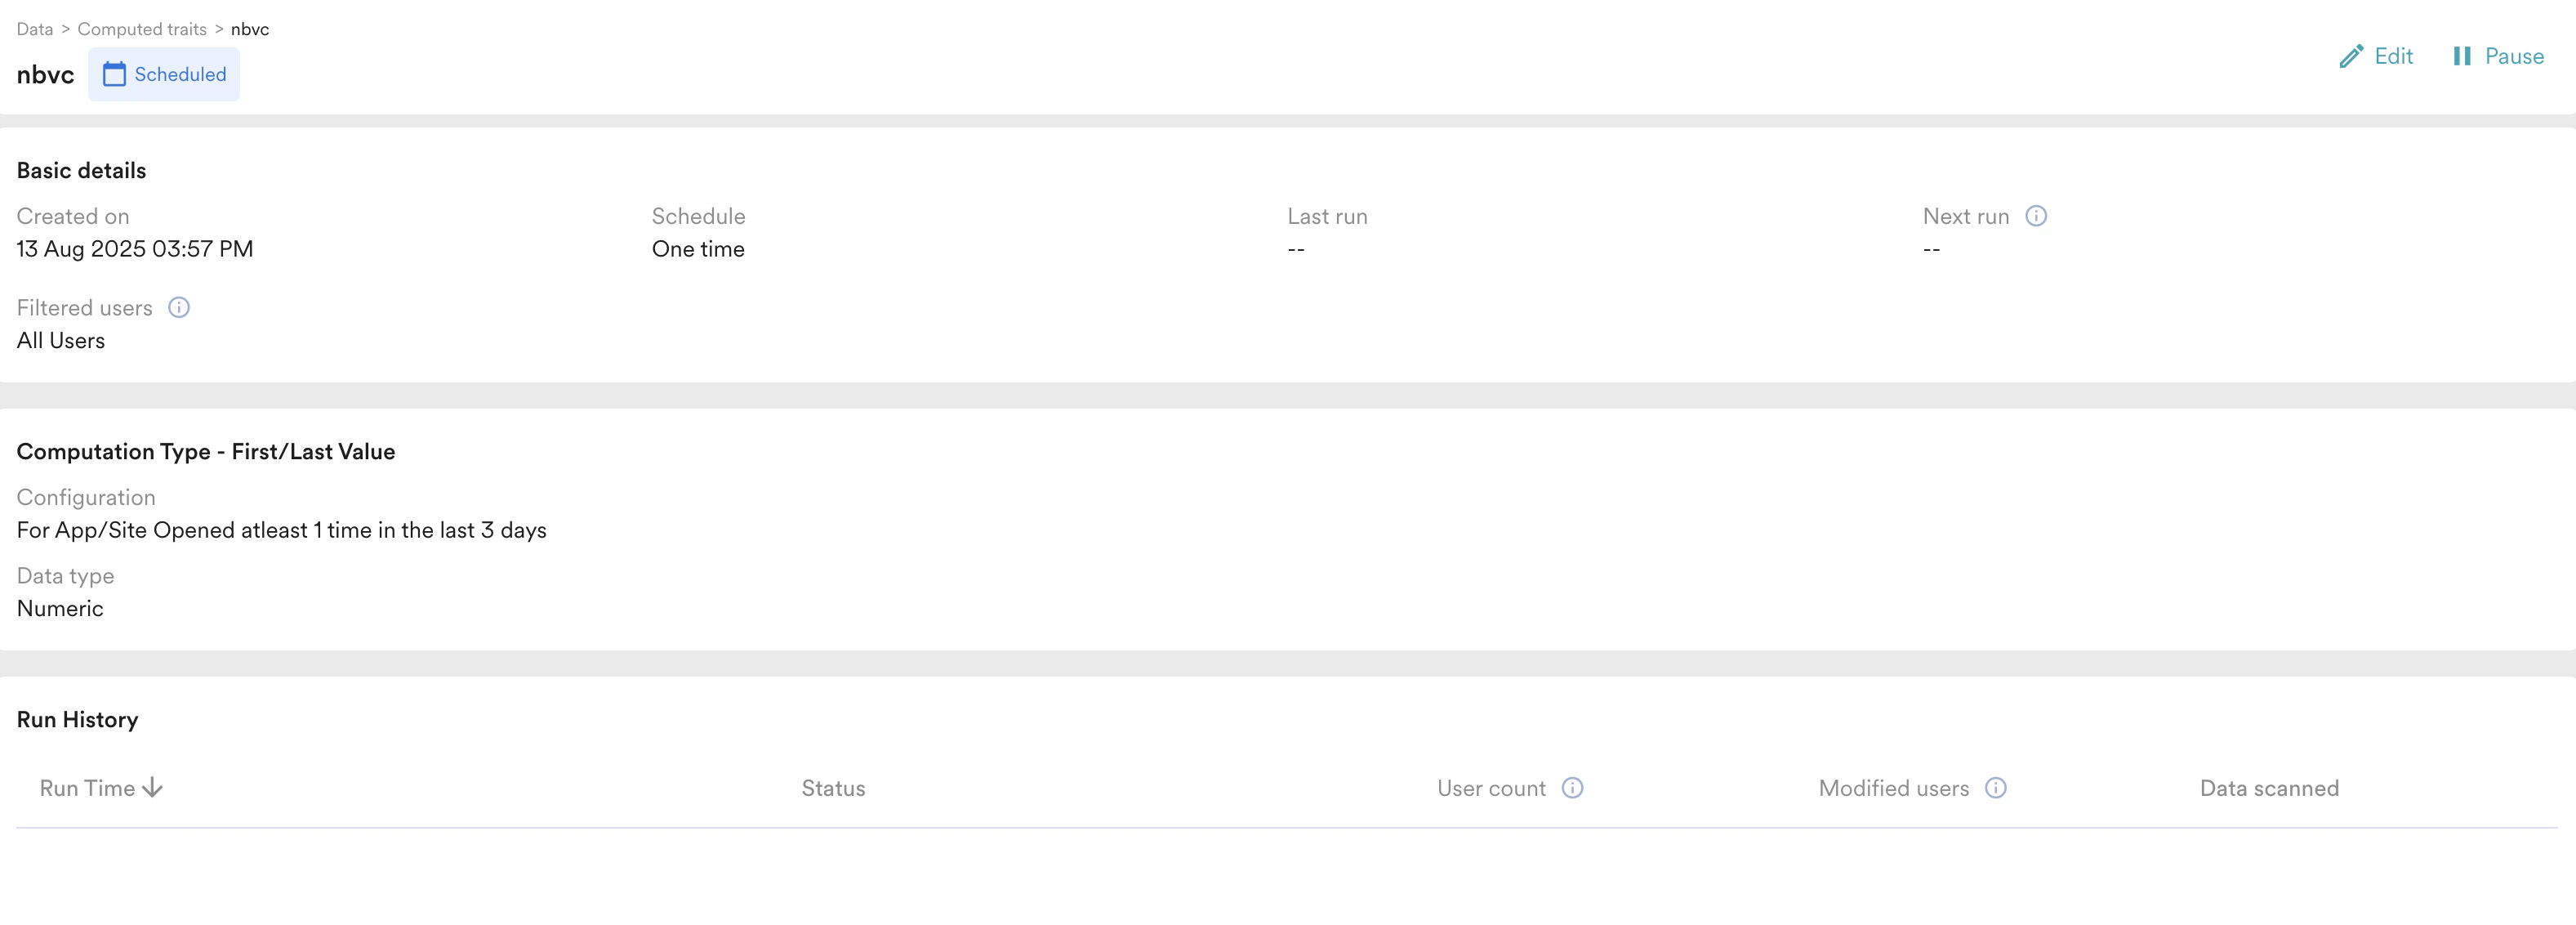
- Basic details: This section contains information on when the computed trait was created, the scheduled details, last run and next run timestamps, and the filtered users’ details.
- Computation type: This section contains information about the type of computation and its configuration.
- Run history: This section provides a detailed view of the computation history.
- Pause/Resume: Pause the computation, or resume a paused computation. Pausing a computation releases its slot in the active-computation limit.
- Edit: Modify a computation. You can only make changes before its first scheduled run. After the first run, only the schedule can be changed.
- View: See the detailed configuration of a computation on a new page. Alternatively, you can access the detail page by clicking the trait name.
You cannot delete a computed trait. To stop a trait from running, pause it.To change the logic of a trait that has already run, create a new trait with the updated configuration and pause the original. Recomputing a trait with different logic would change the values that live segments and campaigns already depend on.
- You can have a maximum of ten active computations at any given time. This includes computations with Scheduled, Processing, or Active statuses. Paused computations do not count toward this limit.
- A workspace can hold up to 50 computations in total, including paused ones.
- Computed trait values are applied to user properties at a processing speed of up to 1 million users per hour.
Use Your Computed Traits
Once your computation has run successfully, the new trait will be available as a standard user property throughout MoEngage.- In Segmentation: In the segment creator, go to User Property, find your new computed trait by name, and use it to build your segment.
- In campaign personalization: Use Jinja to insert the trait’s value directly into your messages. For example:
Hi {{UserAttribute['First Name']}}, you have {{UserAttribute['Loyalty Points']}} points!. Alternatively, use @ to add the attribute to your content. - In Flows: Use the computed trait as a condition to guide users down different paths in a flow.
In a workspace with multiple projects, a computed trait is created as a global user property. It appears under User property for every project, regardless of which project’s events you built it from. For more information, refer to Computed Traits in a Multi-Project Portfolio.