

Early AccessAI Campaign Decisioning is available only for Push. To enable it for your workspace, contact your MoEngage Customer Success Manager (CSM) or the Support team.
- Create the Campaign Decisioning Policy you want to use.
- Schedule the campaign at least 24 hours in advance because AI Campaign Decisioning needs time to calculate its decisions.
- Set up your Content Labels taxonomy so that AI Campaign Decisioning can accurately label the message variations.
Step 1: Target Users
Perform the following steps to configure campaign targeting.- Enter the campaign details: Enter a Campaign name, and optionally add Campaign tags.
- Select the target platforms: Choose Android, iOS, or both.
-
Select a Delivery strategy: Choose one of the following:
- Standard: The end user receives all campaigns they are eligible for.
- AI Campaign Decisioning (Powered by Aampe): When an end user qualifies for multiple campaigns, AI automatically chooses the campaign they are most likely to engage with.
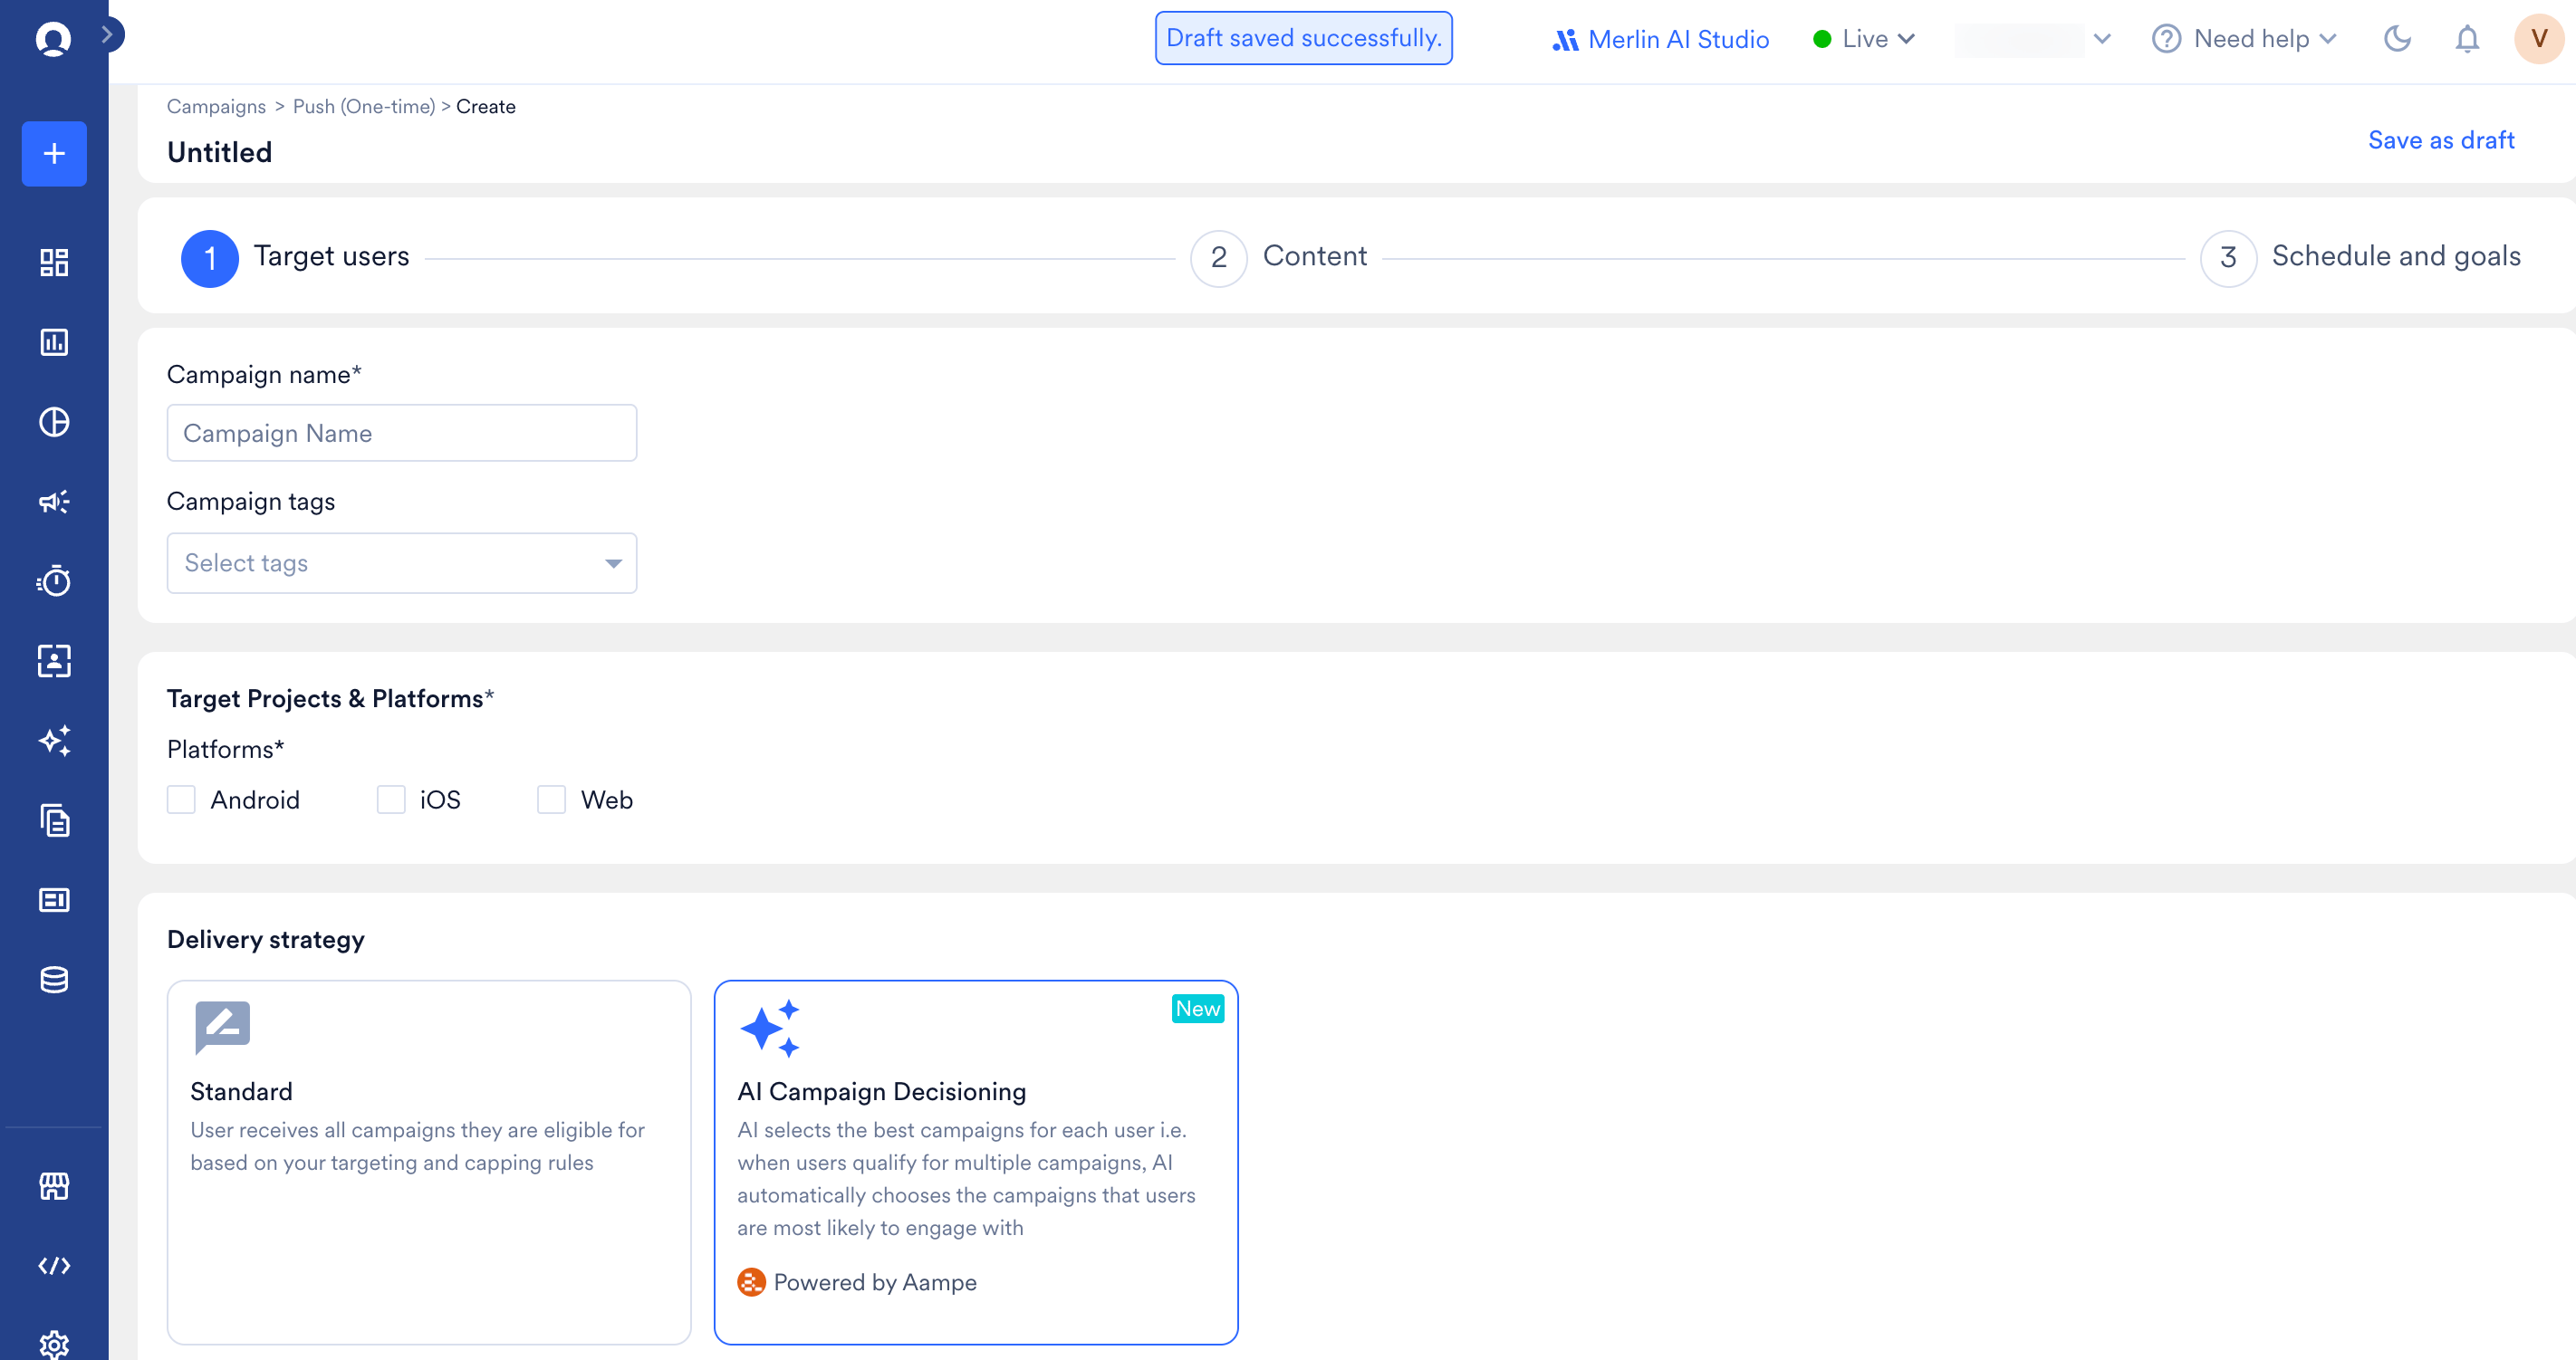
- If you select AI Campaign Decisioning (Powered by Aampe), select the policy that manages the campaign. Each policy displays its purpose to help you choose the correct policy.
- Select the target audience: All users or Filter users by segment criteria.
If you switch a campaign from AI Campaign Decisioning to Standard after adding content, MoEngage displays a warning. The content labels and AI scheduling information added in the later steps are removed.
Step 2: Content
Perform the following steps to add campaign content.-
Add message variations: Click + Variation to add complete Push message variations and + Locale to add locale variants for different locales and platforms.
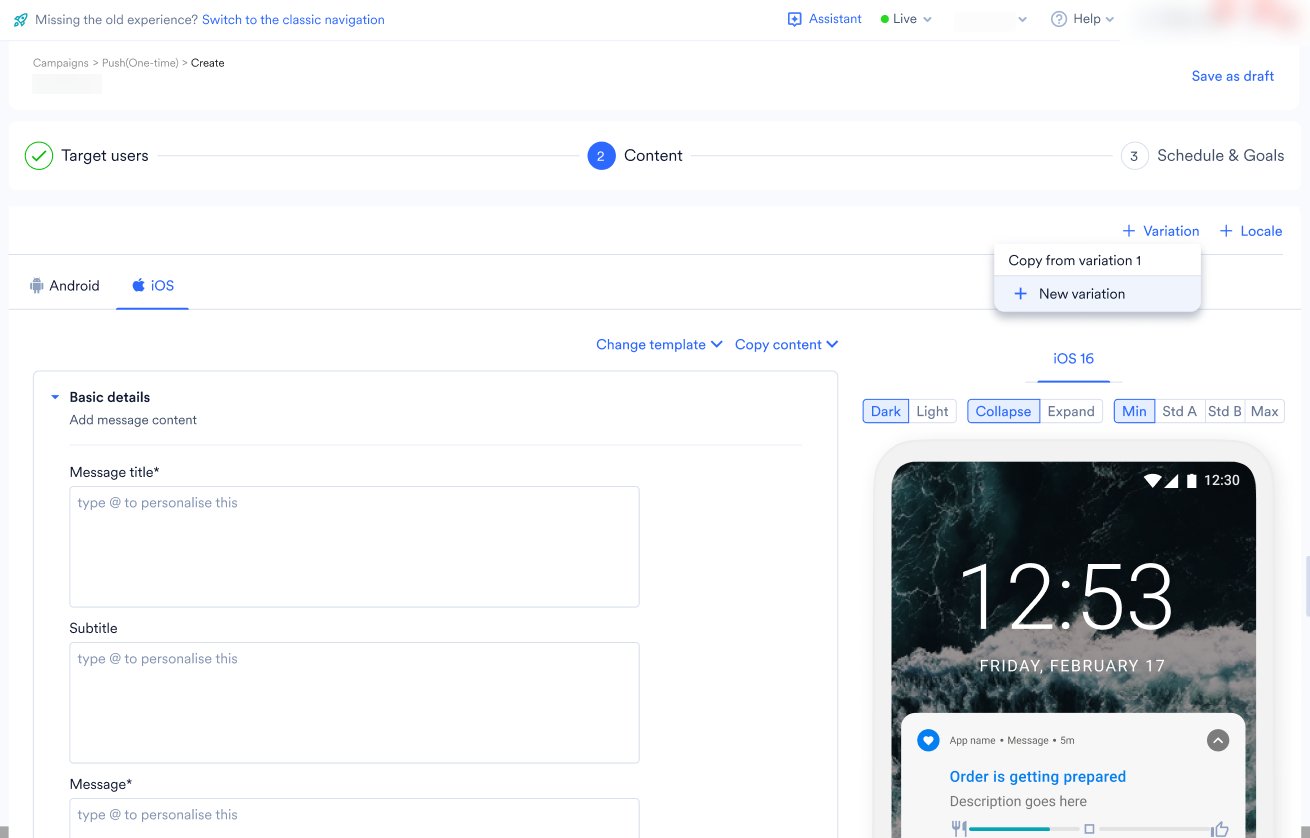
- Copy content lets you copy content between variations. On iOS, you can copy content from the same Android variation.
- Copy field value to all variations lets you select which fields, such as image or deep link, to replicate across all variations. Title, summary, and message are excluded from copy to all variations.
Content Intelligence
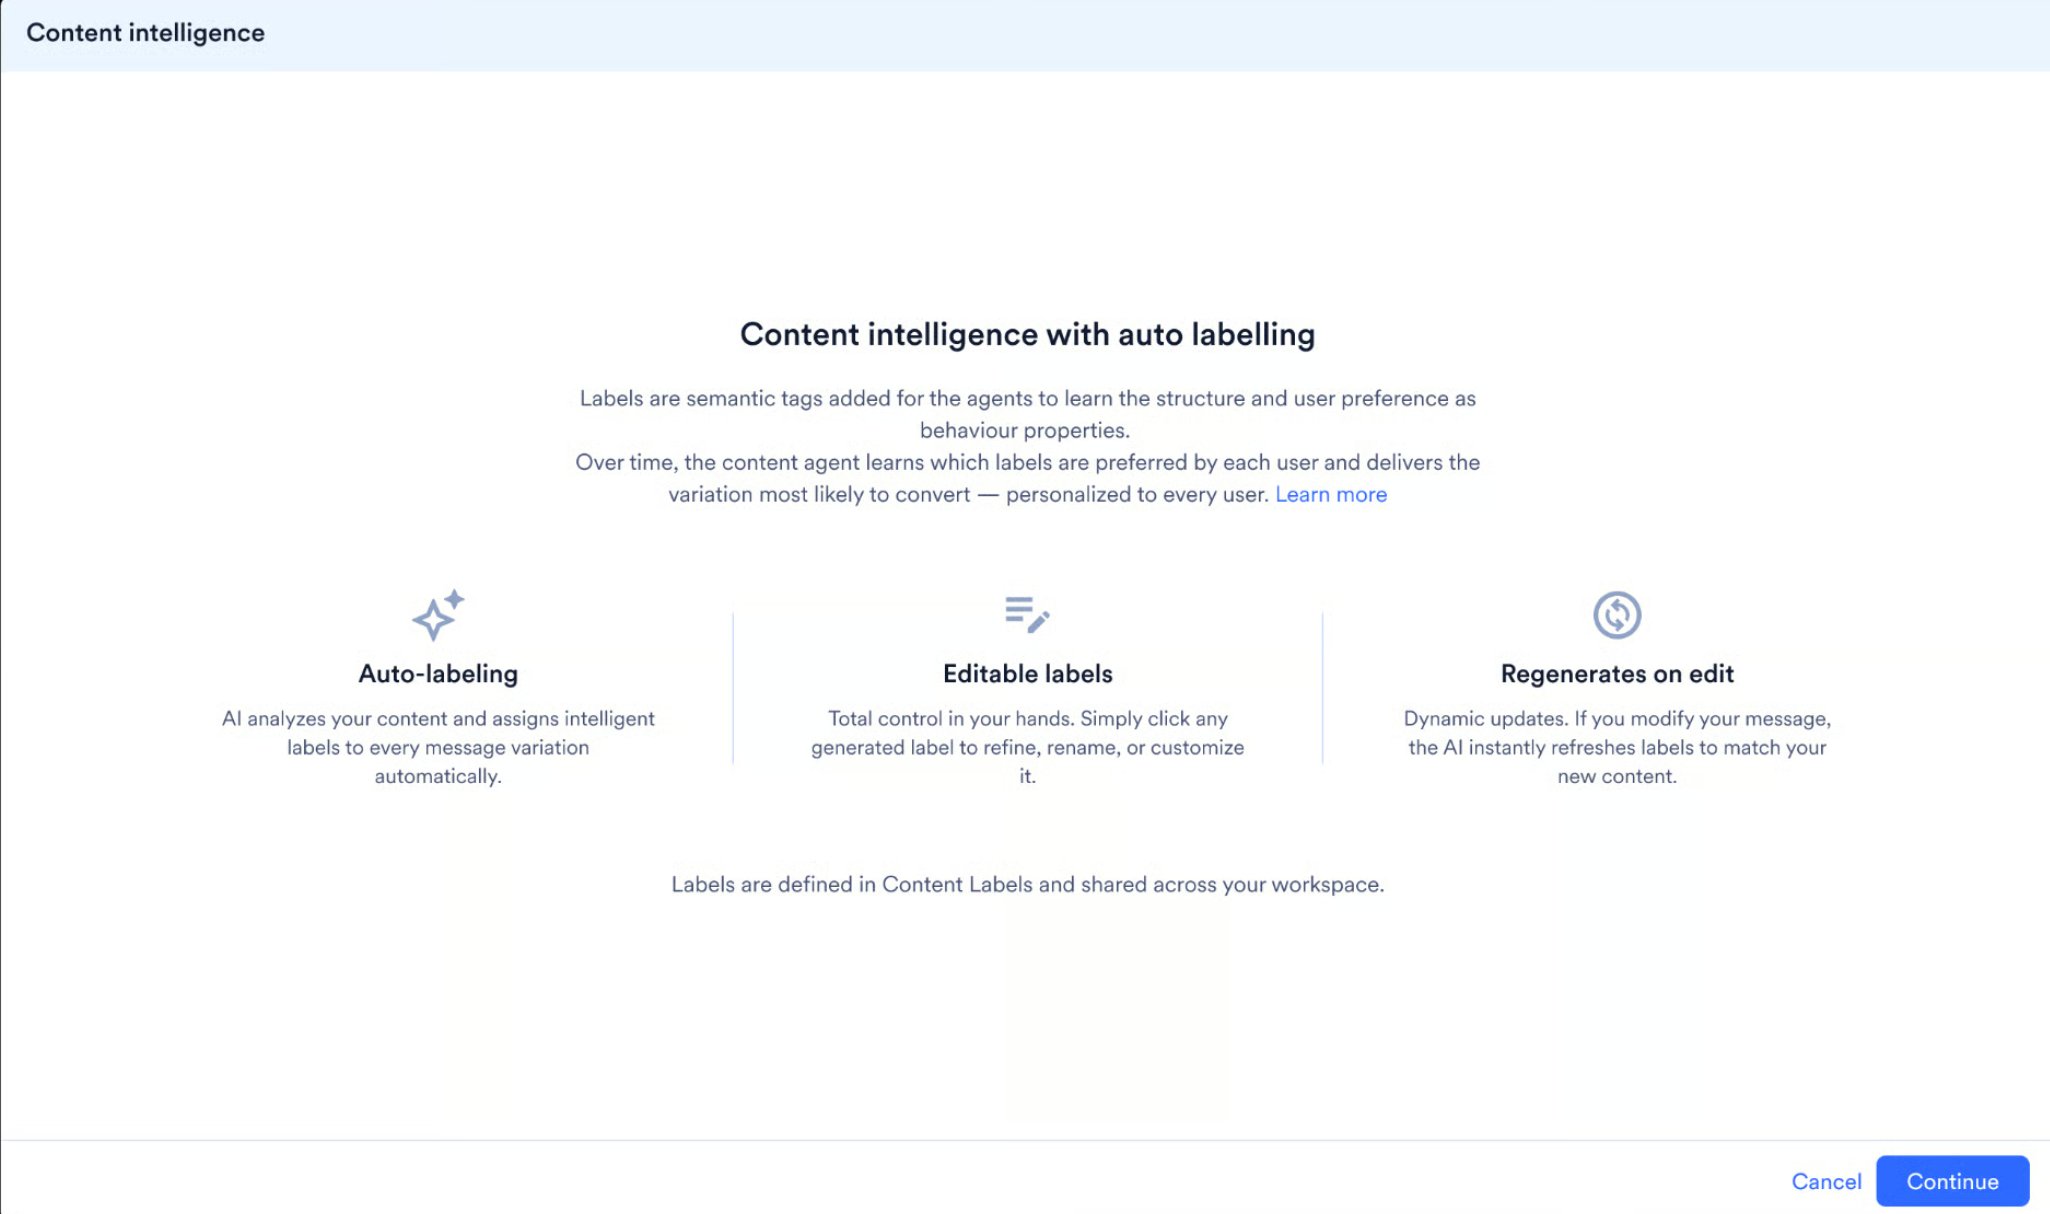
Content Intelligence automatically labels your campaign’s message variations using your Content Labels taxonomy. Content Intelligence includes the following:- Auto-labeling: MoEngage analyzes each variation and automatically assigns labels.
- Editable labels: You can review the generated labels and add or remove labels from a variation.
- Regenerates on edit: When you change a variation’s copy, the labels are regenerated to match the updated content.
Labels are defined in Content Labels and shared across your workspace. Labels are generated only from message text. Image-only templates do not generate labels.
Open Content Intelligence
In Step 2 of the campaign, after adding more than one variation, click Content Intelligence in the upper-right corner.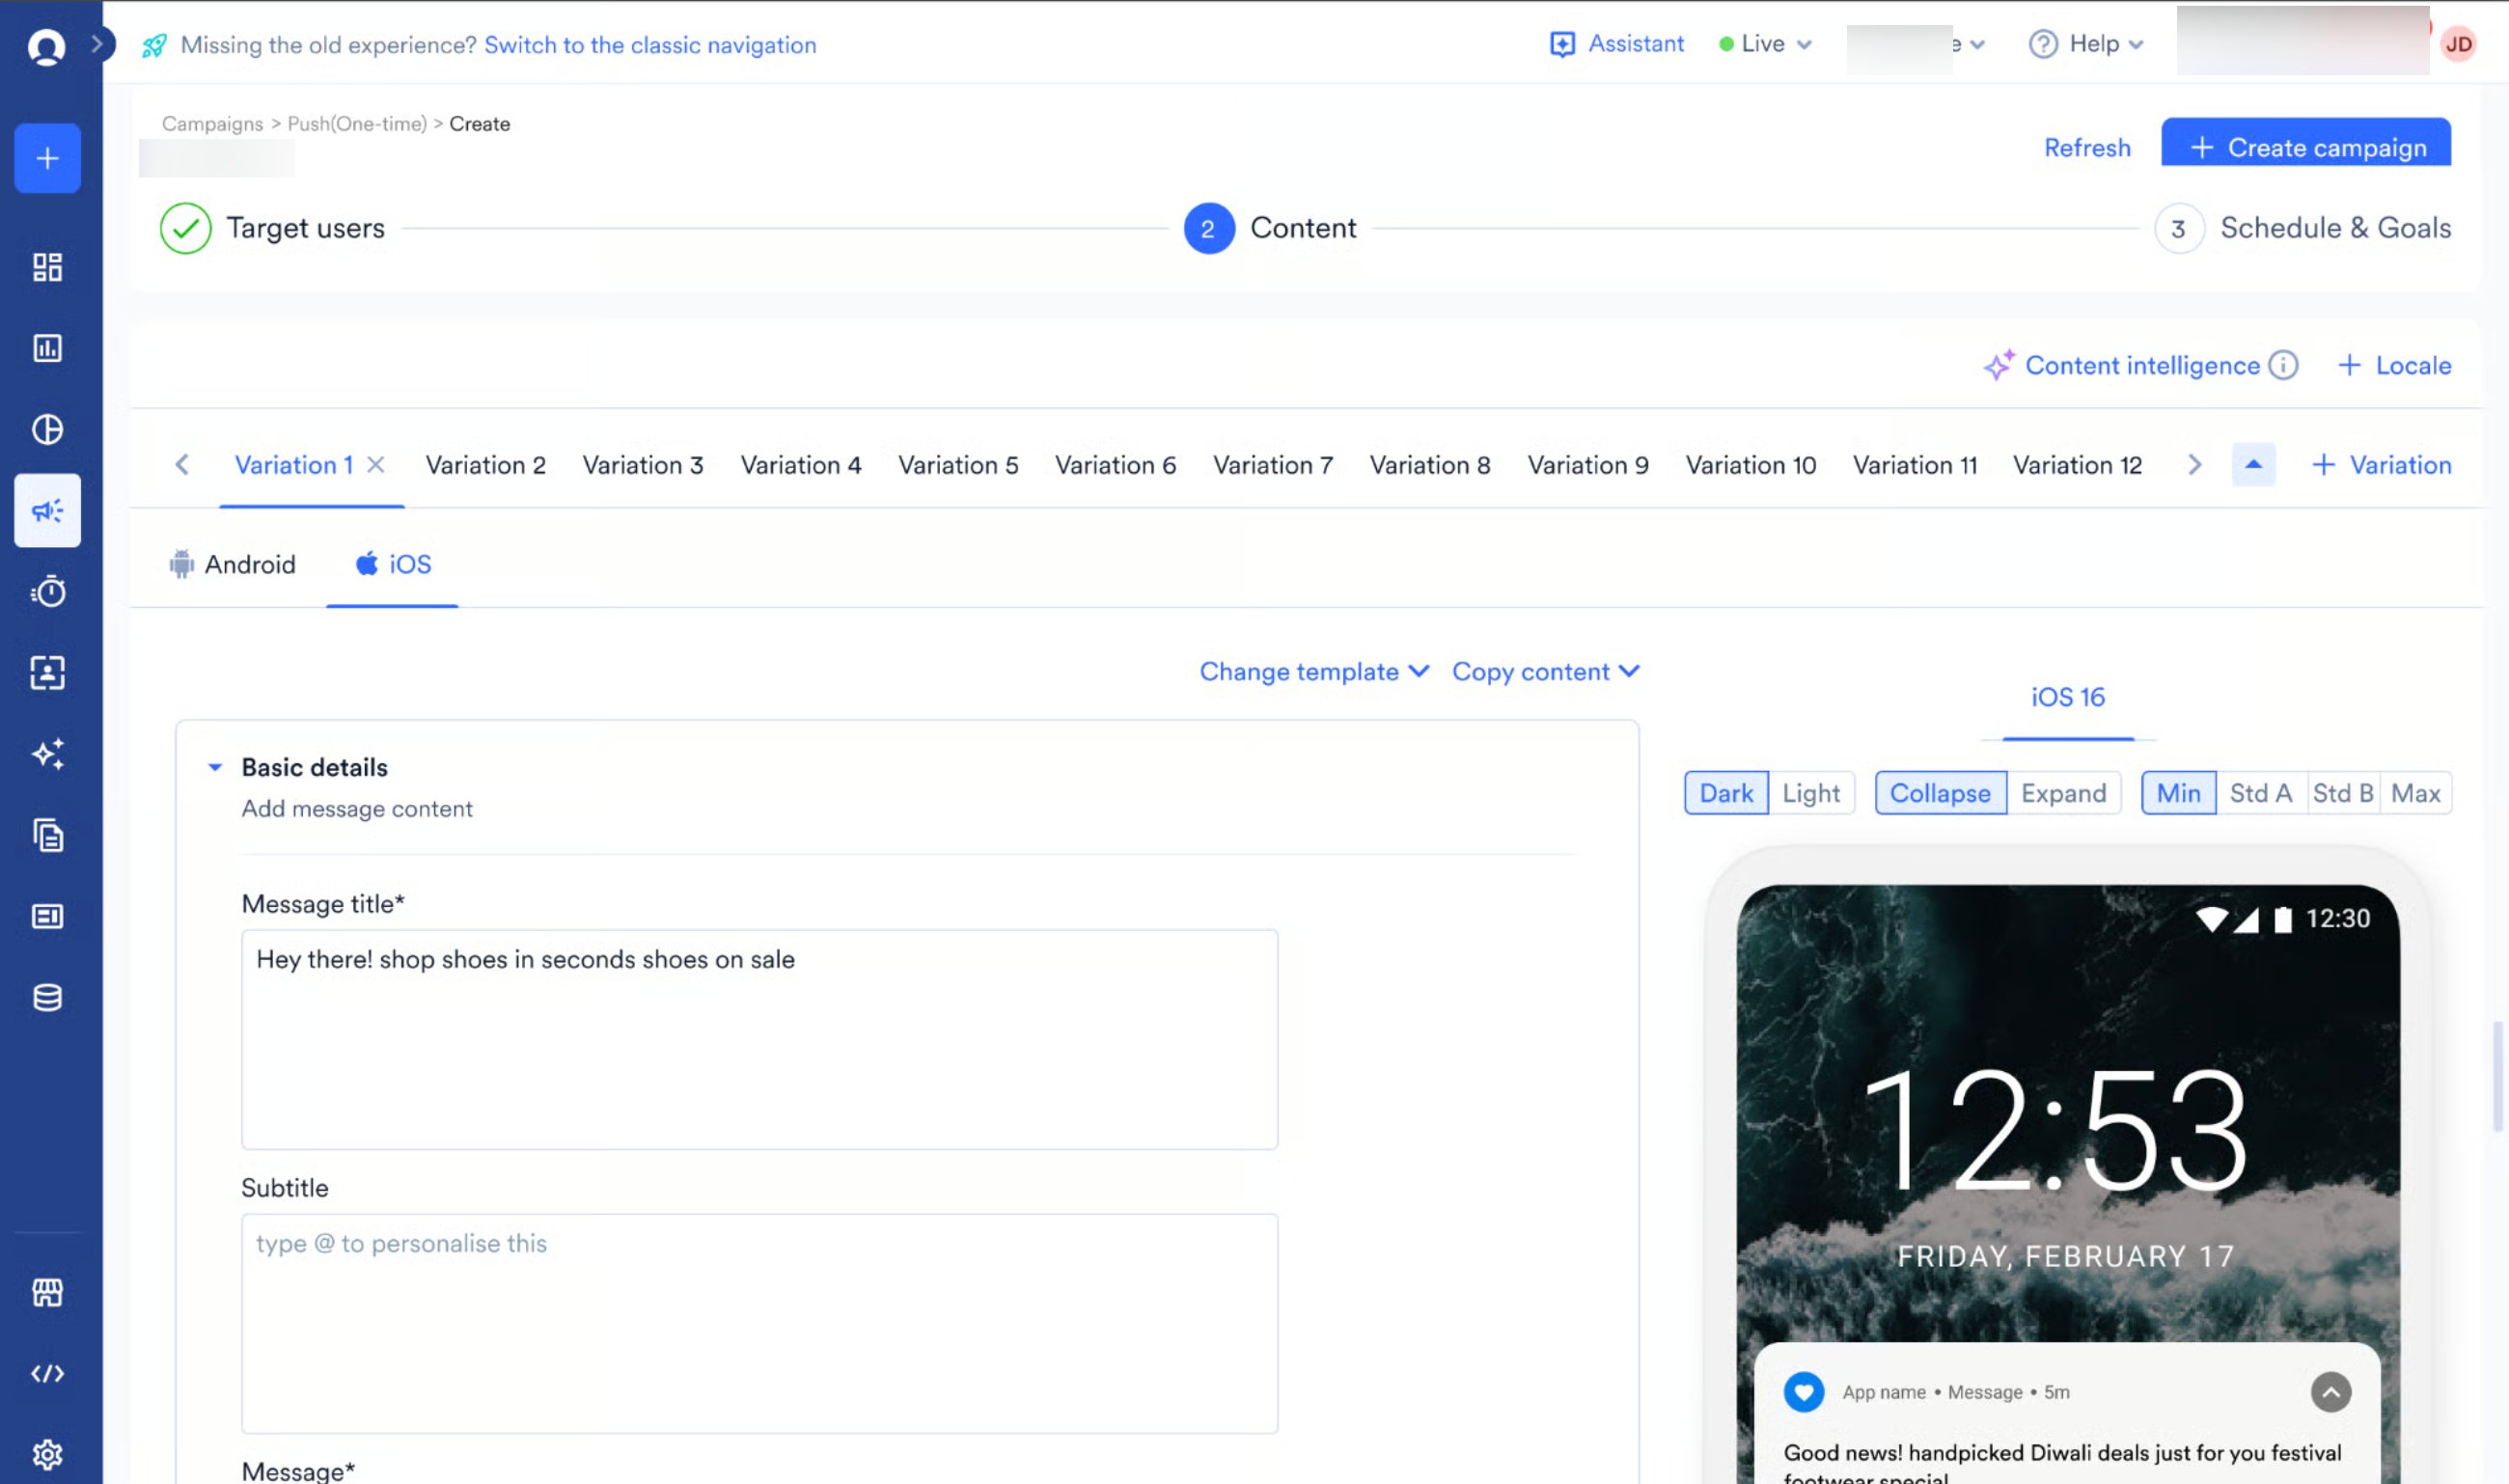
Review and Edit Labels
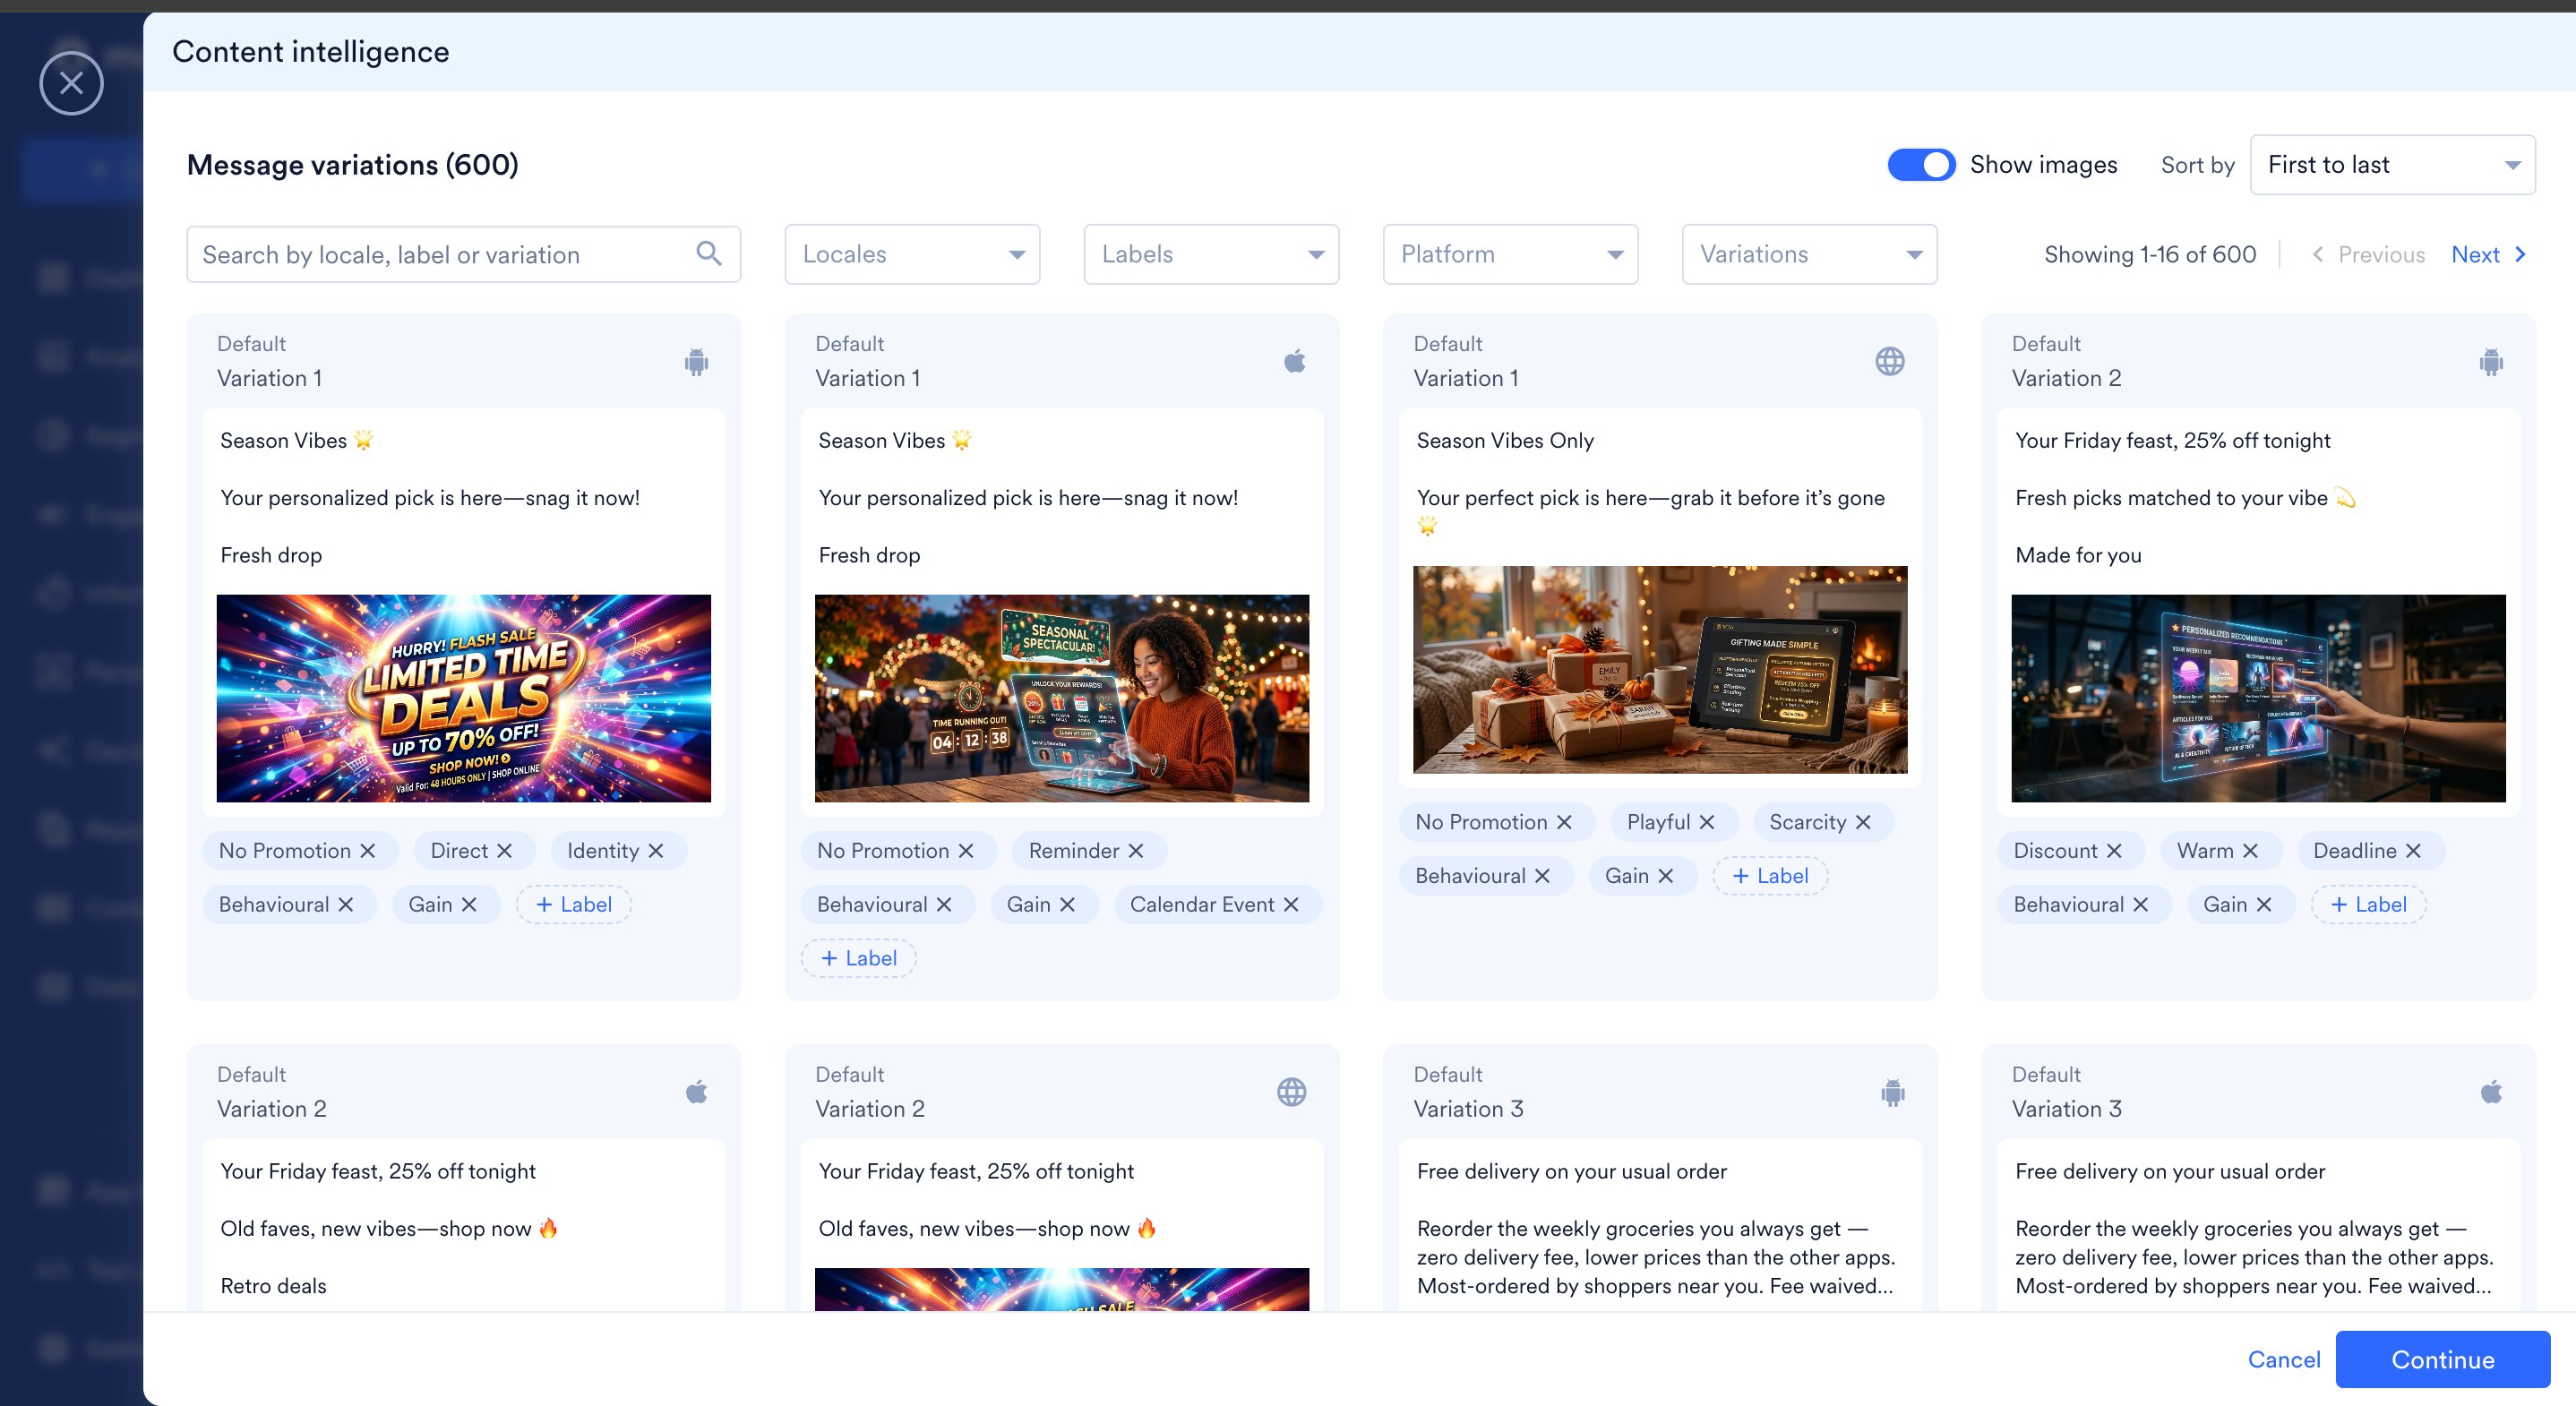
Content Intelligence opens a grid of message variations. Each card shows the locale, variation number, message content, and generated labels. You can perform the following actions:- Filter by Locales, Labels, and Platform.
- Search by variation, content, or label.
- Turn Show images on or off to show or hide creatives.
- Use Sort to reorder the list.
- On any variation card, click × on a label to remove it.
- On any variation card, click + Label to add a label.
Edit a Variation’s Copy
Perform the following steps to edit a variation from Content Intelligence.- Hover over the variation card.
- Click Edit.
- MoEngage returns you to Step 2 so that you can edit the variation content. When you edit a variation title or message, the labels for that variation are regenerated, and any manual labels on that variation are overwritten. Regenerated variations are flagged so that you can review them with the Show changed filter.
Save Labels
Click Continue to save the labels and continue with the campaign.Auto-labeling is required for AI Campaign Decisioning campaigns and does not apply to Standard campaigns.
Step 3: Schedule and goals
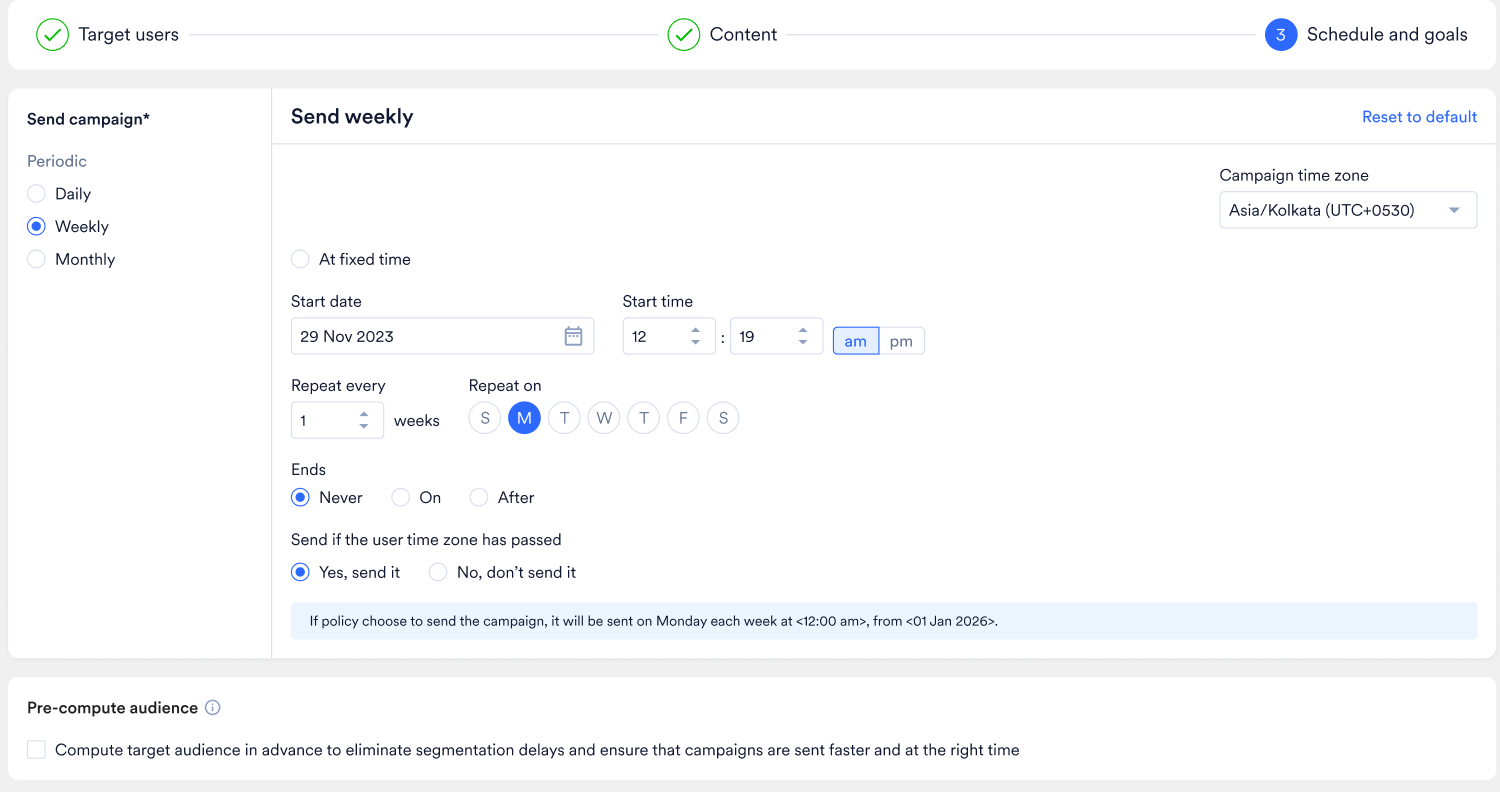
AI Campaign Decisioning campaigns use fixed-time scheduling. Schedule your campaign at least 24 hours in advance so that the AI can prepare its predictions.
-
Schedule the campaign: set a fixed date and time to send. One-time and periodic (daily, weekly, or monthly) campaigns are supported. The Policy time slots panel shows the time windows during which the policy can send.
- Set conversion goals.
- Click Publish.